Saturday, May 13, 2017

Lawn Fawn Release Week: Upon a Star


Hello there!  Welcome to another day of Lawn Fawn Release Week!  Today, we are showcasing on of my favorite sets from this release, Upon a Star.  I love anything celestial/star themed and these images are so sweet!

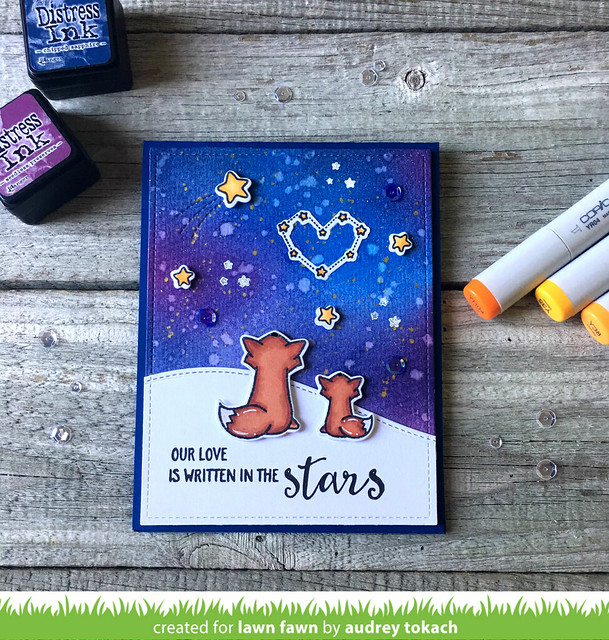
To create my card, I started off by ink blending a night sky using distress inks.  I added some clean clear water to bleach out some spots, and added a spattering of gold watercolor as well.  When it was dry, I diecut it with the new Outside In Rectangles.  I cut a white hillside using the Stitched Hillside borders dies.  I stamped and colored adorable fox images from the Upon a Star, along with the heart shaped constellation and a few single stars from the set.  I heat embossed a few star clusters in the sky with white embossing powder, and added a shooting star using the Starry Skies dies.  I stamped a sentiment from the Upon a Star stamp set on the hill, then popped the foxes up with foam tape.  I finished the card off with a scattering of blue iridescent sequins.

Upon A Star

Be sure to visit the Lawn Fawn blog, and stop back by tomorrow for another project using products from the Summer 2017 release! :)

Have a great weekend! :)

Friday, May 12, 2017

Lawn Fawn Release Week: Magic Color Slider


Hello, hello!  It's day 2 of Lawn Fawn release week and today we are showcasing a super fun die set, the Magic Color Slider die!  This die allows you to create an interactive card with a sliding window that reveals a colored in scene!

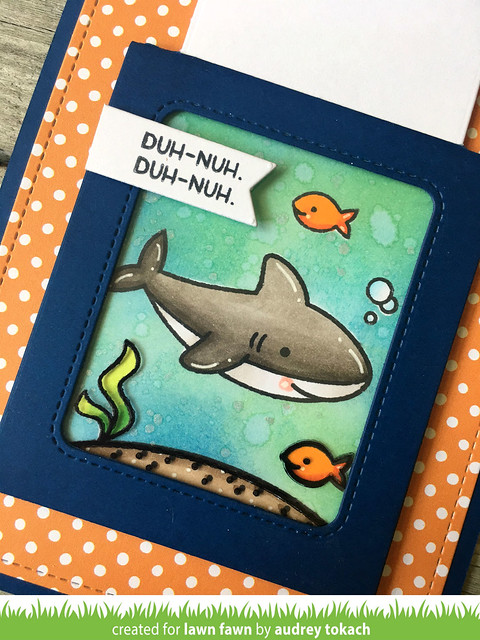
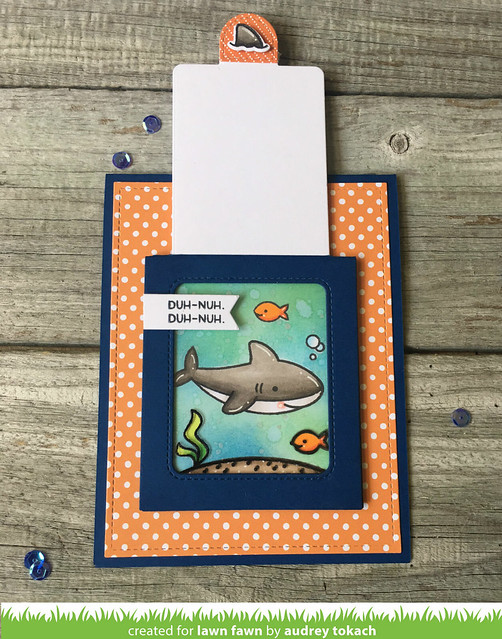
For my card today, I used another new stamp set that will be featured later this week called Duh-Nuh,  This little shark might be one of my new favorite critters!

Magic Color Slider 3

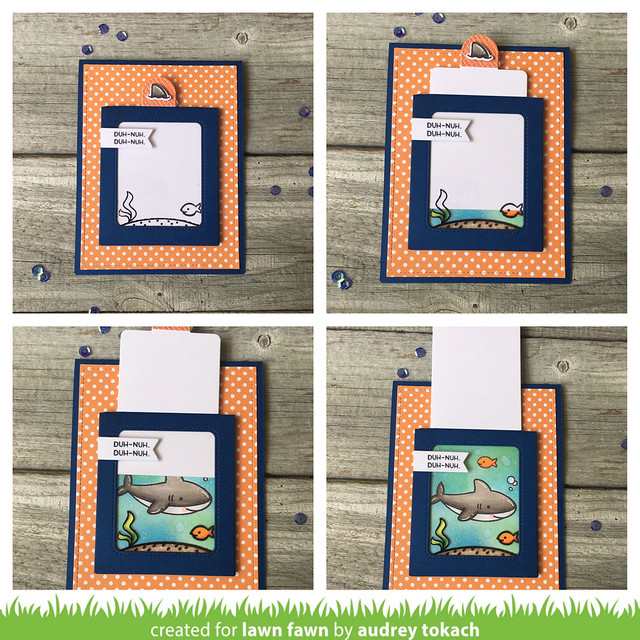
Here  you can see my Magic Color Slider, closed, then open.  So fun!  The possibilities are really endless with this one! :)
Magic Color Slider 4

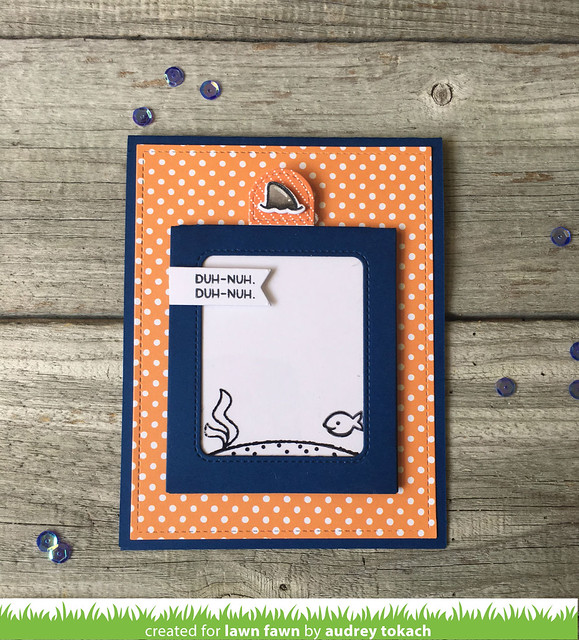
I started off with a Blue Jay card base, and used the new Outside In Rectangles dies to add a stitched edge to a piece of Let's Polka in the Dark patterned paper.  My slider is closed, with only part of my scene stamped on the acetate window.  I added a little shark fin from the Dun-Nuh stamp set to the pull tab, and used the banner die in the Magic Color Slider die set to stamp a sentiment.

Magic Color Slider 1

Pulling the tab reveals my underwater scene.  I stamped images from the new Duh-Nuh stamp set along with images from Fintasic Friends and the sand mound from Life is Good.  I masked off those images, then used distress inks to create a blue and green ocean-like background.  I splattered on clean water to bleach out some areas, and though it's hard to see in the pictures, added some gold watercolor spatters for some fun shimmer.

Magic Color Slider 2

Be sure to visit the Lawn Fawn blog to see all of the other Magic Color Sliders featured today!  Stop back by tomorrow for a project using one of my favorite sets from this release!

Thanks for stopping by! :)

Thursday, May 11, 2017

Lawn Fawn Release Week: Ahoy, Matey

Hello there!  It's the day we have been waiting for!  Lawn Fawn's summer release is just days away!  There are SO MANY amazing products coming your way!  Just when I think it can't get any better, it does!  Just wait until you see! ;)

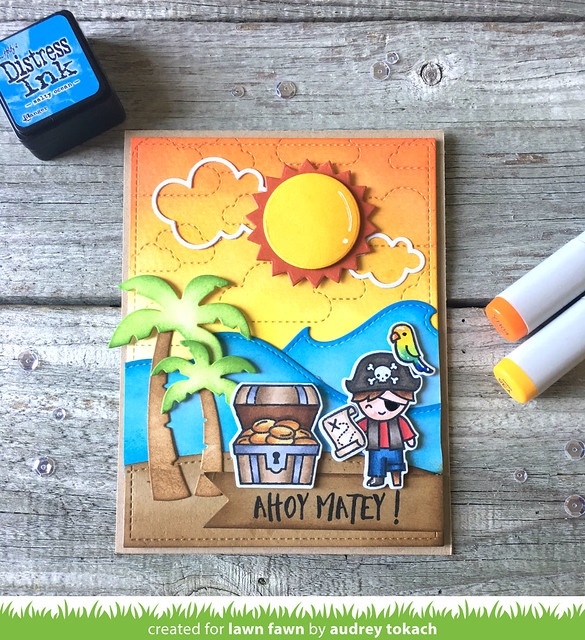
For my card today, I used several new products.  I started off by ink blending a sunset background on a piece of watercolor paper.  I diecut it once with the new Outside In Rectangles Stackables.  These dies will cut a double stitched edge, one inside and one outside of whatever you are cutting.  I used the largest die in the set to add a stitched edge to the panel.  Using the inside piece, you will get a medium stitched rectangle that falls right between the largest dies in the Small Stitched Rectangles and Large Stitched Rectangles.  The largest die in the Outside In Rectangles leave a 1/8" border on an A2 card base.  I have been wishing for this size forever! :)  Ok, so after I added my stitched edge, I ran the panel through again with the Stitched Cloud Backdrop.  Below that I inked a piece of white card stock with Salty Ocean Distress Ink and diecut that with the new Ocean Hillside Pop Up Add On die,  I used the Sun and Moon die set and the Simple Puffy Cloud Frames to add a little sunshine!! Then, I used the Simple Stitched Hillside Borders to add a sandy hill, and set the scene for the star of the show, the adorable little pirate and his feathered friend from the new Ahoy, Matey stamp set!  How cute is he with this treasure map and loot?!  To his left, I added a few palm trees using the new Palm Trees dies, and below him I added a sentiment from the same set onto a hand cut banner. To finish things off, I added some white gel pen accents and popped the panel up on a kraft card base.

Squeeee!  You all know how much I LOVE scene building, and this release is full of some amazing dies just perfect for that!


Ahoy Matey

Be sure to visit the Lawn Fawn blog for lots more amazing inspiration from the design team and stop back by tomorrow for more of the new products! :)

Thanks for stopping by!!

Monday, May 8, 2017

Reverse Confetti May Blog Hop


Hello there!  It's time for the Reverse Confetti May Blog Hop!  All of the new release products are available now in the Reverse Confetti store!

I have another card to share with you today!

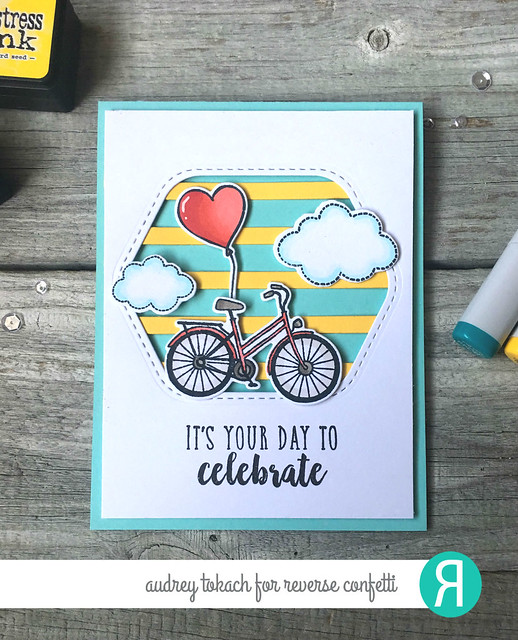
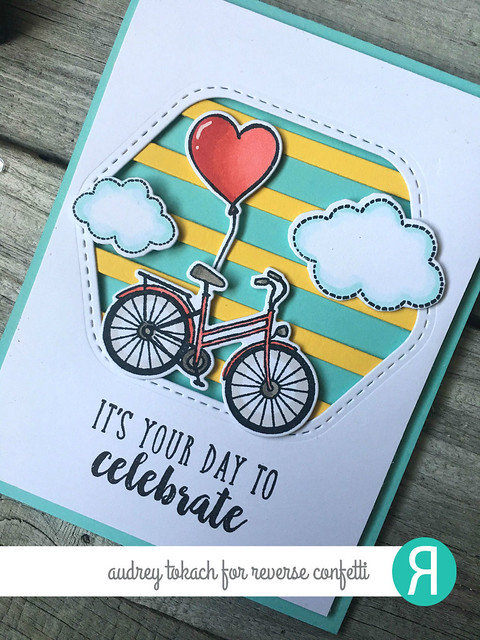
To create my card, I started off with an Iced Aqua card base.  I used the Hello & Thanks Label Confetti Cuts to diecut a window in a piece of 4" x 5.25" white cardstock.  Under the window, I stamped a sentiment from the new Simply Sentiments stamp set.  For my focal point, I used the Vertical Stripes Cover Panel to cut yellow stripes from the new Bumblebee cardstock.  I stamped the bike from Rollin' and the clouds and balloon from Take Flight, and colored them with copic markers.  I popped the window panel up on the card base with foam tape along with the bike, clouds and balloon to finish my card.


Celebrate

Even though the Vertical Stripes Cover Panel is designed to have a vertical stripe orientation, it's fun to turn it horizontally or even at an angle for more versatility!  More bang for your buck!

Celebrate

Be sure to hop along to see all the rest of the design team creations!  There are also a few special guests joining us too!!:)

Audrey Tokach **you are here**


Sunday, May 7, 2017

Countdown to Confetti - Day 3


Hello there!  Welcome back to day 3 of the countdown to Confetti with Reverse Confetti!  We are in the middle of a 4th birthday celebration!  All of the new products being showcased will be available for purchase on May 8th.

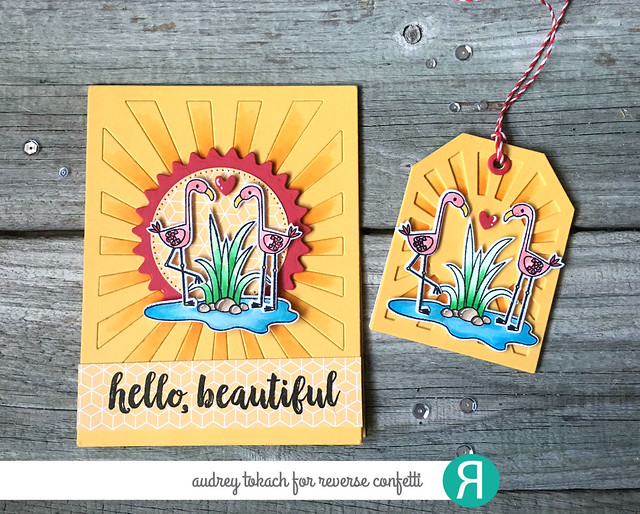
Today, I have a card and tag set using the new Think Pink stamp set and coordinating Think Pink Confetti Cuts, along with the new One Day at a Time stamp set and Sunburst Tag Layer.


Proceeds from the One Day at a Time stamp set will be donated to THE PINK FUND. "The Pink Fund provides 90 day non-medical cost-of-living expenses to breast cancer patients in active treatment for breast cancer, so they can focus on healing, raising their families, and returning to the workplace.

Think Pink Ensemble

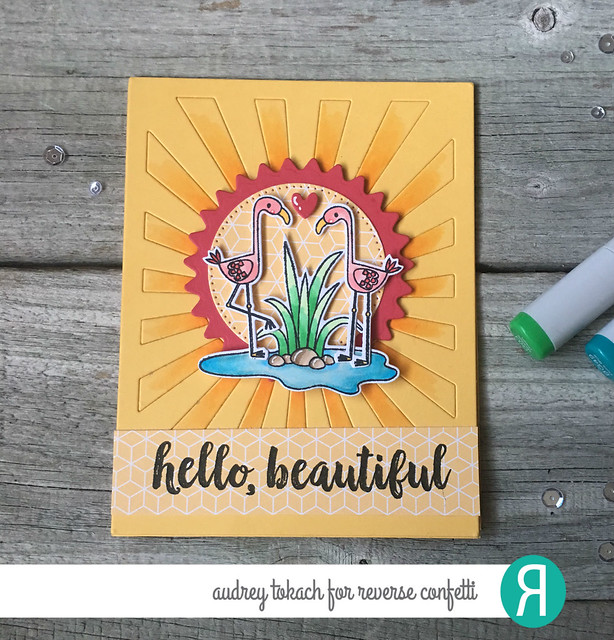
To create the card, I started off with a A2 card base using the new Sunshine cardstock.  I used the previously released Sunburst Cover panel die, also cut from Sunshine cardstock.  I glued the diecut piece onto the card base, and colored each of the sun rays with copic markers before gluing those in place.  For the focal point, I used the Flowers for Mom Confetti Cuts set to cut a pinked circle from Rose cardstock, and some of the new Pattern Play paper pad to cut the inner circle.  I stamped and colored images from Think Pink with copic markers and then diecut them with the Think Pink Confetti Cuts die set.  I popped those up in the center of the card front with foam tape.  For the sentiment, I cut a strip of patterned paper from the Pattern Play paper pad, and stamped a sentiment from the One Day at a Time stamp set in black ink, and adhered that under the focal point.

Think Pink card

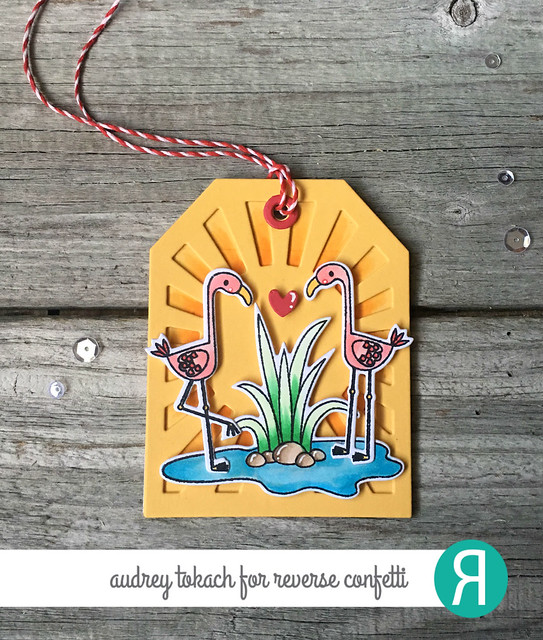
To create the tag, I used the new Sunburst Tag Layer Confetti cuts, which I cut from Sunshine cardstock, and layered that over top of a diecut Topped Off Tag, also cut from Sunshine cardstock.

Think Pink Tag

That's all for me today!  Be sure to visit the Reverse Confetti blog for lots more inspiration from the design team, and stop back by again tomorrow for our May blog hop!

Thanks so much for stopping by! :)


Saturday, May 6, 2017

Countdown to Confetti - Day 2


Hello there!  Today, the Countdown to Confetti continues over at Reverse Confetti as we celebrate our 4th birthday!

We are showcasing three new stamp sets, and I have two cards to share with you using two of those sets (the other one is coming soon!)

My first card uses the new Take Flight stamp set.  First, let me say that I LOVE the clouds in this set.  I will be using them all the time, mixing and matching with other sets.   To create my card, I used Picked Raspberry, Spiced Marmalade and Wild Honey Distress inks to create an ink blended background.  I added spatters of clean water for more interest.  I stamped the clouds from the set and outlined them with a BG0000 Copic maker for a bit of dimension.  I stamped the kite once on white cardstock, then again four times on patterned paper from the new Pattern Play paper pad and a few other RC paper pads, and paper pieced the kite.  I adhered the clouds down with a glue pen and foam tape and popped the kite up in the center of the panel with foam tape, then stamped a sentiment from the Take Flight stamp set.  I added a scalloped border to each side of the panel using the Edge Essentials dies and black cardstock.  Then I covered a white card base with Pattern Play papers, and popped the panel up in the center with more foam tape.
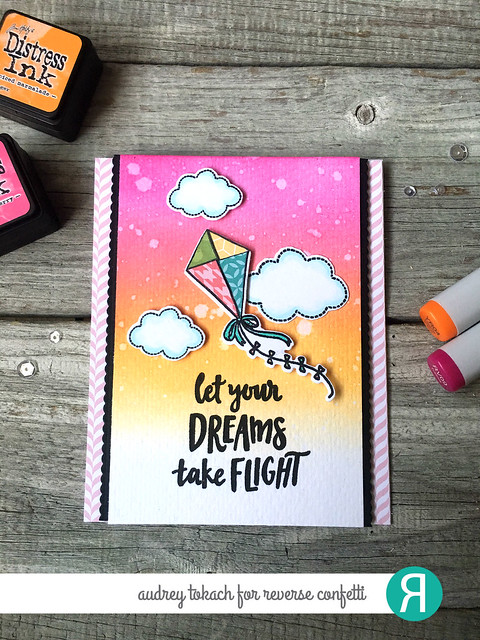
Take Flight

A little tip with paper piecing...  I find it easier to stamp the image, diecut it first, then paper piece.  I suppose you could do it either way, but I have had the most luck with diecutting, then paper piecing.  I also outline the edge of each patterned piece with a black pen before gluing it down because otherwise, the white core of the paper shows against the stamped edges,
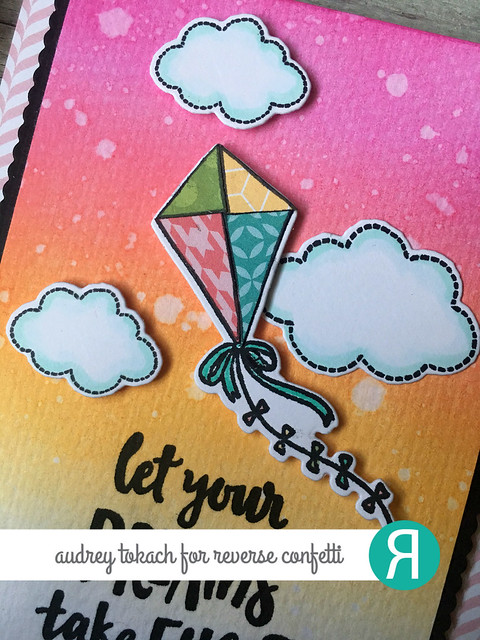
Take Flight

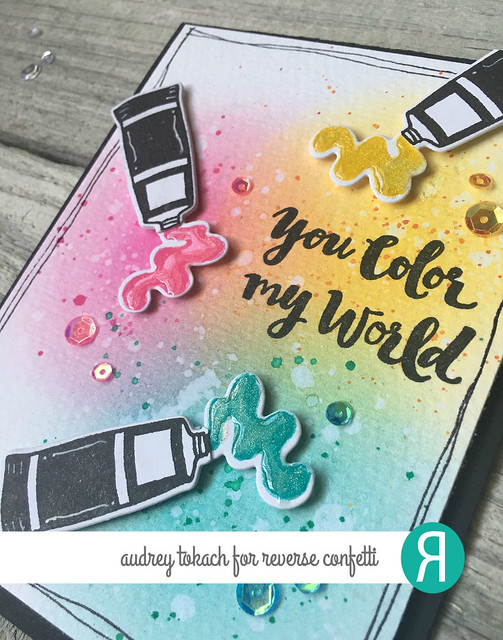
My second card today uses the new Work of Art stamp set and coordinating Work of Art Confetti Cuts.  To create my card, I started off with a piece of watercolor paper.  I used my ink blending tools to sponge circles of pink, yellow and blue ink in the center of the paper, allowing each color to overlap slightly to create new colors in those areas.  I used clean water to bleach other the color in some areas, then used watered down distress ink to splatter color in some areas.  I stamped the paint tube from the set three times in black ink, but masked the image first before stamping.  I covered up the paint squirt part of the image with a piece of post it tape, inked, removed the tape, then stamped.  I did the opposite to add the colored paint squirts.  I diecut everything with the Work of Art Confetti Cuts, then added white gel pen accents to the tubes for some more interest.  I popped them up with foam tape, then stamped a sentiment from the same set in the open area.  I hand doodled a border around the edge of the panel, popped it up on a black card base, then added a scattering of coordinating sequins to finish things off.
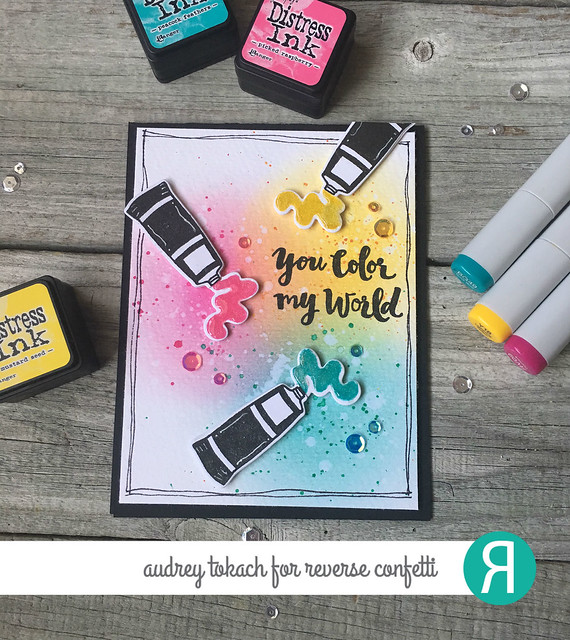
You Color My World

To add dimension to my paint squirts, I first colored in each one with a Wink of Stella shimmer pen, then added a later of Glossy Accents.  These steps really made a world of difference and made the paint look almost real!!

You Color My World

I hope you enjoyed my cards today!  Be sure to visit the Reverse Confetti blog for lots more inspiration from the design team!!

See you again tomorrow! :)


BLOG TEMPLATE BY DESIGNER BLOGS