Thursday, February 14, 2019

Hello Bluebird February Release

** This is my second post for the day.  If you are looking for my Lawn Fawn post, please scroll down**


Hello there!  Today, I have four cards to share with you that I created using the new February release from Hello Bluebird!  If you follow me on Instagram, you may have already seen these, but I wanted to share them here with my blog reading friends :)   The new release items will be available tomorrow evening, February 15th, in the Hello Bluebird store.

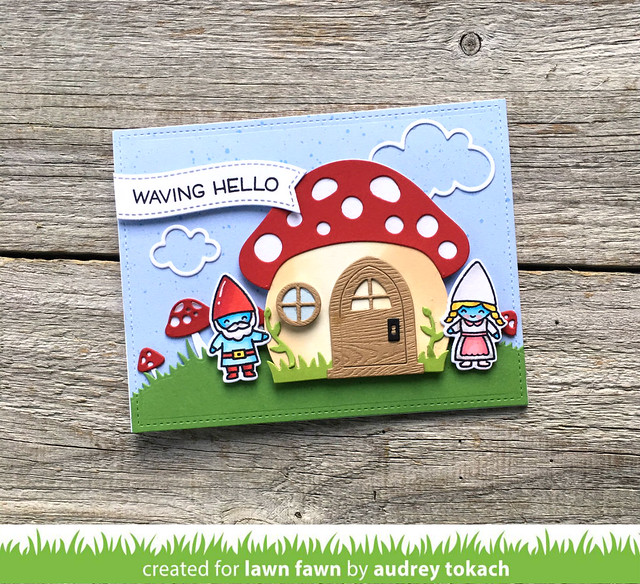
This card uses the new Banner Buddies stamp set and coordinating Banner Buddies dies:

Banner Buddies

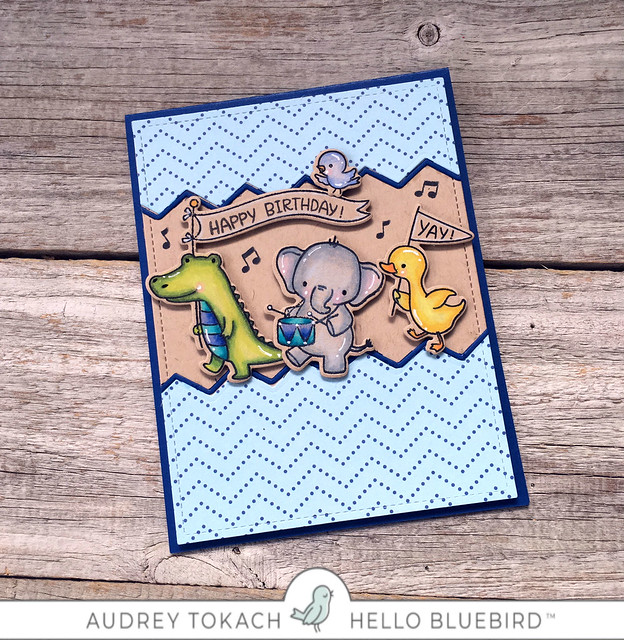
Up next is the adorable Party Parade stamp and coordinating Party Parade dies, along with the new Basic Borders die set:

Party Parade

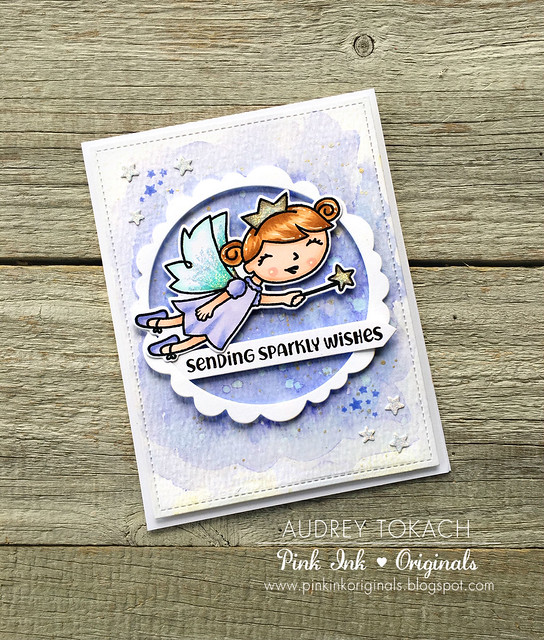
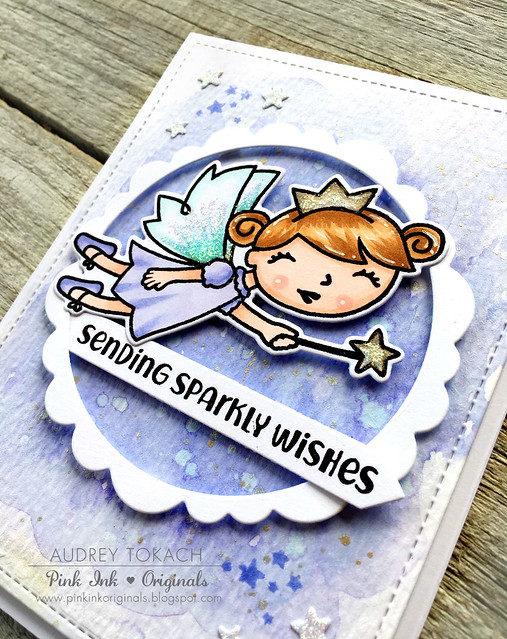
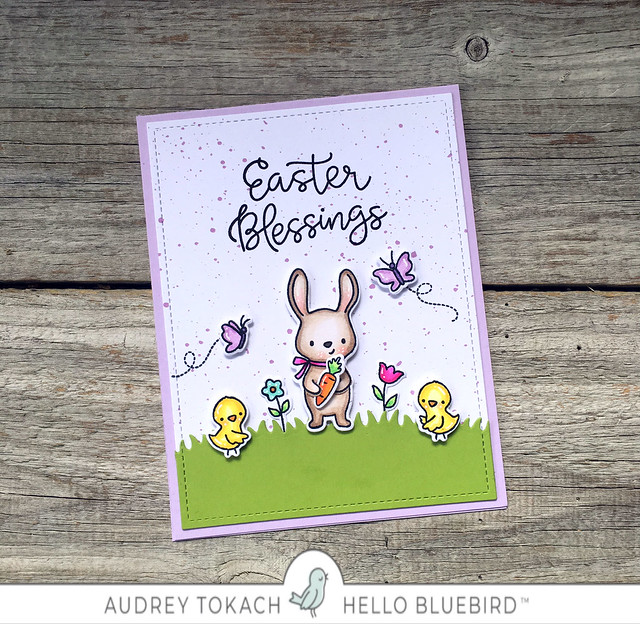
This card uses the new Spring Gathering stamp set, Spring Gathering dies, and the new Spring Banner Script stamp set:

Spring Gatherings

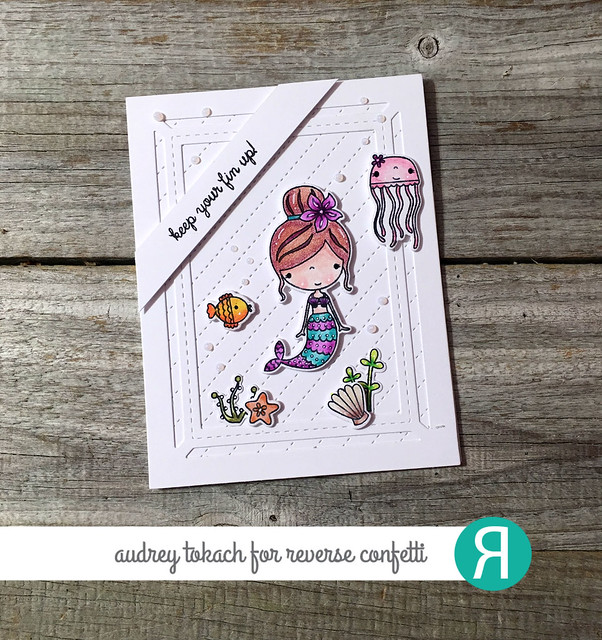
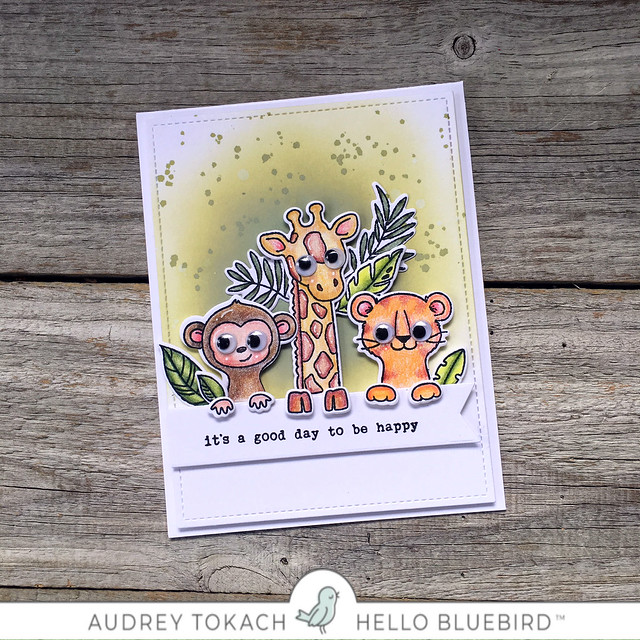
And finally, favorite of the new release, Portrait Pals, the coordinating Portrait Pals dies and the new Typed Everyday stamp set:

Portrait Pals

I hope you like them!  Thanks for stopping by! :)

Lawn Fawn Inspiration Week: Oh Gnome & Mushroom House


Hello there!  It's that time again!  Lawn Fawn Inspiration Week and the Spring 2019 release is here!  All of the new release goodies that you will see over the next few days will be available in the Lawn Fawn store and at your favorite retailer on February 21st!

Today, we are showing off the new Oh Gnome stamp set and coordinating dies along with the adorable Mushroom House die set and the Mushroom Border dies.

As soon as I saw the Mushroom House and the gnomes, I immediately thought of "the Smurfs".  I am a kid of the 80s and they were some of my favorite Saturday morning cartoons!  To create my card, I started off by diecutting a piece of Spiffy Speckles 6x6 paper with the largest of the Large Stitched Rectangles Stackables dies.  I added a grassy hill and the cute little Mushroom Border.  Then, I diecut the pieces of the Mushroom House from white, red and Woodgrain cardstock.  I inked the base of the mushroom with Antique Linen Distress Oxide ink, and glued all of the pieces together with the Glue Tube.  I stamped and colored my Smurfs using the super cute Oh Gnome stamp set, and diecut them with the coodinating Oh Gnome dies, and popped everything up with foam tape.  I added some Simple Puffy Cloud Frames to the sky and stamped a sentiment from the new Wavy Sentiments stamp set onto a Fancy Wavy Banner diecut to finish off my card.

Oh Gnome

That's all for me today!  Be sure to visit the Lawn Fawn blog to see lots more from the design team!

Thanks so much for stopping by!  See you tomorrow! :)

Tuesday, February 12, 2019

Paper Smooches February Release Blog Hop!


Hello!  I am SO SUPER EXCITED to be joining the Paper Smooches gang this month to show off their brand new FEBRUARY 2019 release!  It is adorable and you are going to LOVE it!  ONE new stamp sets and FOUR new dies will be available to purchase at 10:00 AM Central time zone on February 14th.  You will find the new products at their online store once they go live.  www.papersmoochesstamps.com

To create my card, I started off by watercoloring a piece of Tim Holtz watercolor paper with Shaded Lilac Distress ink.  I splattered on some clean clear water to bleach out some areas, then splattered on some white pearl and gold watercolor using the Gansai Tambi Starry Colors.  I added a scalloped circle from a new die set, Flaunters.  The circle diecut is a great way to frame out the focal point.  The star of the show is an adorable fairy from the new So Fairy Cute stamp set.  I LOVE HER!  I stamped and colored her with Copic Markers and diecut her with the coordinating Fairy Cute Icons dies.


Sending Sparkly Wishes

I stamped a sentiment from the So Fairy Cute stamp set onto a banner from the new Bannerific dies set, then popped everything up with foam tape.  I added some Stickles to the fairy's wings, crown and wand, and added some white gel pen accents.  Then, I stamped a tiny cluster of stars from the set in Shaded Lilac ink, and added some glittery stars cut using the previously released Space dies.

Sending Sparkly Wishes


To add extra fun to our blog hop...there is a prize!  The prize - a $25. gift code to use at the PS online store.  

Here are the details:
  • Leave a comment on any of the blogs listed below (you do not need to comment on all blogs to qualify but it will increase your chances of winning) 
  • FOUR winners will be chosen at RANDOM from any of the design team blogs and the PS Blog to win the $25. prize.
  • Deadline: You have until midnight Central time on February 14th to leave a comment. 
  • Please check the Paper Smooches blog on February 15th to see if you are one of the FOUR lucky winners.  


Ways to increase your chances of winning:
  • Tell us that you Facebooked about our blog hop.  If you don't already like the PS FB page, please do https://www.facebook.com/PaperSmooches
  • Tell us that you Tweeted about our hop (follow PS on Twitter - https://twitter.com/papersmooches)
  • Share our blog hop on Instagram @papersmooches
  • Tell us that you posted on your blog about our blog hop
(which means that you have up to four extra chances to win on each blog)

Did you know that Paper Smooches offers up a fun challenge each month?  Keep an eye on the PS blog for details.  http://papersmooches.blogspot.com/

Thanks so very much for joining us!!

Friday, February 8, 2019

Reverse Confetti February Blog Hop


Hello there! It's the 8th of the month, and that means it's time for another Reverse Confetti blog hop!  This month, the theme is anything goes, so I pulled out an old Reverse Confetti favorite of mine, Mermaid Kisses.  How cute is she?!

I love lots of white background to let the colored images pop.  I've been playing more with my colored pencils lately too, in hopes of getting better with them.

To create my card, I started off with a white A2 card base.  On top of that, layered a Diagonal Stitches Cover Panel and on top of that, the frame from the Greetings Frame Confetti Cuts die set, all cut from white cardstock.  Then,  I stamped several images from the Mermaid Kisses stamp set, and colored them with my Prismacolor pencils before diecutting them with the coordinating Mermaid Kisses Confetti Cuts dies.

Keep Your Fin Up!

For my sentiment, I stamped a sentiment from the Mermaid Kisses stamp set onto a strip of white cardstock and popped it up on an angle following the stitched lines of the panel underneath.  It's a fun and different placement.  I arranged my scene, and popped some pieces up with foam tape and adhered others with a glue pen.  Then, I added white gel pen accents and black glaze pen to the eyes of the mermaid and critters.  Finally, I added some bubbles using Nuvo Drops.

Keep Your Fin Up!

That's all for me today, but be sure to hop around and comment for your chance to win a Reverse Confetti gift certificate!
Audrey Tokach - **you are here**
Lindsay Lajola

Thanks so much for stopping by! :)


BLOG TEMPLATE BY DESIGNER BLOGS