Tuesday, May 1, 2018

Reverse Confetti Stock You Stash Challenge!


Hello hello!  Today, I have a fun post for you!  You may have read last month that Reverse Confetti has discontinued their monthly Sketch For You To Try Challenge.  While we are sad to see it go, we are making way for a fun new challenge!  The Stock Your Stash Challenge!  Every month, we will have a new challenge theme.  In celebration of Reverse Confetti's 5th birthday, this month's theme is birthday! :)

To create my card, I started off watercoloring a strip of color in the center of piece of watercolor paper using my Zig Clean Color Real Brush Pens. To ground my focal point, I diecut two frames from Midnight cardstock using the All Framed Up Confetti Cuts die. Behind the frames, I draped two Linked Garland diecuts, cut from Premier Polar White cardstock.  I stamped the happy birthday sentiment from Sentiment Essentials stamp set in Midnight ink onto Premier Polar White cardstock and diecut it with the coordinating Sentiment Essentials Confetti Cuts dies.  I popped that up with foam tape, and behind it, I tucked the birthday cake image from the Candles 'n Confetti stamp set.  I stamped the cake in Midnight ink, and the cake decorations and candles ink Magenta ink.  

May Birthday Challenge

To finish things off, and add some extra sparkle, I added a scattering of metallic magenta sequins.  This card could be easily turned into a masculine card just by changing the color scheme!

May Birthday Challenge

For all of the challenge details, be sure to visit the Reverse Confetti blog.  I hope you will join us for your chance to win some Reverse Confetti goodies! :)


Friday, April 20, 2018

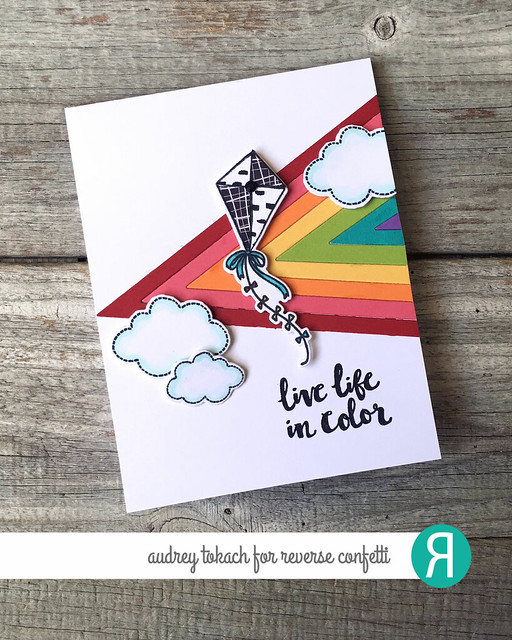
Live Live In Color {Reverse Confetti}


Hello there!  I have a fun and happy card to share with you using a bunch of products from Reverse Confetti!

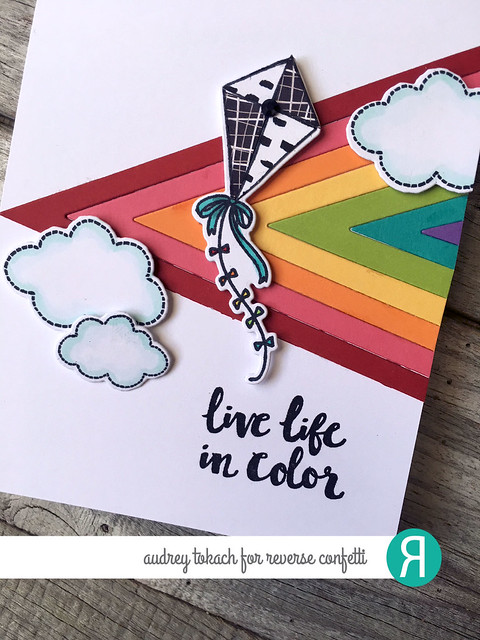
To create my card, I started off with a Cloud White card base.  I used the Tall Triangles Confetti Cuts to add a bold focal point.  I cut triangles from Salsa, Rose, Tangerine, Buttercup, Lime, Aqua and Royal Purple cardstock and glued them down with a glue pen.  Then I stamped the kit and clouds from the Take Flight stamp set and diecut them with the coordinating Take Flight Confetti Cuts dies.  I colored the clouds in with copic markers, and paper pieced the kite with patterned papers from the Cheerful & Kind and Every Little Bit paper pads.  I then popped everything up with foam tape, and stamped a sentiment from the Work of Art stamp set in Midnight ink.

Live Life in Color

I just love the black and white patterns against the bright pop of colors from the rainbow.  There is just something magical that happens when all of those colors come together :)

Live Life in Color

That's all for me today!  Thanks so much for stopping by! :)


Thursday, April 19, 2018

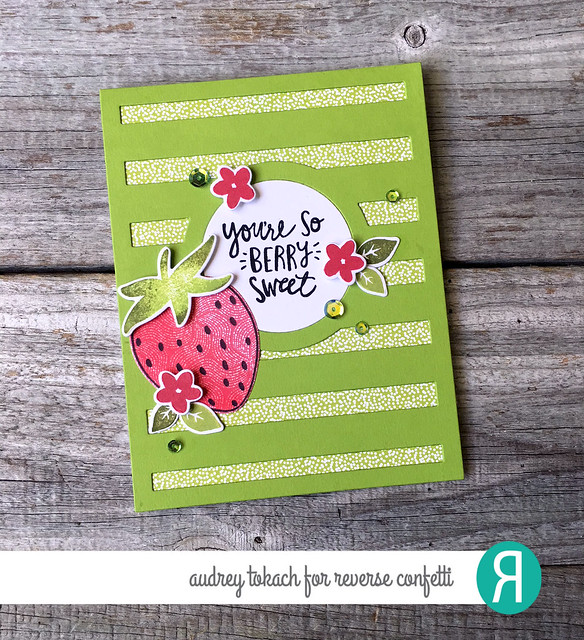
You're So Berry Sweet {Reverse Confetti}


Hello there!  Today, I have a card to share with you for the newest Color Throwdown Challenge #489 - Red, Green and White, and I am using Reverse Confetti goodies! :)


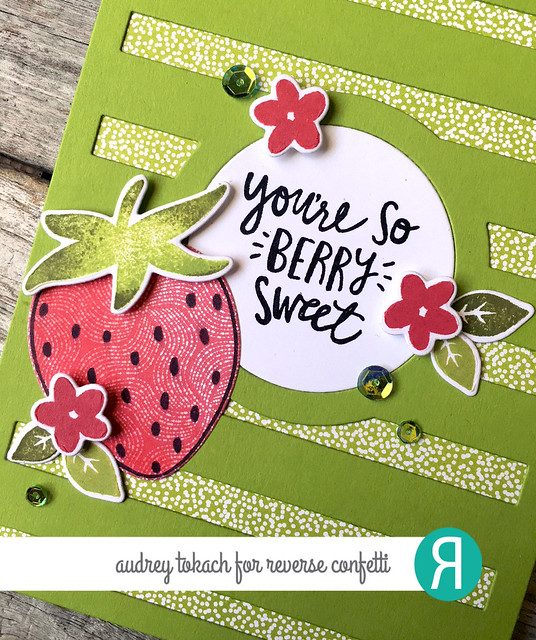
To create my card, I started off with a Cloud White card base.  On top of that, I added a piece of green polka dot paper from the Fun Times paper pad.  I diecut a piece of Lime cardstock with the Big Stripes Cover Panel Confetti Cuts and glued that on top.  then I ran the die through my machine again with a piece of Cloud White cardstock so that I could have a white circle for the center.  I stamped and colored the outline strawberry from the Berry Sweet stamp set onto a piece of patterned paper from the Under the Umbrella paper pad, then shaded it with copic markers, and diecut it with the coordinating Berry Sweet Confetti Cuts dies.  I stamped the strawberry stem using Lime ink for the center and Olive ink around the edges.  Three tiny flowers from the set were stamped in Salsa ink, and their leaves with Lime and Olive inks.  I stamped a sentiment from the Berry Sweet set onto the white circle with Midnight ink.

You're So Berry Sweet

See, who says that red, green and white can only be used for Christmas?!  :)

You're So Berry Sweet

That's all for me today!  Thanks so much for stopping by!! :)


Wednesday, April 18, 2018

Lawn Fawn Inspiration Week: Speech Bubbles


Hello there! Today, I am back with one last project for Lawn Fawn Inspiration Week! Today, my project features the new Speech Bubbles dies!

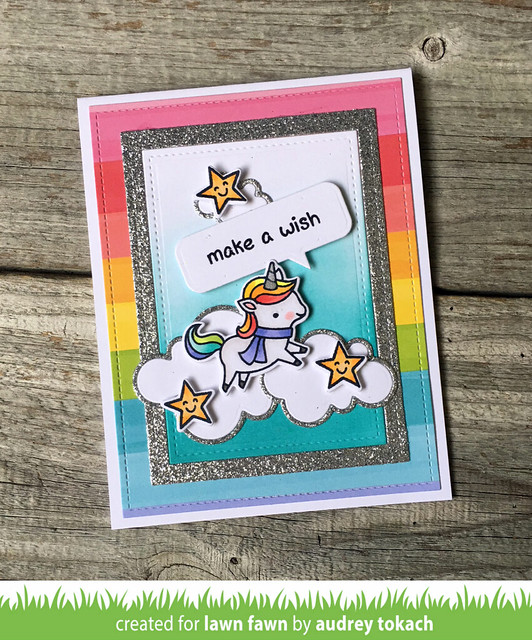
To create my card, I started off with a white A2 card base.  Then I used the largest die from the Outside In Stitched Rectangles die set to cut a piece of Really Rainbow patterned paper.  I used a die from the Small Stitched Rectangles Stackables and one from the Large Stitched Rectangles Stackables die sets, taped them together, and cut a piece of silver glitter paper to create a frame.  Then I cut the next smaller sized rectangle from white cardstock to fit inside the frame.  I inked it up with Peacock Feathers Distress Oxide ink, getting lighter as I worked my way up the panel.   Then I stamped and colored the cute little unicorn from the Winter Unicorn stamp set, and diecut her with the coordinating Winter Unicorn dies.  I perched her up on some cloud diecuts, and added a silver lining with the Simple Puffy Clouds Frames.  I stamped a sentiment from the Critters Ever After stamp set onto a Speech Bubbles diecut, and added a scattering of stars from the same set to finish off my card.


Make a Wish

That's all for me today, but be sure to visit the Lawn Fawn blog for lots more inspiration from the design team!

Thanks so much for stopping by! :)
BLOG TEMPLATE BY DESIGNER BLOGS