Hello there! Today, the Countdown to Confetti continues over at
Reverse Confetti as we celebrate our 4th birthday!
We are showcasing three new stamp sets, and I have two cards to share with you using two of those sets (the other one is coming soon!)
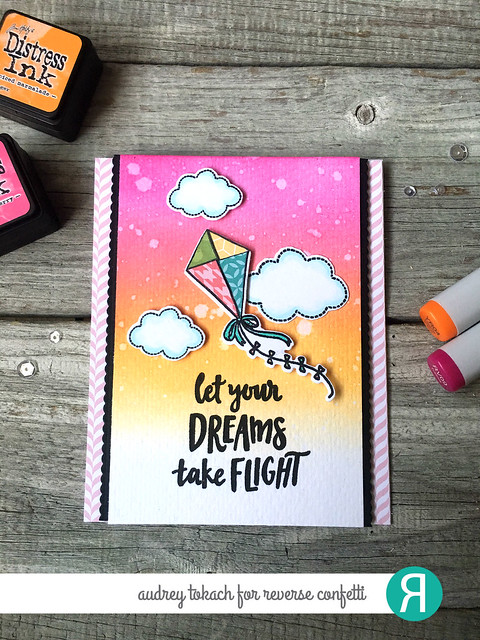
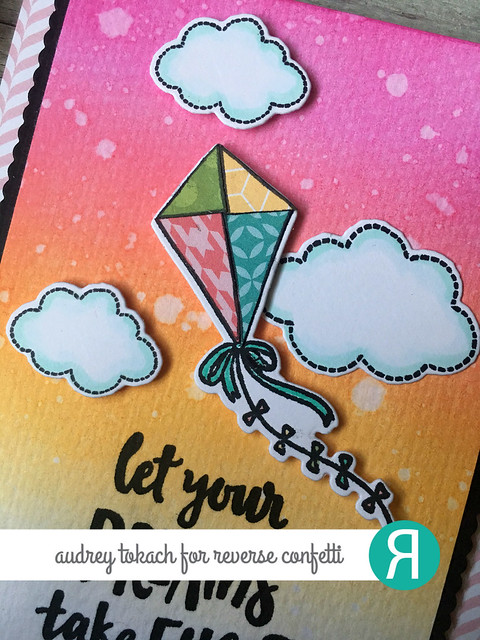
My first card uses the new Take Flight stamp set. First, let me say that I LOVE the clouds in this set. I will be using them all the time, mixing and matching with other sets. To create my card, I used Picked Raspberry, Spiced Marmalade and Wild Honey Distress inks to create an ink blended background. I added spatters of clean water for more interest. I stamped the clouds from the set and outlined them with a BG0000 Copic maker for a bit of dimension. I stamped the kite once on white cardstock, then again four times on patterned paper from the new Pattern Play paper pad and a few other RC paper pads, and paper pieced the kite. I adhered the clouds down with a glue pen and foam tape and popped the kite up in the center of the panel with foam tape, then stamped a sentiment from the Take Flight stamp set. I added a scalloped border to each side of the panel using the Edge Essentials dies and black cardstock. Then I covered a white card base with Pattern Play papers, and popped the panel up in the center with more foam tape.
A little tip with paper piecing... I find it easier to stamp the image, diecut it first, then paper piece. I suppose you could do it either way, but I have had the most luck with diecutting, then paper piecing. I also outline the edge of each patterned piece with a black pen before gluing it down because otherwise, the white core of the paper shows against the stamped edges,
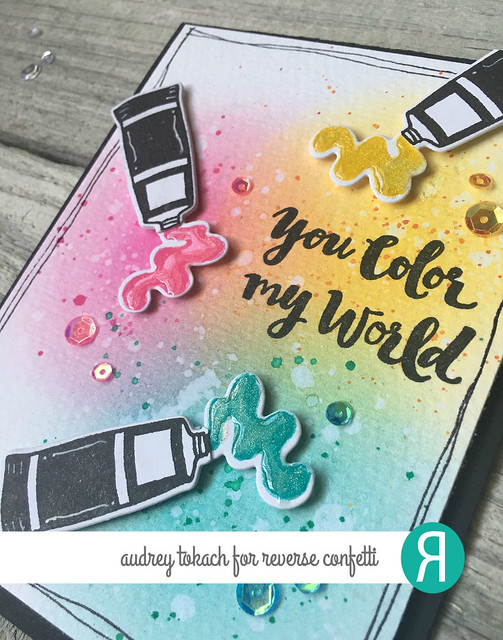
My second card today uses the new Work of Art stamp set and coordinating Work of Art Confetti Cuts. To create my card, I started off with a piece of watercolor paper. I used my ink blending tools to sponge circles of pink, yellow and blue ink in the center of the paper, allowing each color to overlap slightly to create new colors in those areas. I used clean water to bleach other the color in some areas, then used watered down distress ink to splatter color in some areas. I stamped the paint tube from the set three times in black ink, but masked the image first before stamping. I covered up the paint squirt part of the image with a piece of post it tape, inked, removed the tape, then stamped. I did the opposite to add the colored paint squirts. I diecut everything with the Work of Art Confetti Cuts, then added white gel pen accents to the tubes for some more interest. I popped them up with foam tape, then stamped a sentiment from the same set in the open area. I hand doodled a border around the edge of the panel, popped it up on a black card base, then added a scattering of coordinating sequins to finish things off.
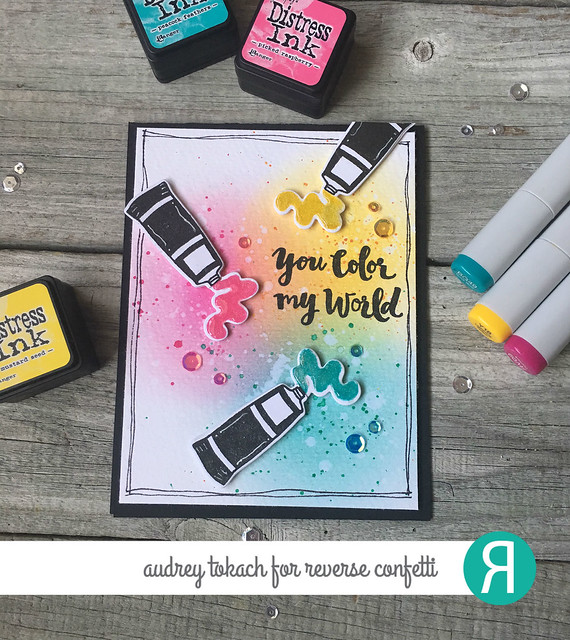
To add dimension to my paint squirts, I first colored in each one with a Wink of Stella shimmer pen, then added a later of Glossy Accents. These steps really made a world of difference and made the paint look almost real!!
I hope you enjoyed my cards today! Be sure to visit the
Reverse Confetti blog for lots more inspiration from the design team!!
See you again tomorrow! :)