Friday, April 15, 2022

Sunny Studio Stamps - Fabulous Flamingos


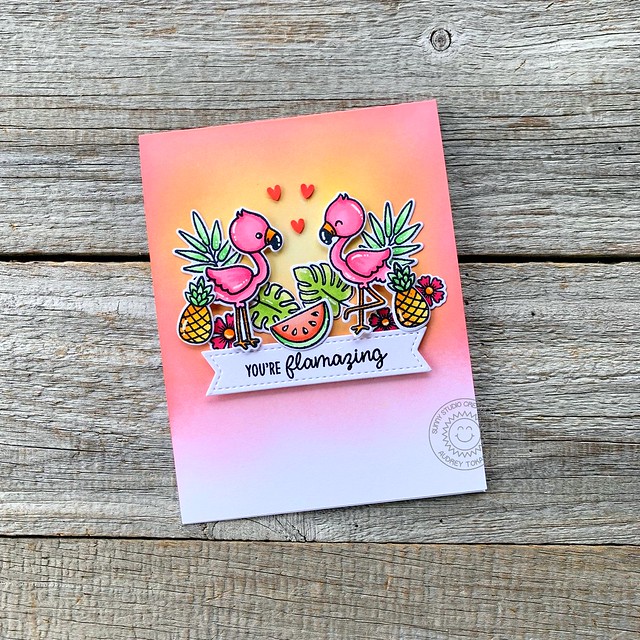
Hello friends!  Today, I have a card to share with you using one of my favorite Sunny Studio stamp sets, Fabulous Flamingos!  I love the images in this set so much.  Flamingos are one of my favorite animals, and although I've had this set for awhile, this is the first time I am getting to use it!  To create this card, I started off by ink blending a tropical sky background directly onto an A2 white card base using Distress ink in Salt Water Taffy and Squeezed Lemonade.  I concentrated the yellow in the center, then overlapped the Saltwater Taffy and blended the ink softer as I worked down the panel, eventually fading into white.  Then, I stamped and colored several images from the Fabulous Flamingos stamp set with copic markers and diecut them with the coordinating Fabulous Flamingos Dies.  

SS Fabulous Flamingos


I arranged my scene, gluing some image down with glue pen and popping some up with foam tape for extra dimension.  Underneath the scene, I placed a white banner diecut stamped with a sentiment from the set.  To finish off my card, I added some white gel pen accents and a trio of tiny clay hearts.


SS Fabulous Flamingos

That's all for me today!  Thanks so much for stopping by! :)

Friday, April 8, 2022

Reverse Confetti April Creative Hop!


Hello there!  It's the the 8th of the month, and that means a Reverse Confetti Blog Hop!  Today, we have a special surprise for you!  It's time for our spring sale!  From April 8-10th, 2022, get 20% off of your order in the Reverse Confetti Store using code SPRING.  Shop early for the best selection! ;)


My project today is extra spring-y!  I pulled out my new Reverse Confetti favorite, Hello Daisy to create a bright pastel bouquet.  To create this card, I started off by watercoloring a piece of watercolor paper cut to 4" x 5.25".  I added a wash of color using Saltwater Taffy Distress Ink.  Then, I stamped and colored the large bouquet from Hello Daisy with copic markers in shades of coral, yellow, periwinkle and spring green.  I diecut it with the coordinating Hello Daisy Confetti Cuts dies, and before adding it to the watercolor panel, I added a strip of polka dot patterned paper from the Darling Dots 6x6 paper pad.

Reverse Confetti April Blog Hop

I stamped the large "hello" from the Hello Daisy stamp set in black ink and diecut it with the coordinating die, then diecut twice more from white cardstock.  I glued all of the diecuts together with a glue pen for some added dimension without having to use foam tape.  Then, before popping it up on an A2 card base, I added a strip of black and white washi tape to the left edge of the card base to pull in just a little bit more black.  To finish off this card, I added some white gel pen accents.

Reverse Confetti April Blog Hop

Be sure to hop along to see what the rest of the team and our special guests have to share with you and don't forget to take advantage of the great spring sale! :)

Sunny Studio Stamps - Little Birdie


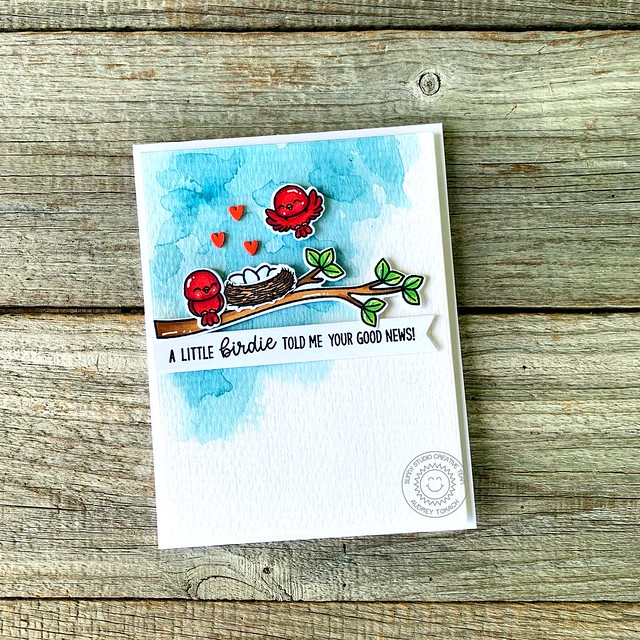
Hello friends! I am here with a sweet card using the adorable Little Birdie stamp set from Sunny Studio Stamps!  To create this card, I started off by watercoloring a piece of watercolor paper cut to 4" x 5.25" with Broken China Distress ink.  I added several layers of color, drying each layer with a heat tool before adding the next.  I concentrated the color to the top left of the panel knowing that I wanted to keep my scene in that space.  I stamped and colored several images from the Little Birdie stamp set, and diecut them with the coordinating Little Birdie dies. 

Sunny Studio Little Birdie

Then, I stamped a sentiment from the set on a diecut banner and popped everything up with foam tape.  The panel was popped up on an A2 card base.  To finish off this card, I added a few tiny clay hearts and some white gel pen accents.

Sunny Studio Little Birdie

That's all for me today!  Thanks for stopping by! :)

Friday, April 1, 2022

Sunny Studio Stamps - Cherry Blossoms


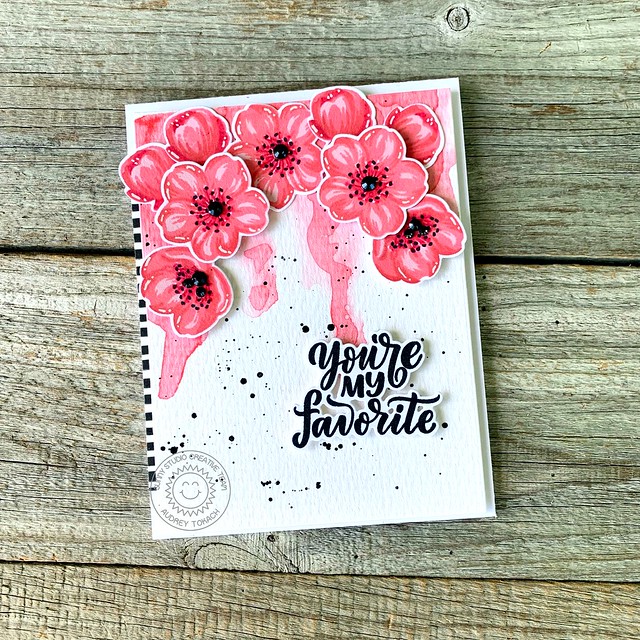
Hello friends!  Today, I have a card to share with you using the Cherry Blossoms stamp set from Sunny Studio Stamps.  To create this card, I started off with a piece of watercolor paper cut to 4" x 5.25".  I used Worn Lipstick Distress ink to watercolor a drippy background on the panel, concentrating most of the color at the top, then I tipped the panel on end and allowed the color to run down the panel a bit.  When I was happy with the placement, I hit it with my heat tool to dry the watercolor and leave hard edges.  Then, I added a splattering of black watercolor.  I stamped several of the Cherry Blossoms in shades of pink and coral and diecut them with the coordinating Cherry Blossoms dies.  

Sunny Studio Cherry Blossoms

I arranged them at the top of the panel and glued some down with a glue pen and popped others up with foam tape.  I stamped a sentiment from the Lovey Dovey stamp set in black ink and diecut it with the coordinating Lovey Dovey dies. I popped the sentiment up with foam tape, then popped the panel up on an A2 card base.  I added a strip of black and white washi tape to the left edge of the card base, and added Onyx Black Crystals to the front most flower centers.  Finally, I added some white gel pen accents to each of the blooms.

Sunny Studio Cherry Blossoms

That's all for me today!  Thanks for stopping by! :)

Friday, March 18, 2022

Sunny Studio Stamps - Paris Afternoon


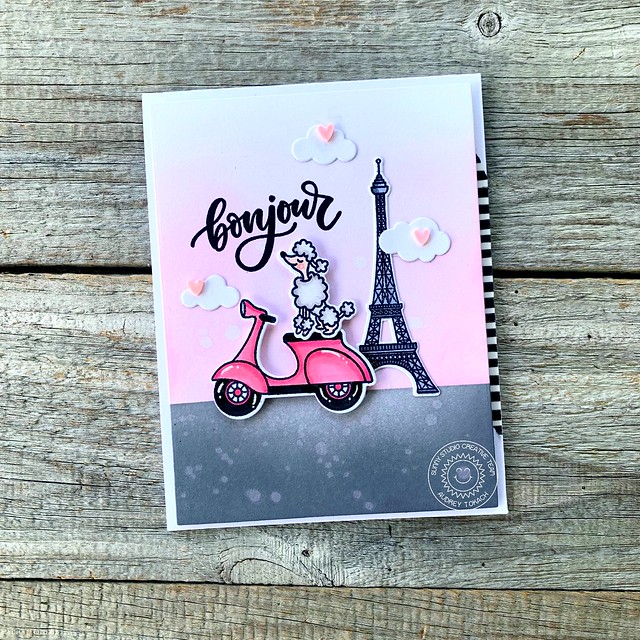
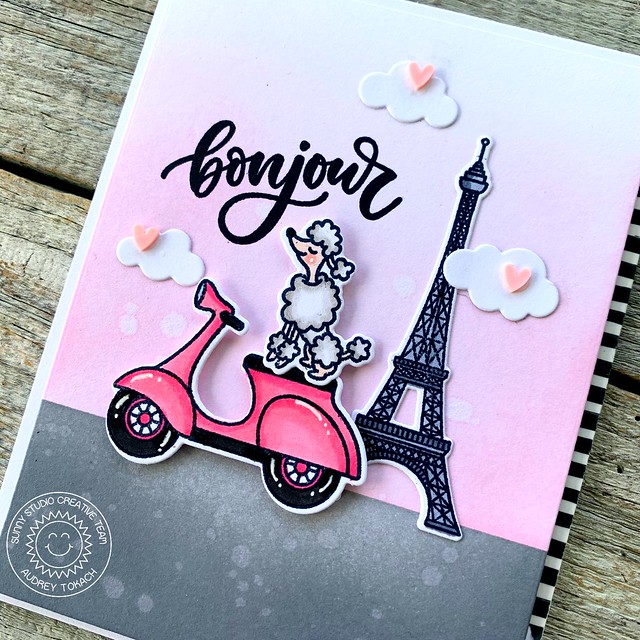
Hello friends!   My card today uses the adorable Paris Afternoon stamp set from Sunny Studio Stamps, paired with the fun Critters on the Go stamp set!  I just love mixing and matching sets to stretch my stamps and create new and different scenes.  To create this card, I started off by masking off the bottom 1/3 of a white card panel cut the 4" x 5.25".  I blended above the mask with Spun Sugar Distress ink, and flipped the mask and inked below it with Hickory Smoke Distress ink.  I splattered on clean water to bleach out some spots and add more interest.  Then, I stamped the Eiffel Tower and one of the poodles from Paris Afternoon, and one of the scooters from Critters on the Go.  Everything was colored with Copic markers and diecut with the coordinating dies.  

SS Paris Afternoon

To fill the sky above the scene, I stamped a sentiment from Paris Afternoon, and added a trio of clouds using the Comic Strip Every Day dies.  Before mounting it to an A2 card base, I added a piece of striped washi tape to the right edge.  To finish off the card, I added some white gel pen accents and some tiny clay hearts.

SS Paris Afternoon

That's all for me today!  Thanks for stopping by! :)

Friday, March 11, 2022

Sunny Studio Stamps - Critters on the Go


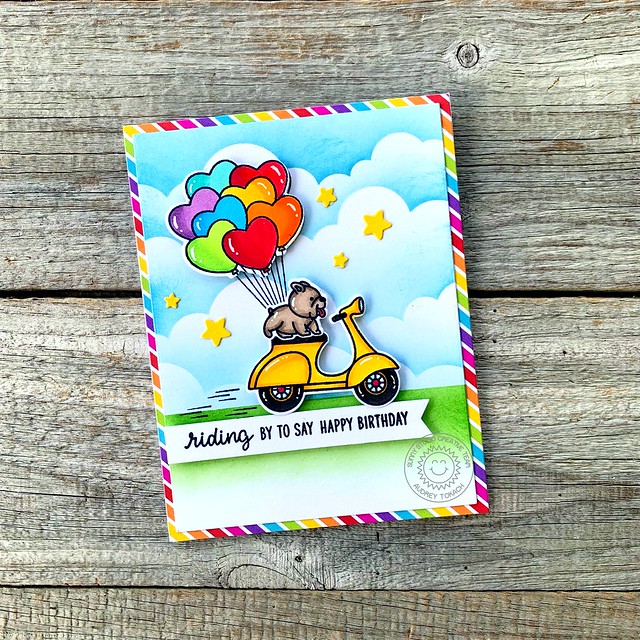
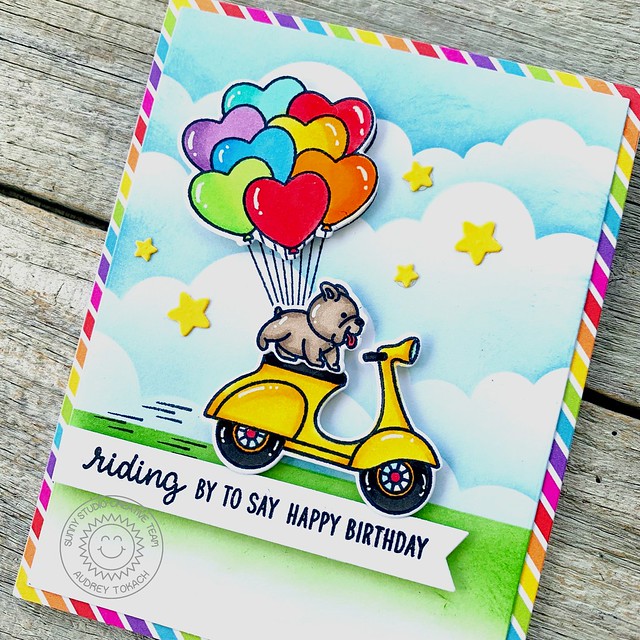
Hello Friends! I am here to share a bright and happy birthday card using products from Sunny Studio Stamps.  To create my card, I started off with a piece of white cardstock cut to 4" x 5.25". I masked off the bottom 1/3 of the panel and used a cloud stencil from my stash along with some Broken China Distress ink to add some clouds to my sky.  Then, I reversed the mask and used some Mowed Lawn Distress ink to add some grass to the panel.  I stamped and colored the little dog and one of the scooters from Critters on the Go and diecut them with the coordinating Critters on the Go dies.  

SS Critters on the Go

I knew I wanted to make this a birthday card, so I pulled out the Heart Bouquet stamp set and colored the balloons in a bunch of bright colors, then diecut them with the Heart Bouquet dies.  I stamped a sentiment from Critters on the go onto a white banner die cut, and popped that up under the little scene.  To finish off the card, I added some white gel pen accents and a scattering of yellow stars die cut using the Basic Mini Shapes II dies.  Finally, I mounted the panel on a piece of fun striped paper from the Rainbow Bright 6x6 paper pad.

SS Critters on the Go

That's all for me today!  Thanks for stopping by! :)

Tuesday, March 8, 2022

Reverse Confetti Release Day & Blog Hop!


Hello there!  It's the 8th of the month, and that means that all of the fun goodies we have been sharing with you over the last few days are available for purchase in the Reverse Confetti store and at your favorite retailers!  If you shop in the RC store, and spend $60, you get a free gift with purchase!  Dot to Dot can be added to your cart after that amount has been added to your cart.  It's such a fun set!


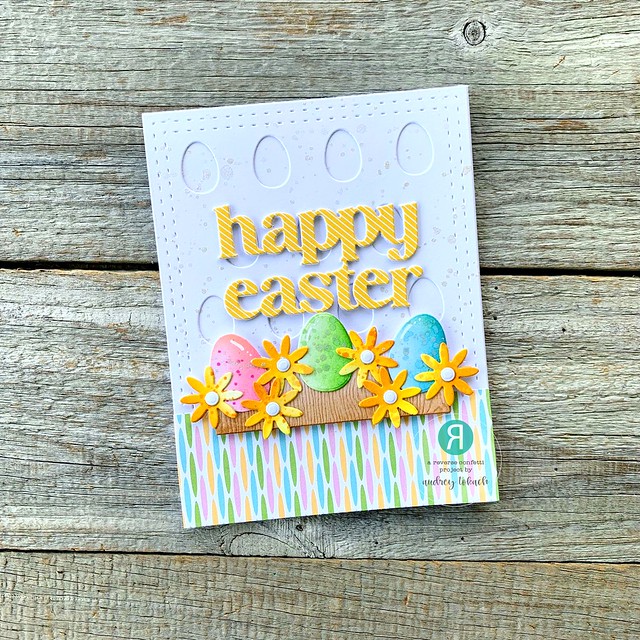
My card today uses the new Eggstra Cover Panel and the new Easter Cover Panel.  I started off with a white A2 card base.  Over top of that, I added the Eggsta Cover Panel cut from whtie cardstock.  I splattered both laters with white pearl watercolor.  Then, I added a strip of patterned paper to the bottom of the card base to have something for my egg box to sit on.  I diecut the egg box from the Easter Cover Panel from woodgrain cardstock and inked it with Vintage Photo distress ink.  Then, I diecut the flowers and eggs all from white cardstock and inked them with Picked Raspberry, Mowed Lawn, Peacock Feathers and Wild Honey Distress ink before assembling the egg box.

 March 8 - Blog Hop1

I popped the egg box up with foam tape, and diecut the Happy Easter sentiment from the Easter Cover Panel four times.  Once from patterned paper and three times from white cardstock, then glued them together for dimension.  To finish off this card, I added some white gel pen accents to the eggs.

March 8 - Blog Hop2

That's all for me today!  Be sure to hop along to see what the rest of the Confetti Crew and our special guests have to share with you today!!  Thanks so  much for stopping by! :)


BLOG TEMPLATE BY DESIGNER BLOGS