Tuesday, March 20, 2018

Lawn Fawn Inspiration Week: Mini Picture Frames


Hello there!  Welcome to another day of Lawn Fawn inspiration week!  Today, the team is showcasing the Mini Picture Frames dies and the Gotta Have Gingham patterned paper collection.  I have used the Gotta Have Gingham papers a lot in my previous projects, and today, my project focuses on the Mini Picture Frames!

To create my card, I started off with an A2 card base cut from white cardstock.  Then I diecut four of the square Mini Picture Frames from white cardstock as well.  I added color to the frame inserts using different colors of distress inks.  Then I pulled out my Life Is Good stamp set, and my Ahoy Matey stamp set, and colored several images with copic markers which I then diecut with the coordinating Life Is Good Dies and Ahoy Matey Dies.  I popped those pieces up on the squares with foam tape, and stamped a sentiment from the new Simply Sentiments stamp set underneath.  Then I added some white gel pen accents as a final touch.
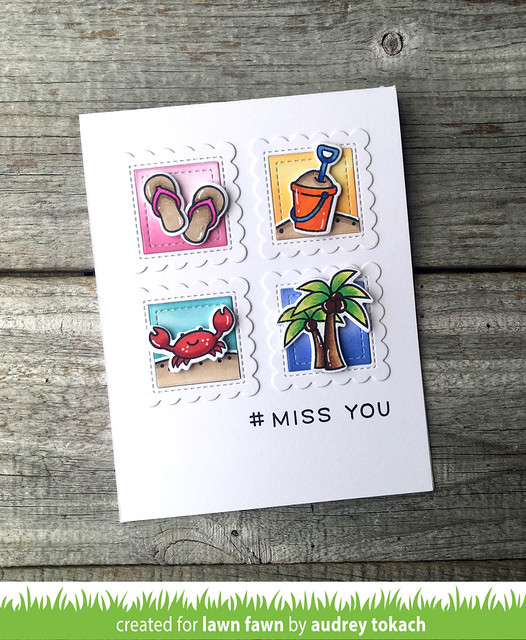
Mini Picture Frames

That's all for me today, but be sure to visit the Lawn Fawn blog for lots more inspiration from the design team, and come back tomorrow because I have more to share with you!!

Thanks for stopping by! :)

Monday, March 19, 2018

Lawn Fawn Inspiration Week: Simply Celebrate


Hello there!  Welcome to another day of Lawn Fawn inspiration week!  Today, the design team is showcasing the cute new border set, Simply Celebrate!

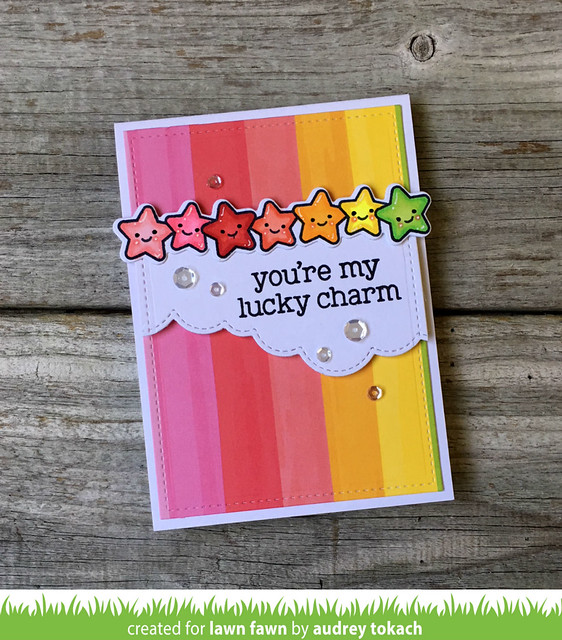
To create my card, I started off with a white card base.  I cut a piece of Really Rainbow patterned paper with the Small Stitched Rectangles Stackables, slightly smaller than the card base to allow for a 1/8" border around the edge.  I stamped and colored the star border from Simply Celebrate with copic markers and diecut it with the coordinating Simply Celebrate dies.  Then I diecut the new Cloudy Hillside Pop Up Add on dies from white cardstock, and ran it through my diecut machine again with the Stitched Rectangles die to add a stitched edge.  I stamped a sentiment from the Lucky Charm stamp set onto the cloud diecut, and adhered the star border along the top edge of the cloud before popped the entire piece up with foam tape.  To finish things off, I added a scattering of sequins and some white gel pen accents.

Simply Celebrate_ReallyRainbow


That's all for me today, but be sure to visit the Lawn Fawn blog for lots more inspiration from the design team!  Hope you will join me again tomorrow as Lawn Fawn inspiration week continues!

Thanks for stopping by! :)

Sunday, March 18, 2018

Lawn Fawn Inspiration Week: Happy Village


Hello there!  Welcome to another day of Lawn Fawn inspiration week!  Today, the design team is featuring the new set, Happy Village!

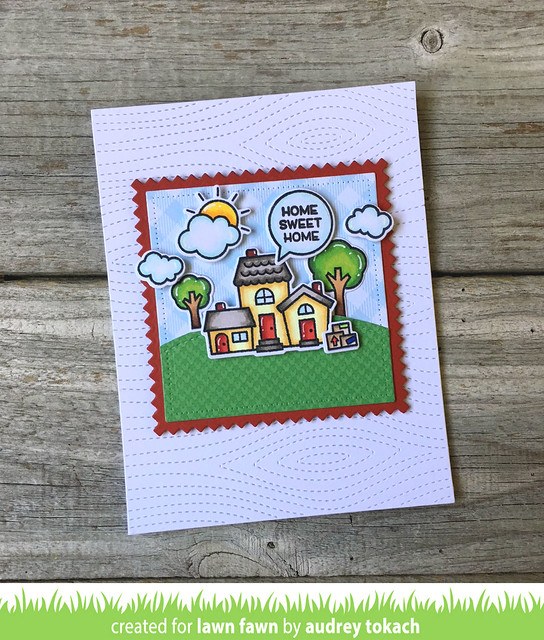
To create my card, I started off with a white A2 card base.  On top of that I added a panel that was diecut using the Stitched Woodgrain Backdrops die.  I pulled out my Zig Zag Squares Stackables, cut one from Chili Pepper cardstock.  On top of that, I added a Dotted Square Stackable cut from blue Gotta Have Gingham patterned papers, with a Knit Picky Simple Stitched Hillside Border.  I stamped and colored images from Happy Village with my copic markers and then diecut them with the coordinating Happy Village dies.  I glued some pieces of my scene down with the Glue Tube, and popped others up with foam tape, and then popped the square panel up in the center of the card front.  To finish things off, I added some white gel pen accents.

Happy Village

That's all for me today, but be sure to visit the Lawn Fawn blog for lots  more inspiration from the design team!  Hope to see you again tomorrow!!

Thanks for stopping by! :)


Saturday, March 17, 2018

Lawn Fawn Inspiration Week: Peekaboo Backdrop


Hello there!  It's Lawn Fawn inspiration week, and today, I have a card to share with you using the new Peekaboo Backdrop die and a few other goodies from the new Lawn Fawn release!

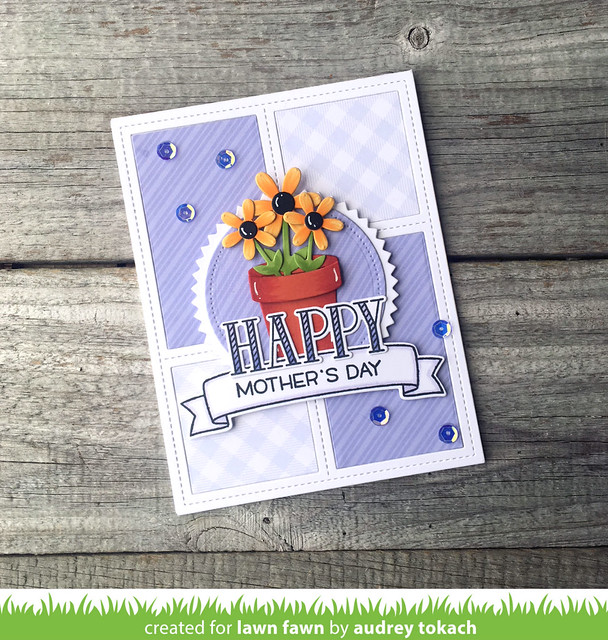
To create my card, I started off with an A2 card base.  I diecut the Peekaboo Backdrop from white cardstock, and again from patterned papers from the Really Rainbow and Gotta have Gingham collections.  I adhered the white frame with the Lawn Fawn Glue Tub, and added the patterned papers inside each window.  Then, I used the Zig Zag Circles to diecut a pinked edge circle from white cardstock, and a Dotted Circle Stackables cut from Really Rainbow paper.  I popped the layered circles up with foam tape, and then diecut some Little Flowers from various shades of cardstock, which I shadowed with Copic Markers.  For my sentiment, I pulled out my Happy Happy Happy stamp set and Bannertastic stamp set and colored everything in shades of BV Copics to coordinate with the patterned papers.  To finish things off, I added some white gel pen accents and a scattering of iridescent sequins.

Peekaboo Backdrop

That's all for me today, but be sure to visit the Lawn Fawn blog to see lots more inspiration from the design team, and come back tomorrow because I have another project to share with you as Lawn Fawn inspiration week continues! :)

Thanks for stopping by!! :)

Friday, March 16, 2018

Lawn Fawn Inspiration Week: Beam Me Up


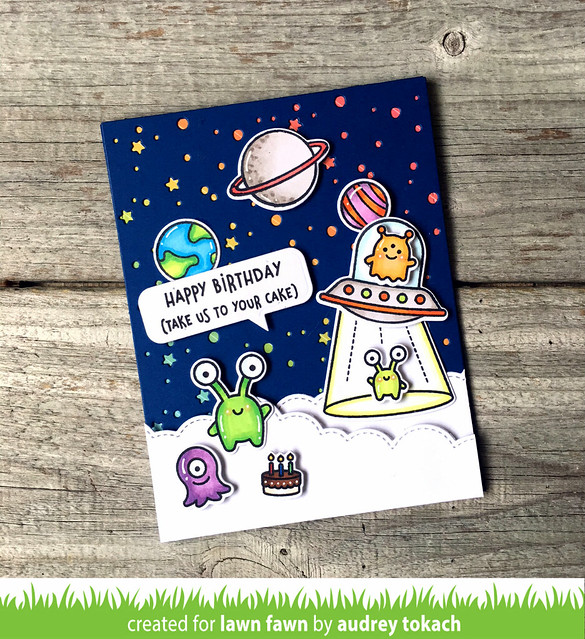
Hello there!  It's Lawn Fawn inspiration week!  I can't wait to share all of my projects with you!  Today, the design team is showcasing one of my favorite sets from the new release, Beam Me Up!  To create my card, I started off with an A2 card base.  On top of that , I adhered a piece of Really Rainbow patterned paper.  Then, I used the Snowy Backdrop die cut from Bluejay cardstock to create a night sky.  I used the new Cloudy Hillside PopUp Add On dies to give my aliens a soft place to land.  Then, I stamped and colored images from the new Beam Me Up stamp set, along with images from the previously released Out of This World stamp set.  These sets go amazingly well together!  I popped everything up with foam tape, including my sentiment, which I from the Beam Me Up stamp set, and stamped onto a new Speech Bubbles diecut.  Finally, I added some white gel pen accents to finish off my card.

Beam Me Up

That's all I have to share with you today!  But be sure to check out the Lawn Fawn blog for lots more inspiration from the design team!  I hope you will stop in tomorrow as I have another project to share with you!

Thanks for stopping by! :)

Friday, March 9, 2018

More Tall Blooms {Reverse Confetti}


Hello there!  I have another project to share with you using the new release from Reverse Confetti which is available NOW!!

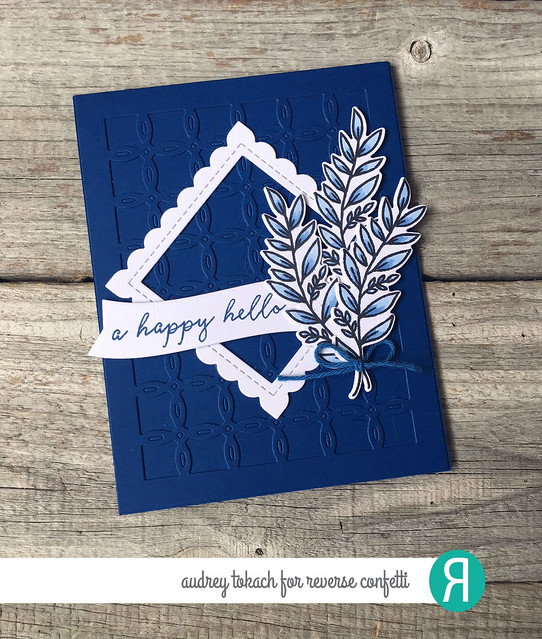
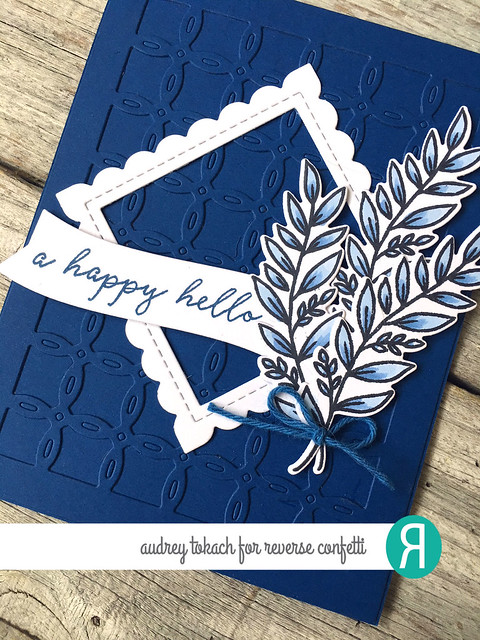
My card today uses the new Tall Blooms stamp set.  To create my card, I started off with an A2 card base cut from Navy cardstock.  On top of that I added a tone on tone layer using the Linked Circles Cover Panel Confetti Cuts.  I used the smaller square in the Scalloped Squares Confetti Cuts die set and cut a square from Premier Polar White cardstock, and glued it on an angle on the card front using a glue pen.  I stamped and colored one of the images from Tall Blooms three times and diecut them with the coordinating Tall Blooms Confetti Cuts dies.  Then, I stamped a sentiment from Tall Blooms in Navy ink on a banner diecut from the Flowers For Mom Confetti Cuts die set.

Tall Blooms Blue 1

I mentioned the other day that I am loving blue leaves lately and this card reminds me so much of dishes that my grandmother had when I was a little girl.  What were they called?  Was it Willow Ware?  Funny how certain things trigger wonderful memories :)

Tall Blooms Blue 2

That's all for me today!!  Thanks so much for stopping by!! :)


Thursday, March 8, 2018

Reverse Confetti March Blog Hop!


Hello hello!  It's Reverse Confetti release day!  That means that all of the amazing new products that we have been sharing with you over the last few days are available NOW in the Reverse Confetti Store and at all of your favorite retailers!!


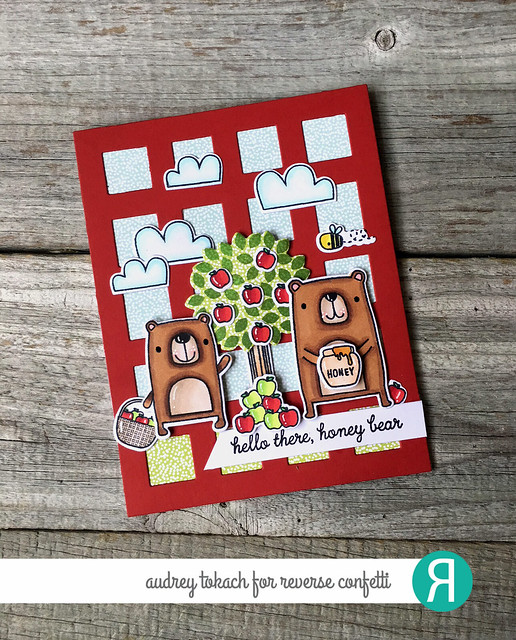
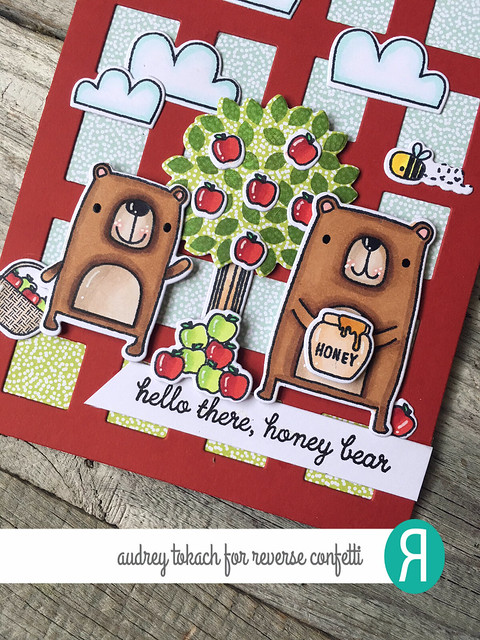
The card I have to share with you today features the new Honey Bear stamp set!  I LOVE that going forward, all of the stamp sets designed by Dawn Machell for Reverse Confetti will be 4x6 sets instead of 4x4 sets.  Yay!!  To create my card, I started off with an A2 card base which I covered with two different patterns from the new Fun Times paper pad.  Over top of that, I diecut the previously released Squared Off Cover Panel Confetti Cuts cut from Salsa cardstock.  I stamped several images from Honey Bear on Premier Polar White cardstock and colored them with Copic Markers.  For the tree, I stamped the leaves in Grass ink on the same patterned paper as I used at the bottom of my card and diecut everything with the coordinating Honey Bear Confetti Cuts dies.

Honey Bear

I added some white gel pen accents, and stamped a sentiment from Honey Bear onto a strip of Premier Polar White cardstock, which I then cut on an angle.


BLOG TEMPLATE BY DESIGNER BLOGS