Showing posts with label SugarPea Designs. Show all posts

Thursday, July 16, 2020

Lots of Happy {SugarPea Designs}

Hello there! I have a fun card to share with you today using products from SugarPea Designs!  This was my first time trying this technique but it won't be the last!  It's so fun and relaxing to do!

I started off with a piece of white cardstock cut to 4" x 5.25".  I used the Leaf Canopy Stencil and Shabby Shutters Distress Oxide ink to create a leaf patter, in the top left corner of the panel, white I faded into white.  Then, I used colored pencils to add shading to the leaves and make them pop off the panel.  This is was easy to do, and it really makes a huge difference!
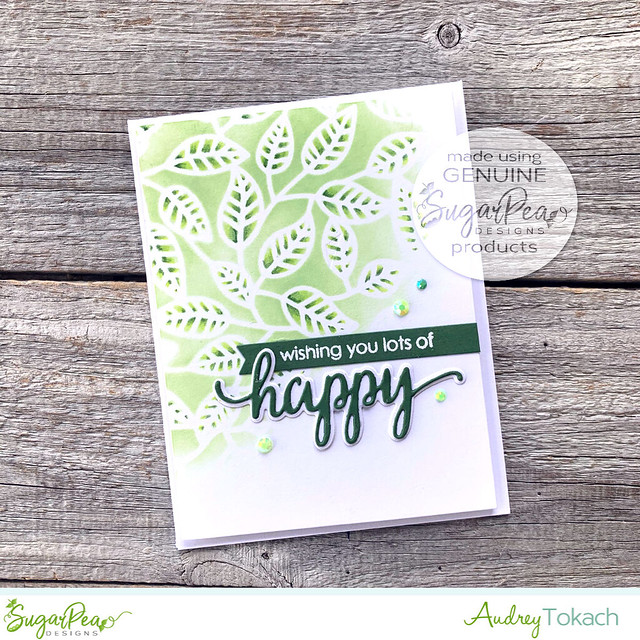
Lots of Happy

I used the Happy Thoughts stamp set, and the coordinating Happy Word SugarCuts for the sentiments on my card.  I diecut the Happy Word from dark green cardstock and mounted it on a white shadow, then heat embossed the sentiment from the Happy Thoughts on dark green cardstock with white embossing powder.  I over lapped the diecuts to pull the sentiment together, and added a scattering of green gems before popping the panel up on a white A2 card base.
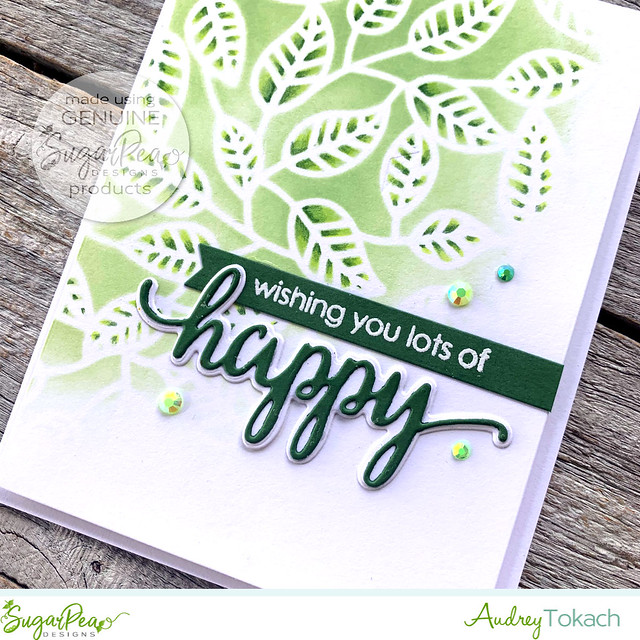

Lots of Happy

That's all for me today!  Thanks so much for stopping by! :)

Wednesday, July 8, 2020

SugarPea Designs July Mix It Up Challenge

Hello and welcome to our monthly Mix It Up challenge at SugarPea Designs! You have all month to play along with us.  Remember the more times you play along during the month using SugarPea Designs product, the better chance you have of winning a $50 gift certificate to our store!

Here is this month's Mix it Up Challenge!


To play along, make a project using just the inspiration, just the sketch or Mix it Up and use both! It is totally up to you!

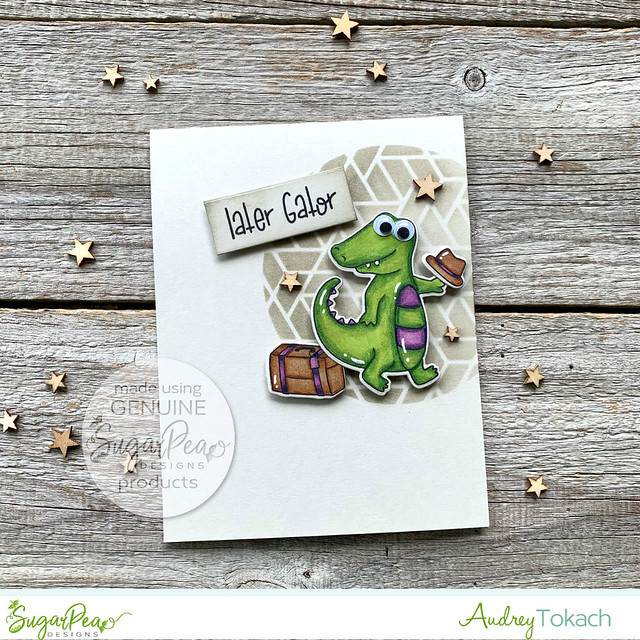
Here is my take on the challenge. I used both the sketch and the color palette.  I started off with a piece of light grey cardstock cut to an A2 card base.  I masked off a circle and used the Geo Tri Hex Stencil and some Pumice Stone Distress Ink to create the focal point for my card.   I stamped and colored the adorable alligator from the Later Gator stamp set, along with a few accessories from the stamp set.  They were colored with colored pencils on the same light grey cardstock, and diecut with the coordinating Later Gator Sugar Cuts.


Later Gator 

I arranged the pieces to create my little scene, and popped everything up with foam tape.  A sentiment from the set was stamped on a scrap of matching cardstock and also popped up with foam tape.  I added some tiny wood stars, google eyes, and white gel pen accents to finish off my card.


Later Gator

That's all for me!  Thanks so much for stopping by! :)

Wednesday, June 10, 2020

June Mix It Up Challenge {SugarPea Designs}

Hello there!  Today, I have a card to share with you for the June Mix It Up Challenge at SugarPea Designs!


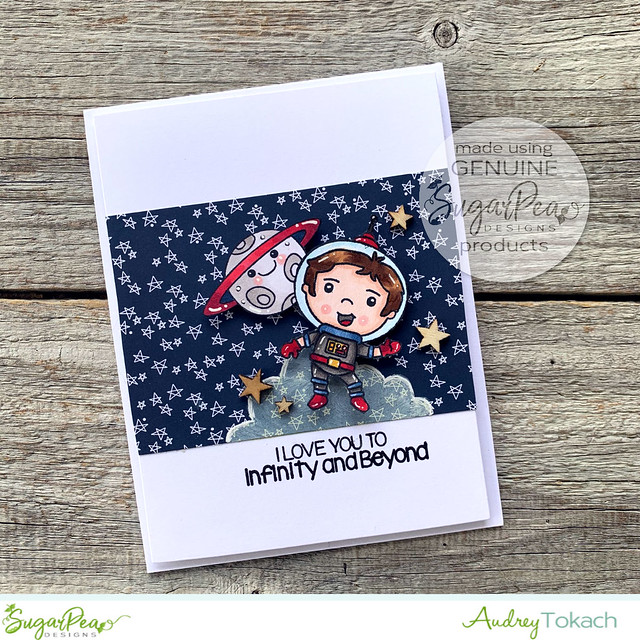
This time, I used the card sketch only.  I started off with a piece of white cardstock, cut 4" x 5.25".  I added a strip of patterned paper from my stash in the center of the panel.  Then, I used the largest cloud on the Outdoor Scene Builder Stencil and some white pigment ink to add a cloud for my little astronaut to stand on.  I outlined the cloud with a white gel pen.  I stamped and colored one of the astronauts and one of the planets from the To Infinity and Beyond stamp set, and fussy cut them with my scissors.  Then, I stamped a sentiment from the set below my focal point, and added some tiny wood stars and white gel pen accents before popping the panel up on an A2  card base.

June Challenge

That's all for me today! I  hope you will play along with the challenge!  All of the details can be found on the SugarPea Designs blog!

Thanks for stopping by! :)

Thursday, June 4, 2020

Mermaid Kisses {SugarPea Designs}

Hello there!  I have a fun card to share with you today using adorable products from SugarPea Designs!  I just love the Mermaid Kisses stamp set, and it pairs just perfectly with the Wave Stencil.  I love using them together!

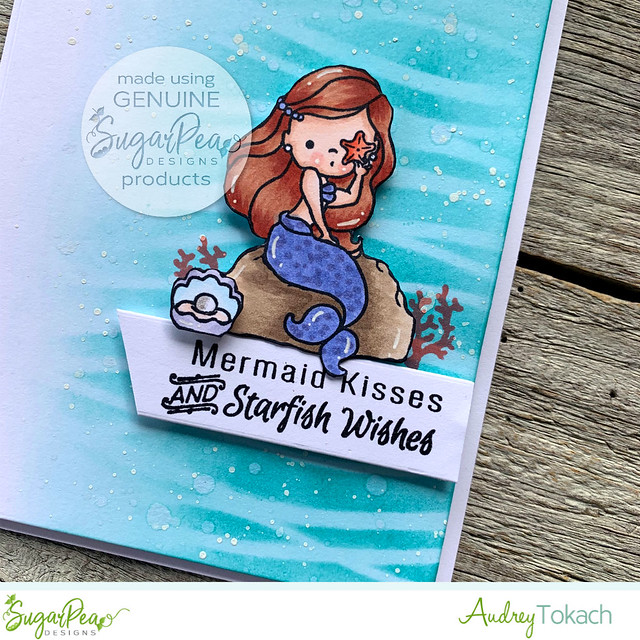
To create my card, I started off with a piece of white cardstock cut to 4" x 5.25".  I used the Wave Stencil and some Peacock Feathers Distress ink to add a pattern to the right side of the panel, fading off into white on the left.  After I removed the stencil, I went over the piece again with the ink that was left on my blending tool to soften the white areas left from the stencil.  I splattered on some clean clear water to bleach out some areas, and splattered on some watered down white acrylic paint to add some interest to the background.  I think the white paint looks like bubbles.

Starfish Wishes 1

I stamped and colored one of the images from Mermaid Kisses and fussy cut it using my scissors, along with the cute little oyster from the set.   Before popping then up with foam tape, I stamped the coral image from the set in Abandoned Coral Distress Oxide ink, and stamped a sentiment from the set on a white hand cut banner, which was used to ground the image.  I popped the panel up on a white A2 card base, and added some white gel pen accents to finish off the card.

Starfish Wishes 2

That's it for me today!  Thanks so much for stopping by! :)

Friday, May 22, 2020

SugarPea Designs Release Day!


Are you ready for a SUGAR RUSH?! The day we have all been waiting for is finally here!  Have you made your list? You’ve been waiting all week to bring home these new goodies and today at 2 PM EST will be your chance to be one of the FIRST to get to play with all of the NEW and amazing paper crafting goodness. But while we wait for those hours to tick by we have a little more to share with you today.

The card that I have to share with you today uses the new Happy Thoughts stamp set and Happy Word SugarCuts die. To create my card, I started off with a piece of cardstock cut 4" x 5.25". I used the Geo Tri Hex Stencil along with my Distress Inks in Picked Rasperry, Mustard Seed and Peacock Feathers to create a geometric rainbow pattern on part of the panel. I diecut the Happy Word from black cardstock and mounted it on a white shadow, also included in the die set, then used the Happy Thoughts stamp set to complete my sentiment. To finish off the card, I added a scattering of iridescent gems in coordinating colors, then popped the panel up on an A2 card base.

Happy


Be sure to visit the SugarPea blog and see what the the rest of the team has to share with you.  Comment along the way for a chance to win!

Would you like to win a $50 Gift Voucher to our store? Leave a comment below for your chance to win. TWO lucky commenters will be randomly selected from the Sweet Peek Week comments to win a $50 Gift Voucher! Winners will be announced on our blog: Monday, May 25th

Thanks so much for stopping by! :)

Thursday, May 21, 2020

Sweet Peek Week - Day 4: Floral Envie & Handwritten Letter


Hello there!  Welcome to day 4 of Sweet Peek Week with SugarPea Designs!  Today, we are showing off the new Floral Envie and Handwritten Letter Stamp sets!

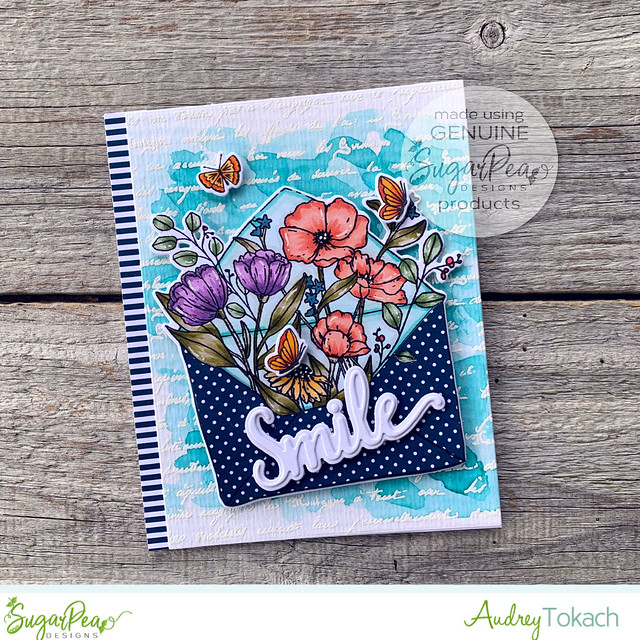
To create my card, I started off my heat embossing the Handwritten Letter image on watercolor paper with white embossing powder. Then, I watercolored over the text with shades of blue distress ink.  I stamped the main image from the Floral Envie stamp set and colored it with Copic Markers.  I paper pieced the envelope and cut it out with the coordinating Floral Envie Sugar Cuts dies, then diecut the Smile diecut and shadow from white cardstock and layered them.  Tiny butterflies from the set are popped up with foam tape, and I added some white gel pen accents and a strip of striped paper to the left edge of the cardbase.

Floral Envie


Would you like to win a $50 Gift Voucher to our store? Leave a comment below for your chance to win. TWO lucky commenters will be randomly selected from the Sweet Peek Week comments to win a $50 Gift Voucher! Winners will be announced on our blog: Monday, May 25th

Be sure to visit the SugarPea Designs blog for more details and check out what the rest of the team has to share with you!  Release day is tomorrow!! :)

Thanks for stopping by!!

Wednesday, May 20, 2020

Sweet Peek Week - Day 3: Happy Little Trees


Hello hello!  I'm back again with another project to share with you for day 3 of Sweet Peek Week with SugarPea Designs!  All of the new goodies that we are sharing this week will be available on Friday, May 22nd!

My project today uses the adorable new Happy Little Trees and coordinating Happy Little Trees SugarCuts dies.  To create my scene, I used my Distress Oxide inks and the new Outdoor Scene Builder Stencil.  I stamped and colored images from Happy Little Trees, and diecut them with the coordinating dies.  I stamped a sentiment from the set on a white cardstock strip, and popped everything up with foam tape.  Before mounting it on an A2 card base, I added a strip of patterned paper for some added interest.  Finally, I added some white gel pen accents.

Happy Little Trees


Be sure to visit the SugarPea Designs blog to see what the rest of the team has to share with you and comment along the way for your chance to win our giveaway!


Would you like to win a $50 Gift Voucher to our store? Leave a comment below for your chance to win. TWO lucky commenters will be randomly selected from the Sweet Peek Week comments to win a $50 Gift Voucher! Winners will be announced on our blog: Monday, May 25th

Thanks so much for stopping by!  See you tomorrow! :)

Tuesday, May 19, 2020

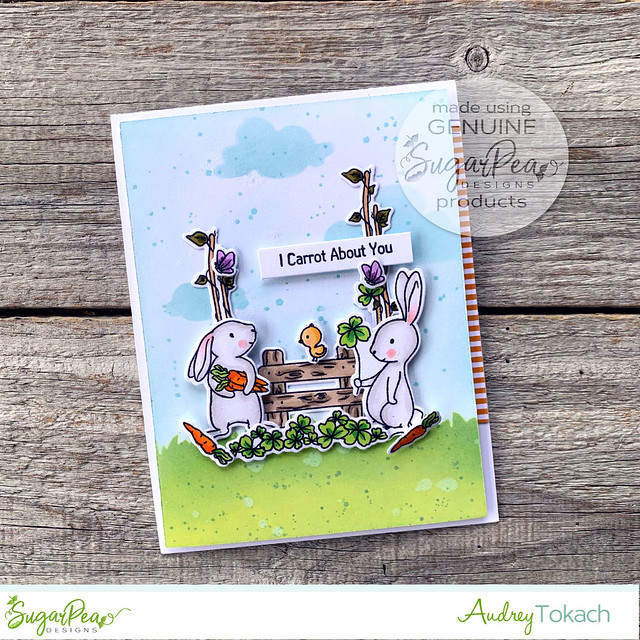
Sweet Peek Week - Day 2: Cottontail Cuties


Hello hello!  Welcome to day 2 of Sweet Peek Week at SugarPea Designs!  Today, we are showing off the adorable new Cottontail Cuties stamp set and coordinating dies along with the fun new Outdoor Scene Builder Stencil, available this Friday, May 22!

To create my card, I started off with a white cardstock panel cut 4" x 5.25".  I used the Outdoor Scene Builder Stencil to stencil in the grass and clouds on the panel using shades of blue and green Distress Oxide inks.  I added some splatters of ink and clean clear water to bleach out some areas of the background.  Then, I stamped and colored several images from the Cottontail Cuties stamp set, and diecut them with the Cottontail Cuties SugarCuts dies.  I arranged them on the panel, and adhered some with a glue pen and popped some up with foam tape.  A sentiment from the set was stamped on a strip of white cardstock and popped up as well.  To finish off my card, I added some white gel pen accents, along with a strip of striped patterned paper to the edge of an A2 card base before popping the panel up.

Cottontail Cuties


Would you like to win a $50 Gift Voucher to our store? Leave a comment below for your chance to win. TWO lucky commenters will be randomly selected from the Sweet Peek Week comments to win a $50 Gift Voucher! Winners will be announced on our blog: Monday, May 25th!

Be sure to stop by the SugarPea blog to see what the rest of the team has to share with you today and stop back by tomorrow because I have another project to share with you! :)

Thanks so much for stopping by!

Monday, May 18, 2020

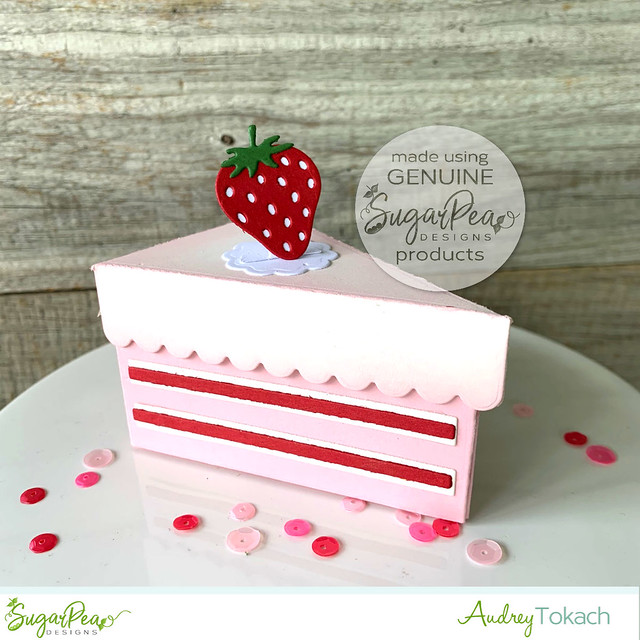
Sweet Peek Week - Day 1: Piece of Cake


Hello there!  Today, Sweet Peek Week starts over at Sugar Pea Designs!  The team is showing off the adorable new Piece of Cake Box!  This cute little treat box would make a great party favor or place setting for a special occasion or you could make several and have yourself an entire cake!

To create my strawberry shortcake favor box, I cut the cake slice from light pink cardstock, and added to "layers" of strawberry filling using red and ivory cardstock.  The icing on the cake was cut from ivory cardstock and inked around the edges with Spun Sugar Distress Oxide ink.  I cut the adorable little strawberry from the set from red and green cardstock and backed the strawberry with white cardstock to make the strawberry seeds.  The berry was placed on a spot of whipped cream, also included in the die set.

Piece of Cake


Be sure to visit the SugarPea blog to see what the rest of the team has to share with you today and stop back by tomorrow because I have another fun project to share with you! :)

Thanks for stopping by! :)

Wednesday, May 13, 2020

Sugar Pea Designs Mix It Up Challenge #67

Hello there!  Today, I have a card to share with you for the SugarPea Designs Mix It Up Challenge for May!  I used three of the four colors in the challenge plus the sketch for my card.  You can use one or both of the images as your inspiration!


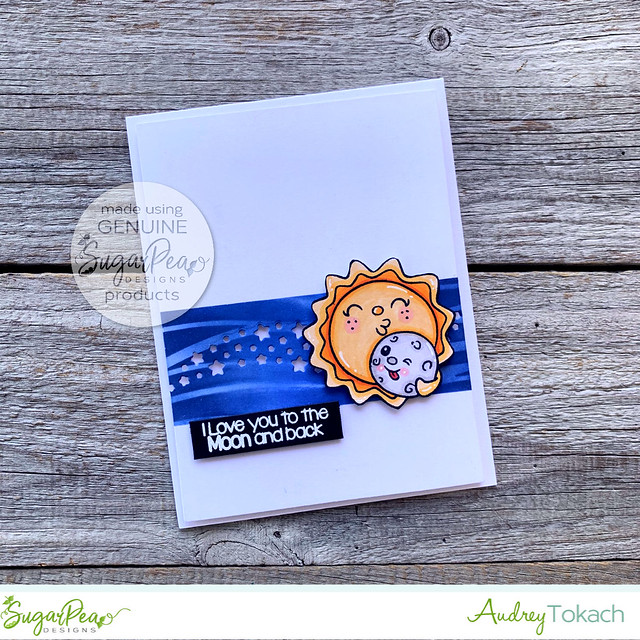
To create my card, I started off with a white panel, cut 4" x 5.25".  I masked off a strip on the bottom third of the panel, and used Blueprint Sketch Distress Oxide to ink over the Wave Stencil.  After I lifted the stencil, I went over the wave pattern again with a light inking of Blueprint Sketch to soften the pattern and blur the lines so that the Star Dust diecut would stand out.  I stamped and colored the adorable image from the Over the Moon stamp set, and fussy cut it with my scissors.  Then, I heat embossed a sentiment from the set in white embossing powder on black cardstock and popped it up along with the image.  I popped the panel up on a white A2 card base, and added some white gel pen accents to finish off my card.

To the moon and back


For more details on the challenge be sure to visit the SugarPea Designs blog!  We hope you will play along for a chance to win an awesome prize!


Thursday, May 7, 2020

Snappy Birthday! {SugarPea Designs}

Hello hello! Today, I have a card to share with you that I made for my son's 18th birthday, using the adorable Later Gator stamp set by SugarPea Designs!  In case you missed the post on instagram, I am now part of the SugarPea Designs design team and couldn't be more excited! :)

To create my card, I started off with a piece of white cardstock, cut to 4" x 5.25".  I masked off the bottom 2/3 of the panel, and used Squeezed Lemonade Distress Oxide ink and the Leaf Canopy stencil to add a subtle pattern on the panel.  Over top of that, I added more leaves using the Laurel Leaves stencil and some Mowed Lawn and Lucky Clover Distress Oxide inks.  I stamped and colored several images from the Later Gator stamp set with my Copic Markers, and then diecut them with the coordinating Later Gator SugarCuts dies.

I arranged the images to create a scene, and popped all of the pieces up with foam tape.  A sentiment from the same stamp set was stamped on a strip of white cardstock and popped up underneath the scene.  I added a strip of striped paper from the Spots and Stripes Brights patterned paper collection to the side of an A2 card base, then popped the panel up on top.  To finish off the card, I stamped a few of the tiny flies from the set and added glitter to their wings, and added a few white gel pen accents to the rest of the images.  The final touch was adding those adorable googly eyes to that super cute gator!  I think they make him look so playful!


Snappy Birthday


I truly hope you enjoyed the card that I shared with you today.  I had so much fun making it!  Thanks so much for stopping by! :)


Spots and Stripes Brights Paper Collection (retired)
BLOG TEMPLATE BY DESIGNER BLOGS