Wednesday, March 7, 2018

Countdown to Confetti - Day 3: My Sunshine


Hello there!  Welcome to day 3 of the Countdown to Confetti with Reverse Confetti!  All of the new release products that we are sharing with you over the next few days will be available in the Reverse Confetti store and at your favorite retailers on March 8th!


Today, the Reverse Confetti team is showcasing the new My Sunshine stamp set and coordinating My Sunshine Confetti Cuts dies.  This fun stamp set is filled with whimsical parts and pieces to create your own sunshine!  I started of by diecutting a piece of watercolor paper with the new Stitched Rays Cover Panel.  I colored every other ray with my Zig Clean Color Real Brush Pens, then blended the colors together with some clean clear water.  In the center of the sun burst, I added my sunshine.  I stamped the center of the sun and the skinny rays in Bumblebee ink, then diecut them with the coordinating dies.  Then I cut the larger set of rays from Bumblee cardstock, and layered everything together.  The center of the sun is popped up with foam tape, and the entire sun is popped up on the panel with foam tape.  I used the All Framed Up Confetti Cuts die to diecut a double frame from Premier Polar White cardstock and glued everything down to a white A2 card base.  To finish off my card, I added a scattering of yellow iridescent sequins.
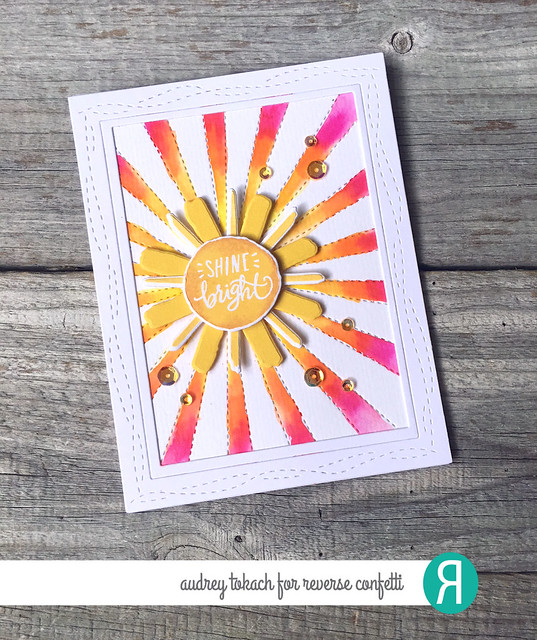
Shine Bright 1

Is it sort of difficult to tell in the photos, but I inked the very edges of the center of the sun with some Tangerine ink to add a little dimension and pull in some extra orange to coordinate better with the watercolored rays.  I really love the artsy feel of this sunshine!
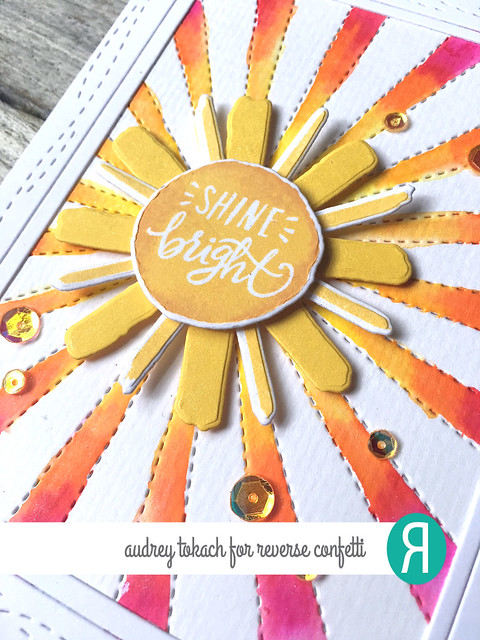
Shine Bright 2

Be sure to visit the Reverse Confetti blog, and also check out what the rest of the design team has to share with you!  This release is so great, and I can't wait to share the rest of my projects with you!!

Thanks so much for stopping by!


Tuesday, March 6, 2018

Countdown to Confetti - Day 2: Tall Blooms


Hello there!  Welcome to day 2 of the Countdown to Confetti with Reverse Confetti!  All of the new release products that we are sharing with you over the next few days will be available in the Reverse Confetti store and at your favorite retailers on March 8th!


Spring has sprung at Reverse Confetti!  The gorgeous new Tall Blooms is filled with large scale wildflower blooms, perfect for so many occasions!  They are so fun to color!!

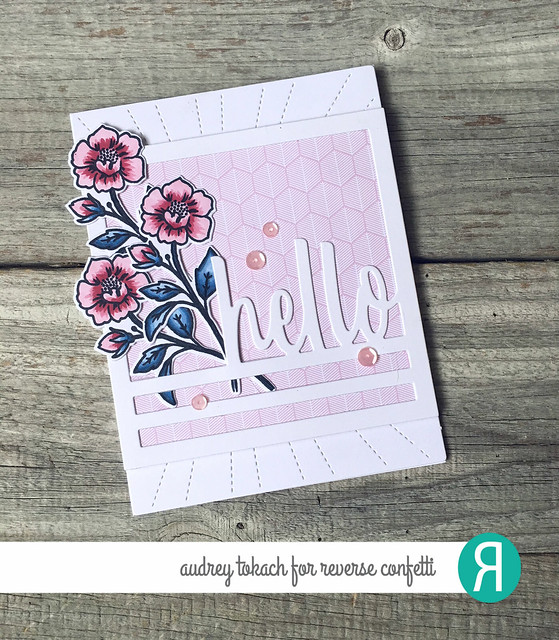
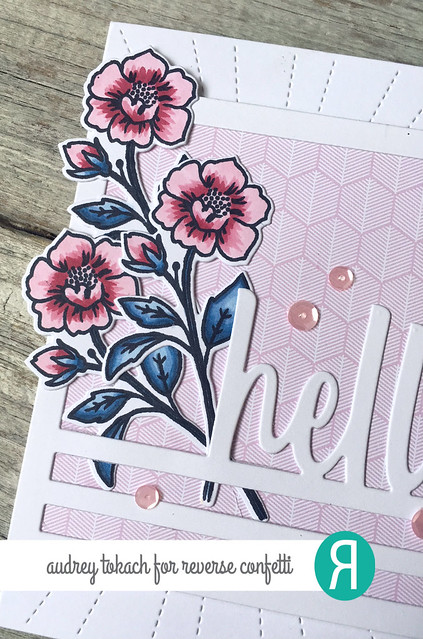
To create my card today, I started off with an A2 card base cut from Premier Polar White cardstock.  On top of that I layered the new Stitched Rays Cover Panel Confetti Cuts die cut from Premier Polar White.  Onto the next layer...  I used the Hello Square Confetti Cuts die to cut a white frame, which I backed with some of the new Fun Times patterned paper.  I stamped the largest flower image from the Tall Blooms stamp set three times, and colored them with Copic markers before diecutting them with the coordinating Tall Blooms Confetti Cuts dies.  I only glued the frame around the edge of the patterned paper, allowing me to carefully tuck the blooms behind the sentiment.  I popped the square panel up with foam tape and added a scattering of pale pink sequins to finis off the card.

Tall Blooms Pink 1 

I am really loving unconventional color combos lately, especially with floral images.  Blue leaves are my new favorite, and I just love navy and pale pink together!  These floral images looks great colored with Copics, but I can't wait to try coloring them with colored pencil and watercolors too!  I bet these flowers would look so great paper pieced as well. I think I will be reaching for this set a lot!!

Tall Blooms Pink 2

Be sure to visit the Reverse Confetti blog, and also check out what the rest of the design team has to share with you!  This release is so great, and I can't wait to share the rest of my projects with you!!

Thanks so much for stopping by!


Monday, March 5, 2018

Countdown to Confetti - Day 1: Sealiously


Hello there!  The Countdown to Confetti has begun at Reverse Confetti!  All of the new release goodies that I will be sharing with you will be available on March 8th in the Reverse Confetti store and at your favorite retailers!


Today, I have a card to share with you using the adorable new Sealiously stamp set!  These cute little seals are one of two new critter sets that are joining the Reverse Confetti gang this month.  I will have a card sharing the other, Honey Bear, later this week!

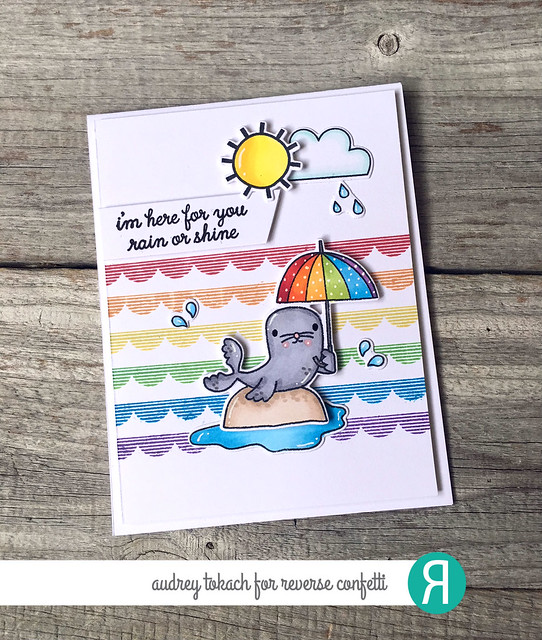
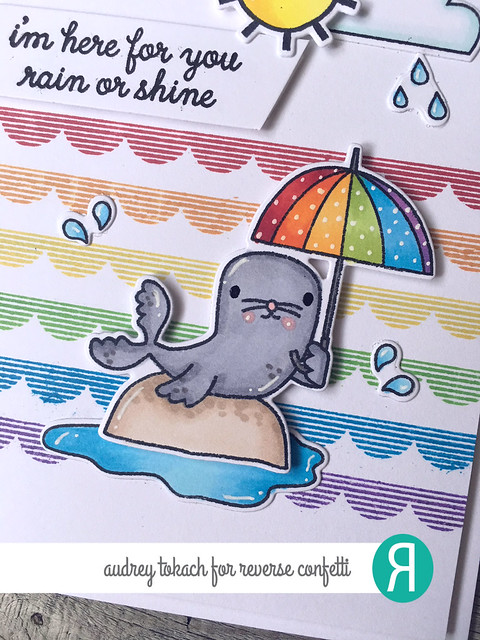
To create my card, I started off with a piece of Premier Polar White cardstock cut 4" x 5.25".  I stamped the scalloped image from the Elemental Stripes stamp set in a series of rainbow colors along the bottom 2/3 of the panel.  I used Salsa, Tangerine, Bumblebee, Grass, Island Blue and Grape Soda inks.  I stamped the cute little seal holding an umbrella, the water puddle, cloud and water drops from the Sealiously stamp set, and colored them with Copic Markers before diecutting them with the coordinating Sealiously Confetti Cuts dies.  I also pulled out my Weather It Together stamp set and stamped the sun from that set, which I colored and then diecut with the Weather It Together Confetti Cuts dies.  I stamped a sentiment from the Sealiously stamp set on a strip of white cardstock and cut it on an angle before adhering it with foam tape.   Finally, I popped up the panel on an A2 card base.


Sealiously 1

How cute is he?!?!  EEEK!  I added a few details with a white gel pen, and some extra dots with my copic markers for some texture to the seal and his rock.  Tiny details like this can really make a big impact and sometimes the finishing touches are my favorite part! :)

Sealiously 2

Be sure to visit the Reverse Confetti blog, and also check out what the rest of the design team has to share with you!  This release is so great, and I can't wait to share the rest of my projects with you!!

Thanks so much for stopping by!


Thursday, March 1, 2018

Reverse Confetti March SFYTT


Hello there!  I am here today to share a card with you for the new Reverse Confetti SFYTT!

Here is our sketch for March:


Here is my card...

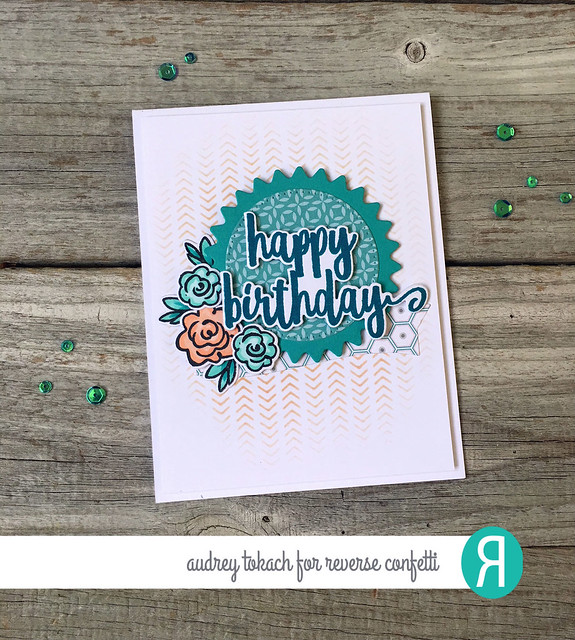
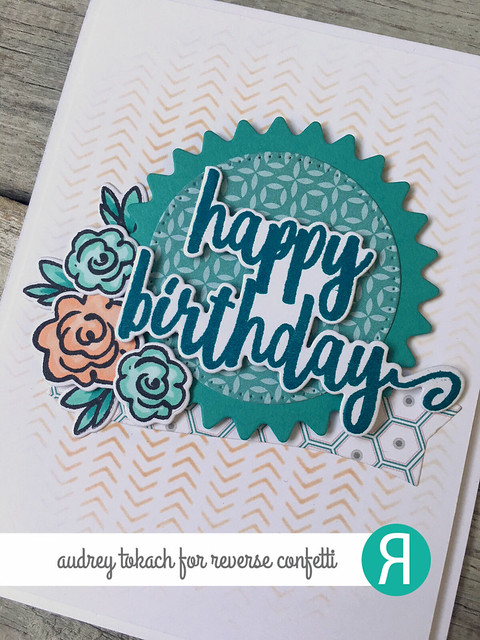
I started off with a piece of Premier Polar White cardstock cut 4" x 5.25".  I used the Pointed Out Stencil and applied some Peach ink with a foam blending tool lightly to the center of the panel, fading out towards the edges.  To create my focal point, I diecut the pinked edge circle from the Flowers For Mom Confetti Cuts die set from Aqua cardstock, then diecut a circle and banner using dies from the same set cut from Pattern Play 6x6 papers.  I stamped my sentiment using the Sentiment Essentials stamp set and Aqua Lagoon ink and then diecut it with the coordinating Sentiment Essentials Confetti Cuts dies.  I stamped a trio of flowers and leaves using the Build a Bunch stamp set, colored them with copic markers and diecut them with the coordinating Build a Bunch Confetti Cuts die set.


March SFYTT 1

I popped some elements up with foam tape, and then adhered the panel to an A2 Premier Polar White card base with foam tape as well.

March SFYTT 2

I hope you will join us for a chance to win a Reverse Confetti gift certificate!

Thanks for stopping by!! :)


BLOG TEMPLATE BY DESIGNER BLOGS