Saturday, April 8, 2017

Reverse Confetti April Blog Hop!


Hello there!!  Today is the Reverse Confetti April Blog Hop!  I have three projects to share with you today!

You should have come here by way of Amy Tsuruta's blog, If you've gotten lost or want to start at the beginning, head on over to the Reverse Confetti blog.


Reverse Confetti will be retiring lots of products to make room for the new amazingness that is headed your way! My first two projects feature the So Very Spring Quick Card Panels which are on the retirement list.  All of the QCP sets will be retired, so get your favorites while you can!  You can see a full list of retiring products on the Reverse Confetti blog!

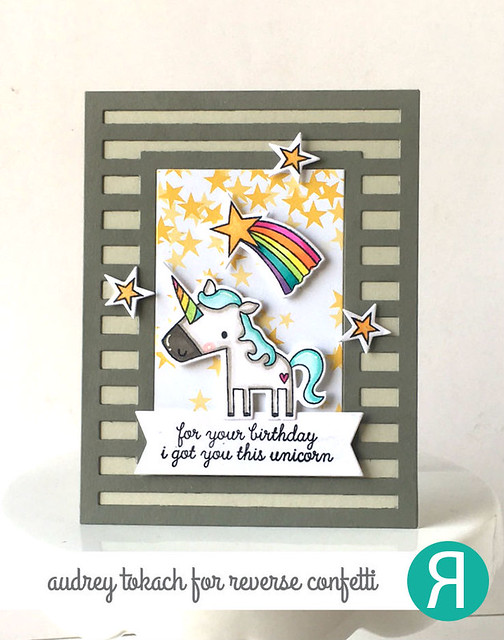
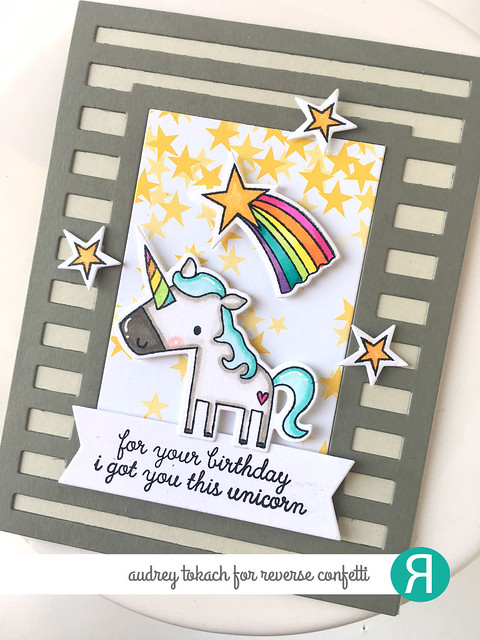
For my first Card, I started off with a Stone card base and diecut the Striped Frame Confetti Cuts from Stormy cardstock.  In the center of the frame, I diecut one of the So Very Spring Quick Card panels.  I stamped and colored images from the Unicorn Wishes stamp set and popped them up using foam tape.  A sentiment from the same stamp set was stamped on the banner diecut from the Tag Me Confetti Cuts die set.
Unicorn Wishes

The QCP add a fun pattern to the card without having to cut into a full sheet of paper!  They are great for little bits of patterned paper!! 
Unicorn Wishes

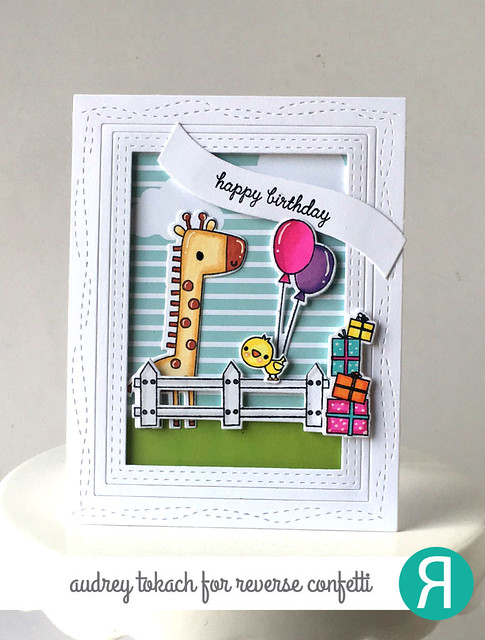
For my second project, I chose another pattern from the So Very Spring Quick Card Panels set.  I diecut the All Framed Up Confetti Cuts from white cardstock and added foam tape the other outer three frames.  Running foam tape along the back not only adds dimension,  but it also keeps all of the frames nested inside eachother nicely.  I glued the Quick Card Panel to the center of a white card base, then popped the frame up on top of it.  I stamped and  colored images from several stamp sets - You Lift Me Up, All About Ewe and Monkey Business. I adhered them to the card base with a glue pen and foam tape, and stamped a sentiment from Monkey Business on a banner diecut.  White gel pen accents finish things off.
Happy Birthday

I just love how all of the Reverse Confetti animal stamp sets work together.  They make scene building a breeze and I think the are all just extra cute!
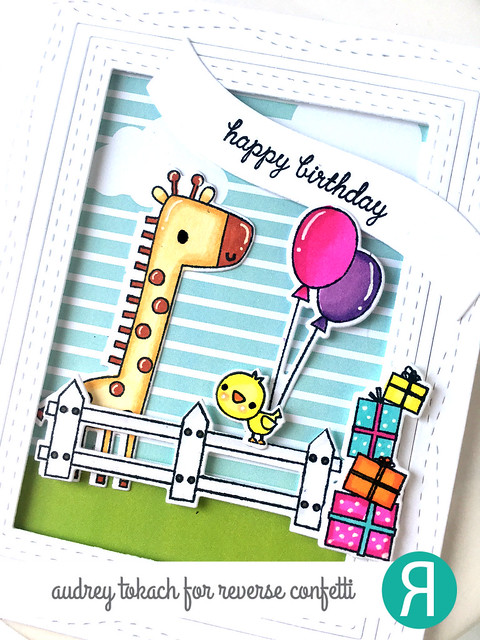

Happy Birthday

And finally a project using the newest Reverse Confetti Release!   To create this card, I started off with a Sand card base.  I stamped the dashed line image from Elemental Stripes in Sand ink along the bottom of the card.  Then I stamped images from All About Ewe in sand ink.  I gave them a quick dry with my heat tool to make sure there wouldn't be an ink smearing with the copics.  I popped them images up with foam tape, and stamped a sentiment from Easter Blessings in Sand ink.  A scattering of sequins, some white gel pen accents, and a strip of patterned paper from the True Love paper pad finishes off the card.
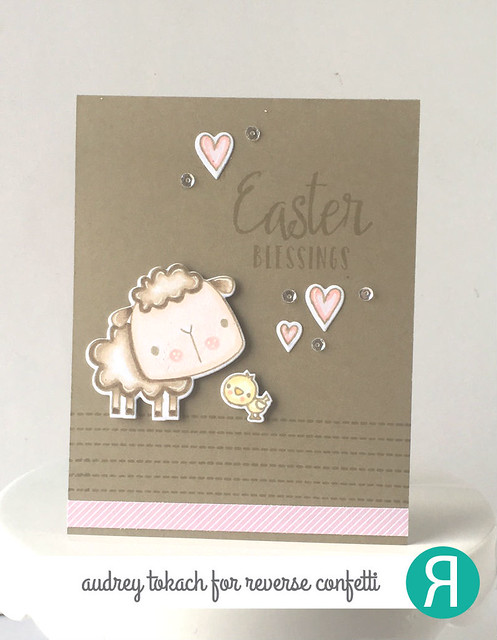
Easter Blessings

I wanted to create a softer Easter card, so I got a little outside of my bright colors and black ink comfort zone.  LOL!   The strip of patterned pink paper pulls in the pale pink of the hearts in the design and adds a little more balance.
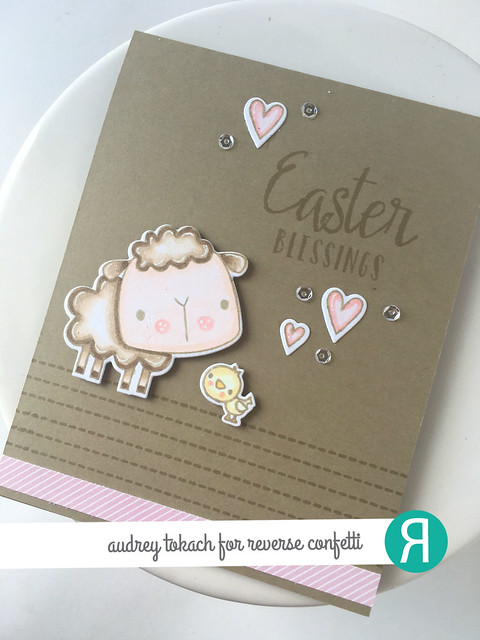
Easter Blessings

That's it for me today!  Be sure to head to the next stop on the hop is Amy Sheffer!

Thanks so much for stopping by! :)


Tuesday, April 4, 2017

BRI April Mood Board {Reverse Confetti}


Hello there!  Today I have a card to share with you using Reverse Confetti goodies!  I just LOVE this month's mood board over at Butterfly Reflections Ink, and couldn't wait to play along!


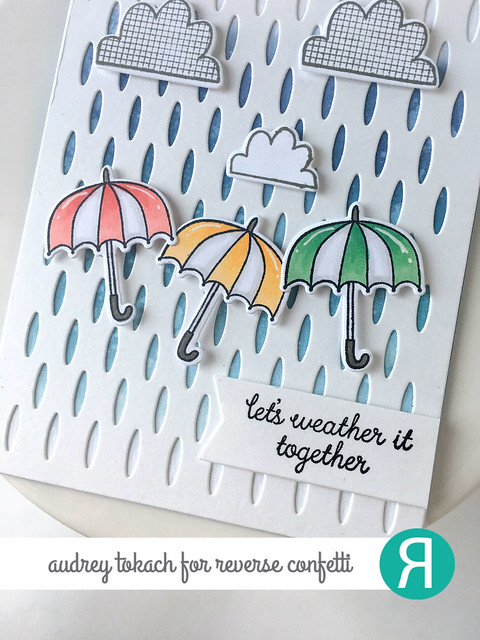
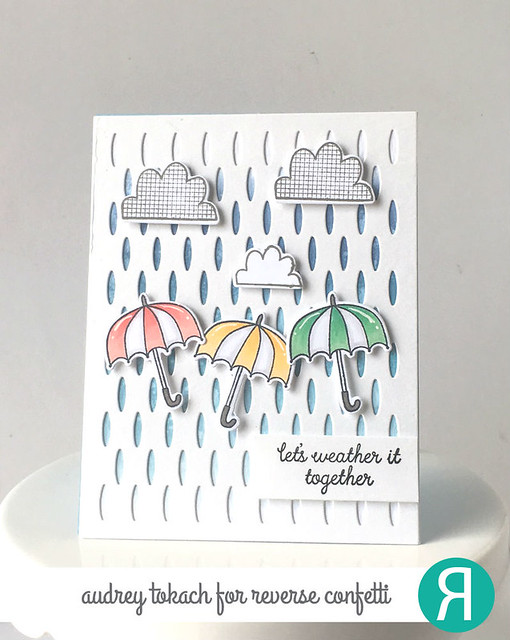
For my card, I used the Drop Cover Panel Confetti Cuts die and the Weather It Together stamp set and coordinating Confetti Cuts.  I will share more below on how I created by card.

Weather it Together

I started off with a piece of Tim Holtz Watercolor paper and ink blended two shades of Tim Holtz Distress Oxide inks and then splattered some water on the paper to lift some of the color.  I diecut the Drop Cover Panel Confetti Cuts from white cardstock, and gluded that on top.  I stamped and colored images from the Weather it Together stamp set, and diecut with the coordinating dies.  I popped everything up foam tape, and stamped a sentiment on the banner from the Tag Me Confetti Cuts die set, which I also popped up with foam tape.

Weather it Together

Thanks so much for stopping by!

Have a great day!! :)


Tuesday, March 28, 2017

Lawn Fawn and Xyron Collaboration Week - Day 2


Hello there!  This week, Lawn Fawn and the gang at Xyron are teaming up for a collaboration blog hop!  I have a card to share with you using some of their awesome adhesive products!

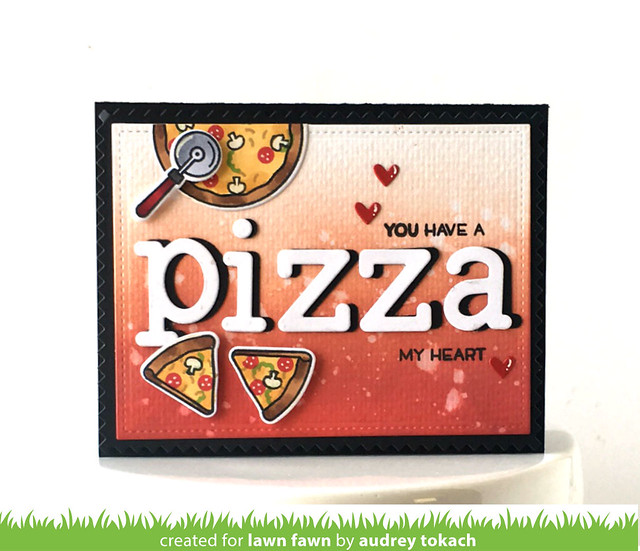
To create, my card, I started off by ink blending some Fired Brick Oxide Ink and Candied Apple Distress Ink onto a piece of watercolor paper.  I was going for the look of tomato sauce!  LOL!  I diecut the ombre paper with the Stitched Rectangles Stackables dies.  I pulled out the Pizza my Heart stamp set, and stamped and colored the large pizza, a few pizza slices and the pizza cutter.  I added my sentiment to the card panel first.  I diecut the word "pizza" using Louie's ABCs dies cut from white and black cardstock.  For easy adhering, I used the Xyron 1.5" sticker maker.  It makes lettering like this a breeze!  Around that word, I stamped a sentiment from the same stamp set, that was selectively inked.  I adhered the large pizza off the edge of the card panel using the Xyron Tape Runner, and popped up the pizza cutter with foam tape, along with the two pizza slices below.  I used the 1.5" sticker maker again for the three tiny hearts which were cut from red cardstock using the Stitched Journaling Card dies.  I used the Xyron Tape Runner again to adhere the ink blended panel onto a Zig Zag Rectangle diecut from black cardstock, and popped that up on a black card base to finish off the card.


Pizza My Heart

Be sure to stop by the Lawn Fawn blog today and all this week for lots of inspiration from the design team! :)

Thanks so much for stopping by!!

Sunday, March 26, 2017

Reverse Confetti March SFYTT


Hi there!  Today I have a card to share with you using the Reverse Confetti March SFYTT!  There is still time to play along!

Here is the sketch:

And here is my card!

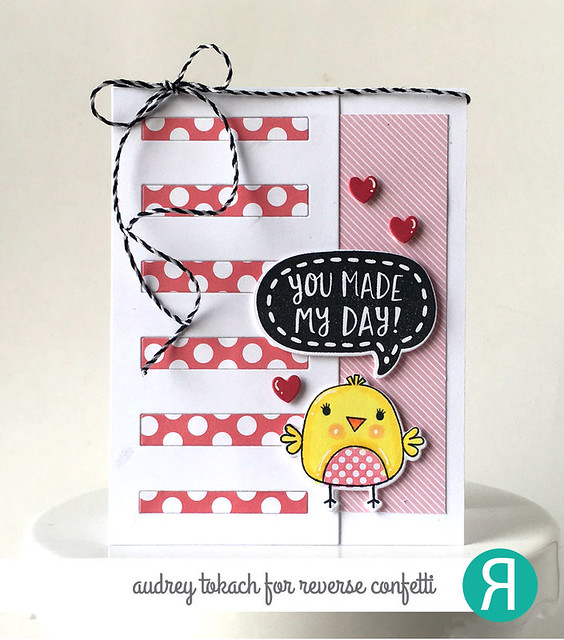
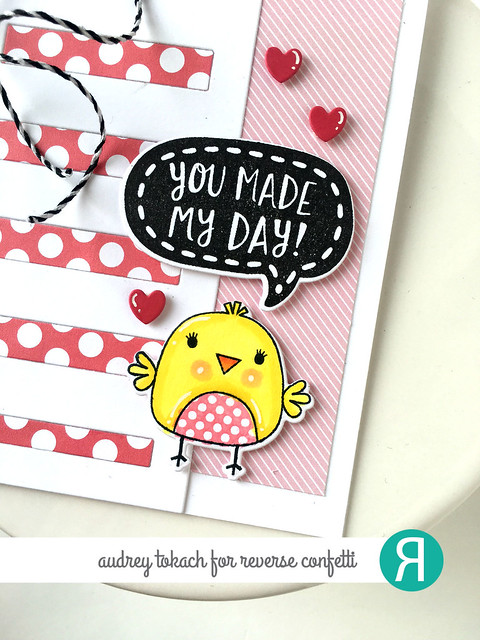
To create my card, I started off with a white card base.  I added a piece of patterned paper from the True Love paper pad.  Then I diecut the Tall Stripe Panel Confetti Cuts from white cardstock and again from more True Love patterned paper.  I glued the Tall Stripe Panel down with a glue pen, then used the patterned cutouts to fill in the negative spaces from the die.  I stamped and colored the cute bird from Tweet Life, and for the sentiment, a speech bubble from Figure of Speech. I added three diecut cards using the tiny heart from the Mailbox Starter Confetti Cuts, and added a bow with some black and white twine.

March SFYTT

The tiny hearts help to move the eye from the bottom to the top of the card, and arranging them in a visual triangle helps to balance the card out.

March SFYTT 2

I hope you will play along with us for a chance to win a Reverse Confetti gift certificate!

Thanks so much for stopping by! :)


Thursday, March 23, 2017

Mouse Mail {Reverse Confetti}


Hello there!  Today I have a project to share with you using Reverse Confetti products for the current Curtain Call Challenge - Fluff.


Here is my card:

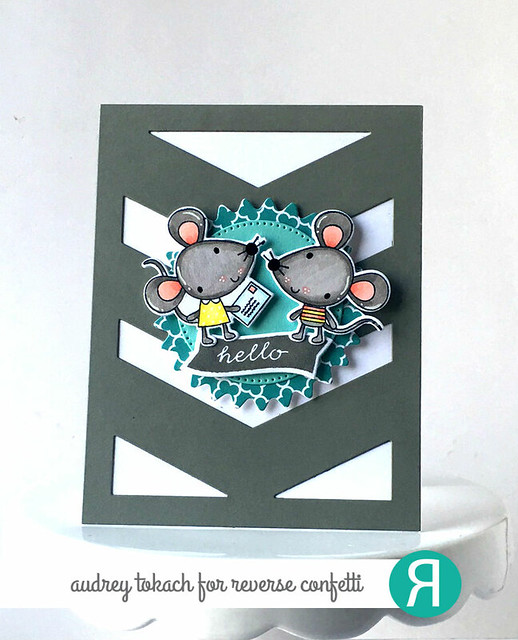
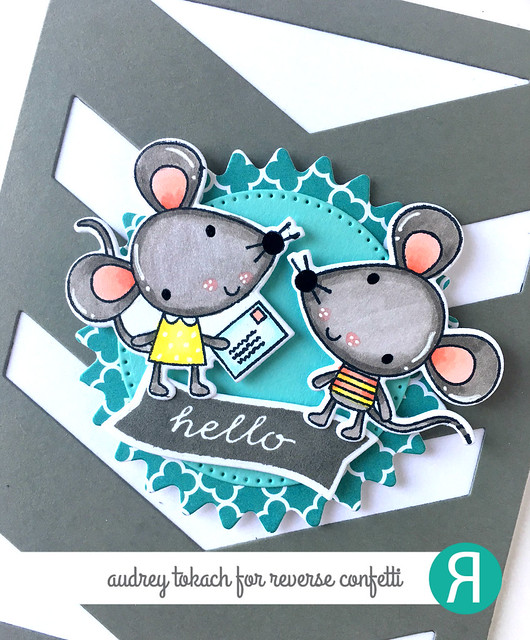
To create my card, I started off with a white card base.  I diecut the Big Chevies Cover Panel from Stormy cardstock and adhered that with a glue pen.  Then I diecut the pinked edge circle from the Flowers For Mom Confetti Cuts set from some Warm Heart patterned paper, and the dotted circle from that set from Iced Aqua card stock.  I stamped and colored images from Mouse Mail, and diecut them using the coordinating Mouse Mail Confetti Cuts.  For my sentiment, I used the Bitty Banners stamp set, stamped in Stormy ink, and diecut with the coordinating Bitty Banners Confetti Cuts.  Everything was popped up with foam tape for extra dimension, and I added accents with a white gel pen.

Mouse Mail

I just love the color palette in the inspiration photo!  And I just can't get enough of these adorable mice.  They are some of my favorites! :)

Mouse Mail 

Thanks so much for stopping by! :)


Wednesday, March 22, 2017

Lawn Fawn Inspiration Week - Pop Up Add-ons


Hello there!  Today is the final day of this month's Lawn Fawn inspiration week!  Today the team is showcasing a bunch of new add on dies for the Pop-Up card die series.

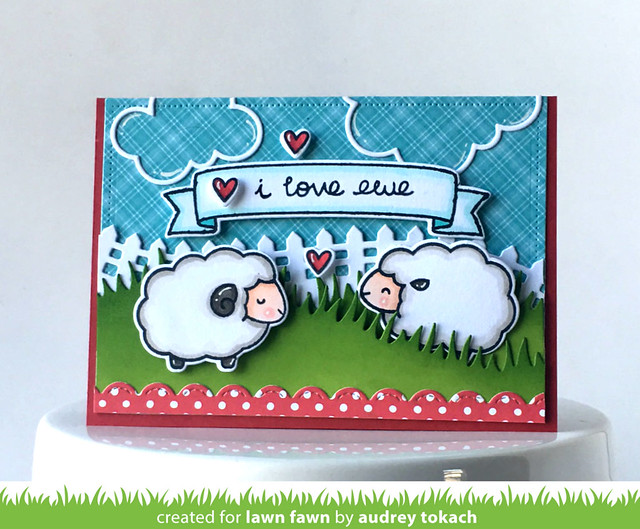
For my card, I used the Grassy Hillside pop-up add-ons.  Even though they are meant to help create pop up cards, you can certainly use them in other ways.  Here, they are used layered on a horizontal card base.  To create my card, I started off by diecutting a piece of Perfectly Plaid Rainbow patterned paper with the Dotted Rectangle Stackables.  Then, I diecut the Grassy Hillside Pop-up dies from Cilantro cardstock, and inked the edges with Freshly Cut Grass ink.  I also diecut the Little Picket Fence border from white cardstock.  I stamped a colored images from the Baaah Humbug stamp set, and stamped and diecut a banner from the new Bannertastic stamp set.  I stamped a custom sentiment using sentiments from Baaah Humbug and Baked with Love.  The sky is fulled with Simple Puffy Cloud Frames diecuts, and I added some fun red polka dot paper to the bottom using Let's Polka in the Dark patterned paper and the Stitched Scallop border dies.  I added some accents with a white gel pen, and mounted the panel to a red card base.

I Love Ewe

Be sure to visit the Lawn Fawn blog for lots more inspiration from the design team!

Thanks so much for stopping by!! :)

Tuesday, March 21, 2017

Lawn Fawn Inspiration Week - Bicycle Built For You


Hello there!  Today, the Lawn Fawn Team is showcasing a new set, Bicycle Built For You!  This set is so full of possibilities with all of the great sentiments and add-ons to dress up your bicycle!

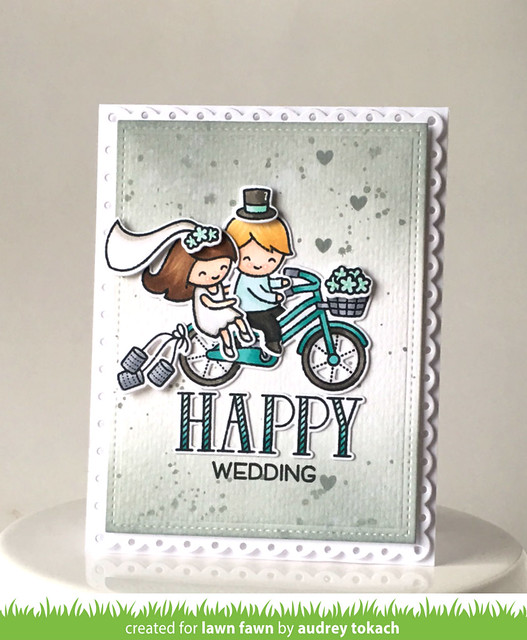
To create my card, I started off by diecutting a piece of watercolor paper with the largest die from the Small Stitched Rectangles Stackables die set.  Then, I used Iced Spruce Oxide ink to blend in a silver-ish ombre.  These oxide inks blend like butter!  I added a few paint splatters in the same color.  While it was drying, I stamped, colored and diecut images from the Bicycle Built For You stamp set, and a sentiment from the Happy Happy Happy stamp set.  I arranged everything on the card front, adhering some pieces with a glue pen, and others with foam tape.  I perched the happy couple on top of the diecut HAPPY and stamped the rest of the sentiment.  Then I popped that panel up on a Fancy Scalloped Rectangle Stackables diecut and popped that up onto a white card base to finish my card.

Bicycle

Be sure to visit the Lawn Fawn blog to see lots more inspiration from the design team, and stop back by tomorrow for one more project as we wrap  up Inspiration Week!

Thanks for stopping by! :)
BLOG TEMPLATE BY DESIGNER BLOGS