Monday, January 7, 2019

Countdown to Confetti - Day 3


Hello there!  Welcome to day 3 of the Countdown to Confetti with Reverse Confetti!  All of the new goodies that we will be showing off over the next few days will be available in the Reverse Confetti store and at your favorite retailers on January 8th!


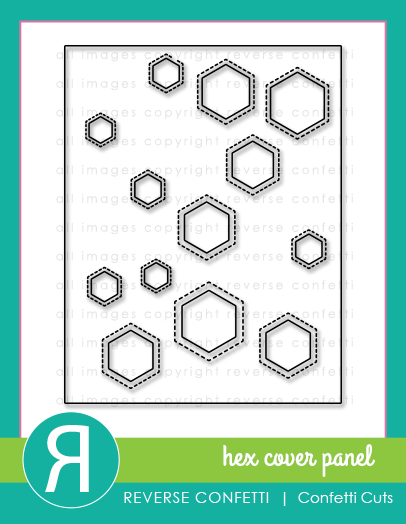
Today, we are showing off the new Happy Bee Day stamp set.  To create my card, I started off by ink blending an A2 card base with shades of yellow and orange.  Over top of that, I diecut the new Hex Cover Panel Confetti Cuts, and ran the panel though my machine again with the new Diagonal Stitches Cover Panel.  I adhered that to the card base with a glue pen.   Then, I stamped and colored images from the Happy Bee Day stamp set and diecut them with the coordinating Happy Bee Day Confetti Cuts dies.  I paper pieced the lid of the honey  jar with patterned paper from the new From Cupid paper pad.
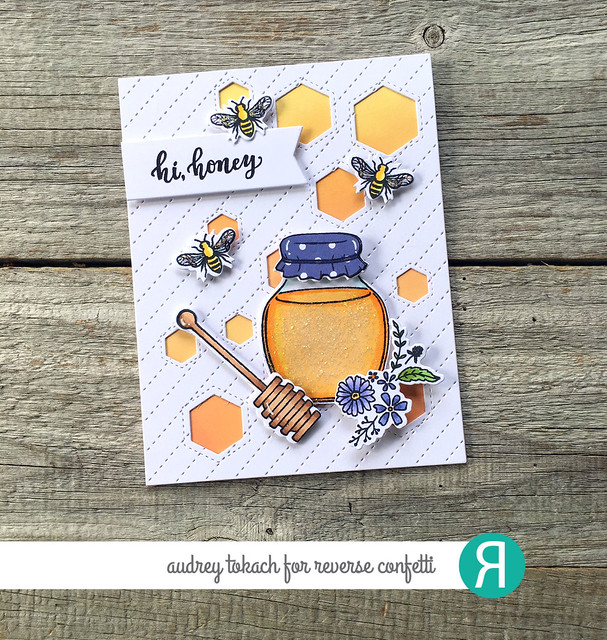
Happy Bee Day 1

Before adhering the jar, I added some Nuvo glitter paste to the honey for some added sparkle, stamped a sentiment from the set on a banner diecut and popped everything up with foam tape.  To finish things off, I added some white gel pen accents and some glitter to the bees' wings.
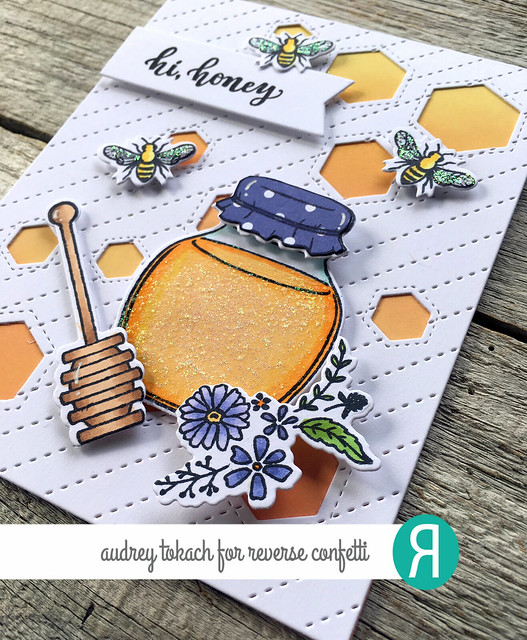
Happy Bee Day 2


That's all for me today, but  be sure to visit the rest of the design team, and comment along the way for your chance to win a Reverse Confetti gift certificate!

Sunday, January 6, 2019

Countdown to Confetti - Day 2


Hello there!  Welcome to day 2 of the Countdown to Confetti with Reverse Confetti!  All of the new goodies that we will be showing off over the next few days will be available in the Reverse Confetti store and at your favorite retailers on January 8th!


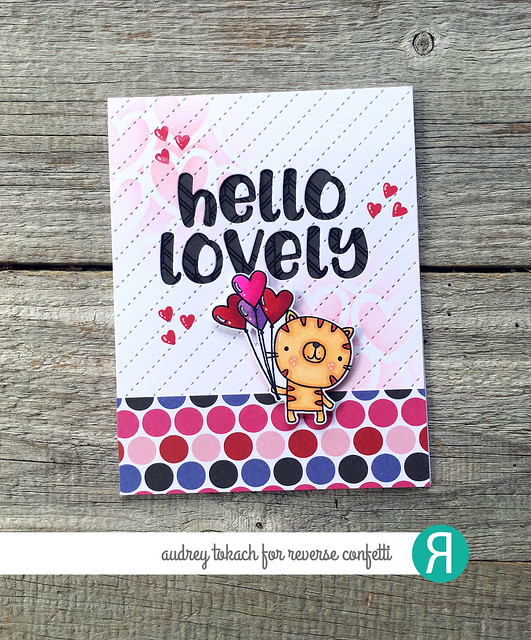
Today, my card showcases my favorite stamp set from the release, Heart Pals. This adorable stamp set is full of cute little critters, perfect for showing someone special that you love them.  To create my card, I started off by diecutting some white cardstock with the new Diagonal Stitches Cover Panel.  On top of that, I added a faint pattern in opposite corners using the Hearts Stencil and some Piggy Bank ink.  I diecut my sentiment in the panel using the Hello Lovely Confetti Cuts die, and behind it, I added a piece of patterned paper from the new From Cupid paper pad.  I also added a piece of polka dot paper, also from the new paper pad, to the bottom of the panel to ground the cute little kitty.   I stamped the cat image from the Heart Pals stamp set, colored him in coordinating colors to match the paper, and diecut him with the coordinating Heart Pals Confetti Cuts dies, then popped him up with foam tape.

Heart Pals 1

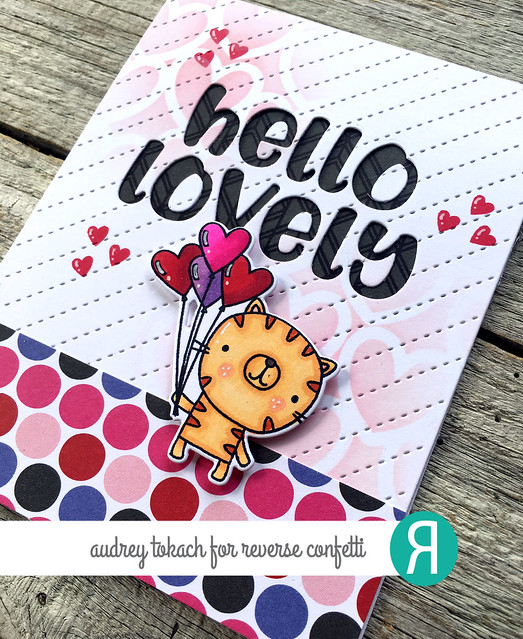
I added some white gel pen accents, and randomly stamped a trio of hearts from the Heart Pals stamp set in Salsa ink in a visual triangle on my card panel before adhering the panel to an A2 card base.

Heart Pals 2

That's all for me today, but  be sure to visit the rest of the design team, and comment along the way for your chance to win a Reverse Confetti gift certificate!

Saturday, January 5, 2019

Countdown to Confetti - Day 1

Hello there!  Welcome to day 1 of the Countdown to Confetti with Reverse Confetti!  All of the new goodies that we will be showing off over the next few days will be available in the Reverse Confetti store and at your favorite retailers on January 8th!


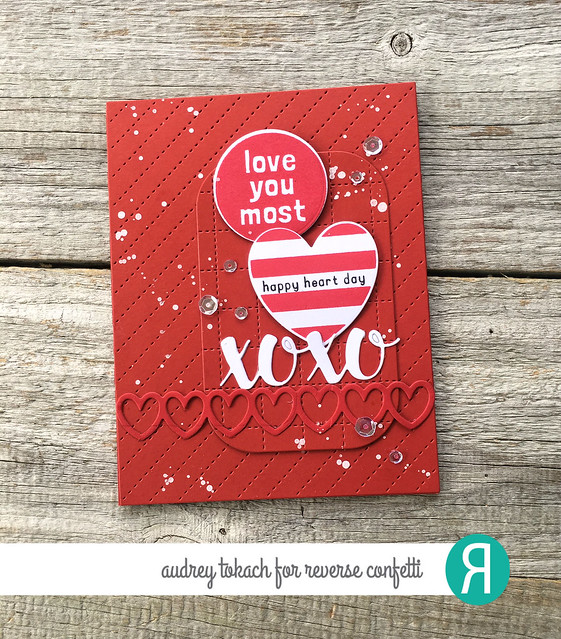
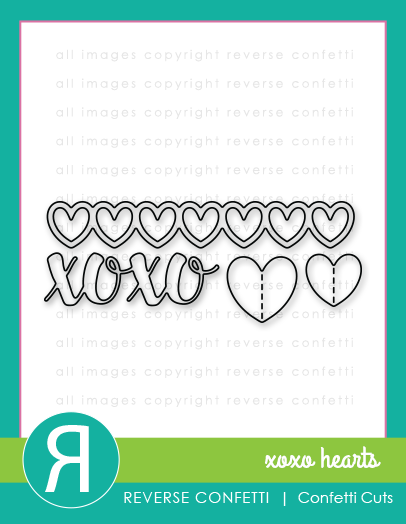
Today, my card features two new stamp sets - Love You More and Patterned Hearts - along with a new background die, the Diagonal Stitches Cover Panel Confetti Cuts die!  It's no secret that I love the Stitched Rays Cover Panel Confetti Cuts die, and this new one has the same wonderful stitching detail in a fun new pattern!  To create my card, I ran the Diagonal Stitches Cover Panel through my diecut machine with some Salsa cardstock.  On top of that, I layered a Grid Stitched Tag, also cut from Salsa cardstock.  I stamped a sentiment circle from the Love You More stamp set in Salsa ink onto white cardstock, and a striped heart from the Patterned Hearts stamp set, which I diecut with the coordinating Patterned Hearts Confetti Cuts die.  I popped those up with foam tape, and then added an XOXO diecut and a row of hearts using the XOXO Hearts Confetti Cuts die set.  

Love You Most Patterend Hearts 1

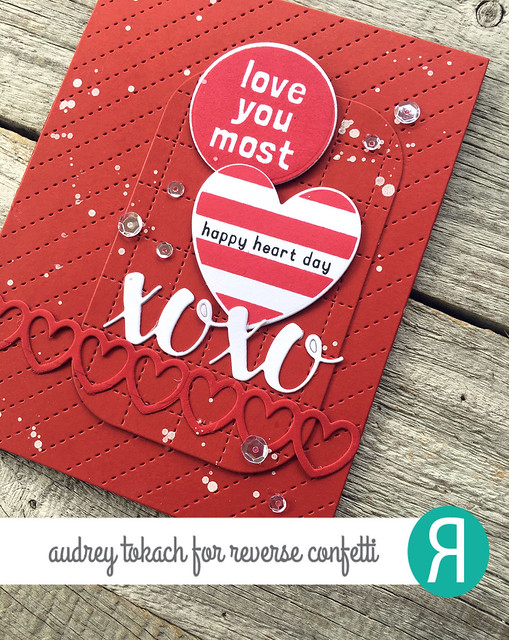
It felt like it was missing something, so I added some white paint splatters and a scattering of clear sequins to finish off the card.

Love You Most Patterned Hearts 2

Be sure to visit the rest of the team to see what that have to share with you today!  Be sure to comment along the way for a chance to win a Reverse Confetti gift certificate! :)

Tuesday, January 1, 2019

Reverse Confetti January SYS Challenge


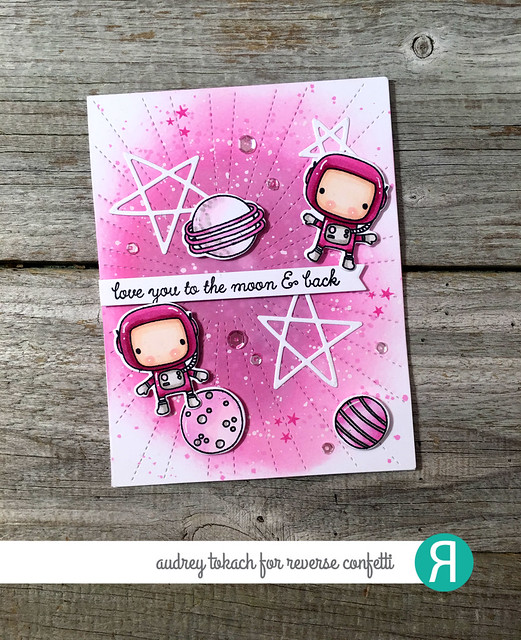
Hello there!  Happy New Year!  It's the first of the month and that means it's time for a new Stock You Stash Challenge with Reverse Confetti!  This month, our theme is LOVE!

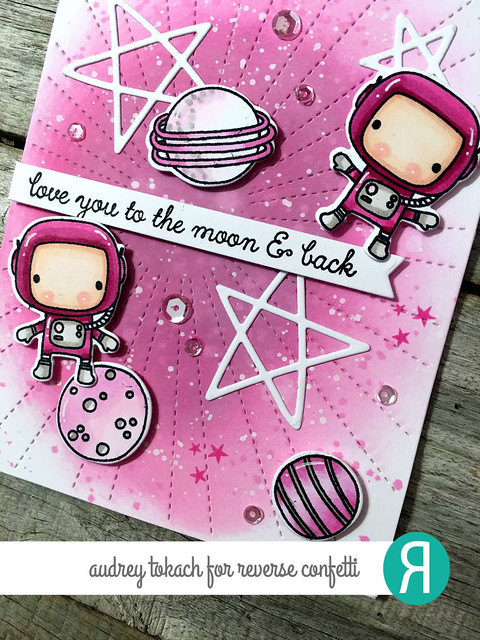
To create my card, I started off with a Stitched Rays Cover Panel diecut from white cardstock.  I ink blended some Picked Raspberry and Seedless Preserves Distress Oxide ink onto the panel keeping it darker in the center and fading out lighter towards the outside edges.  To add some more interest, I splattered on some clean clear water and them some watered down white acrylic paint.  Then, in shades of pink, I stamped and colored the adorable Moon Men astronauts and a trio of planets.  I popped them up with foam tape, and tucked some diecut stars behind them, and a sentiment banner using the Seeing Stars Confetti Cuts dies.


January SYS 1

To finish off my card, I stamped a trio of tiny stars in dark pink ink, a scattering of clear sequins and some white gel pen accents before adhering the panel to a white card base.


January SYS 2

That's all for me today,  but I hope you will join us for your chance to win a Reverse Confetti gift certificate! :)
Thanks for stopping by! :)


Tuesday, December 11, 2018

MFT & Friends December Release


Hi there!  I am so excited to share that I am part of the MFT & Friends December 2018 Release with My Favorite Things!

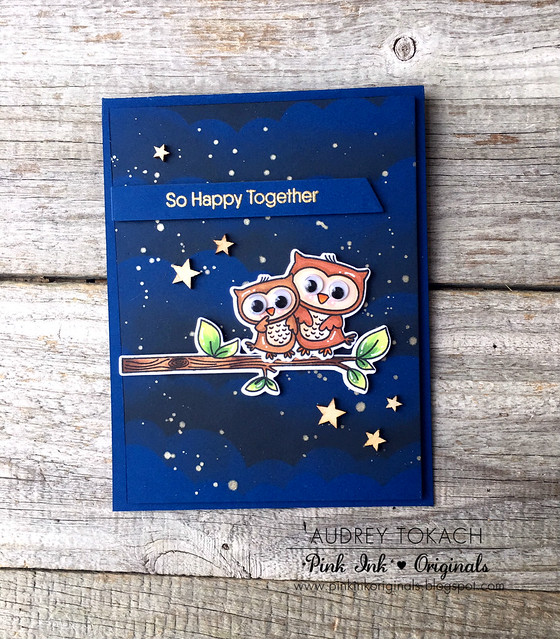
My card features the new Forever and Owlways stamp set and the coordinating Forever and Owlways Die-namics along with the new Essential Slanted Sentiment Strips Die-namics.

To create my card I started off with a panel of dark blue cardstock measuring 4" x 5.25".  I used the Cloud Stencil along with some Black Soot Distress Oxide ink to create a cloudy  night sky.  Then I splattered on some metallic gold watercolor.  I stamped and colored the larger branch and the cute owl pair from the Forever and Owlways stamp set and diecut them with the coordinating Forever and Owlways Die-namics.  Then, I stamped a sentiment from the set onto dark blue cardstock and heat embossed it with gold embossing powder before diecutting it with the Essential Slanted Sentiment Strips Die-namics.  I popped everything up with foam tape, and added a few finishing touches to my card including googly eyes to the owls, white pen accents, and a scattering of tiny wooden stars from my stash.


So Happy Together

Be sure to check out the MFT blog for all the details on the December release, available now in the MFT store and at your favorite retailers.

Thanks so much for stopping by! :)

Saturday, December 8, 2018

Reverse Confetti December Blog Hop


Hello there!  It's the 8th of the month, and that means it's time for the Reverse Confetti blog hop!  This month, we are doing something fun and different.  I  have a brand new project to share with you along with three of my favorite projects from all of 2018!

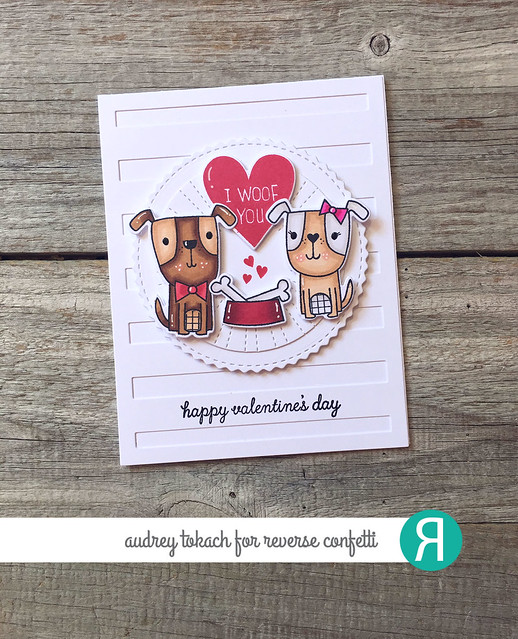
First up, my new project!  To create my card, I started off with an A2 card base cut from Polar White cardstock.  On top of that, I layered the Big Stripes Cover Panel Confetti Cuts.  For my focal point, I diecut the pinked edge circle from the FaLaLa Circle Confetti Cuts die set from white cardstock along with the smaller circle in the set.  I ran the smaller circle through my diecut machine again with the Stitched Rays Cover Panel Confetti Cuts for some added texture.  I thought it would be fun to pull out the very first Reverse Confetti stamp set that I ever purchased, Puppy Love.  I stamped and colored the cute puppy pair and their food bowl, then stamped the heart from the set in Salsa ink.  Everything was cut with the coordinating Puppy Love Confetti Cuts dies.  I popped the images up on the card front with foam tape, and stamped a sentiment from the same set inside one of the stripes of the cover panel.  Finally, I added some white gel pen accents to finish off the card.

December blog hop

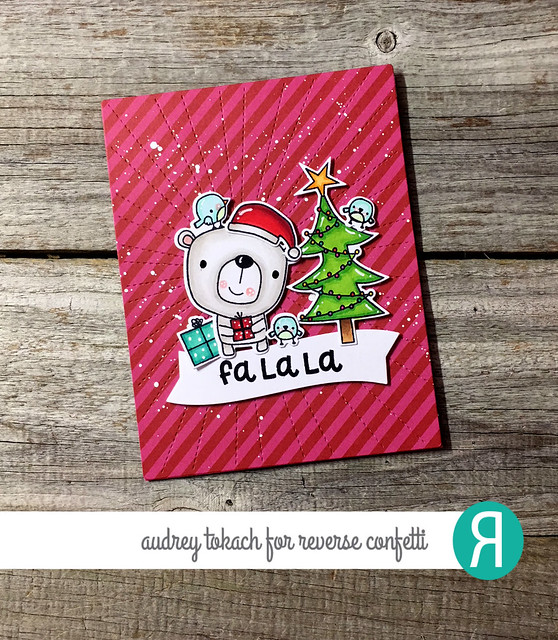
Now onto my favorites for the year!  I think it's pretty safe to say that the Stitched Rays Cover Panel die might be my favorite RC product of the year.  I use it ALL the time!  It can be seen on this card, originally created for the FALL-idays blog hop.  You can read more about how I created this card here:


Fa La La

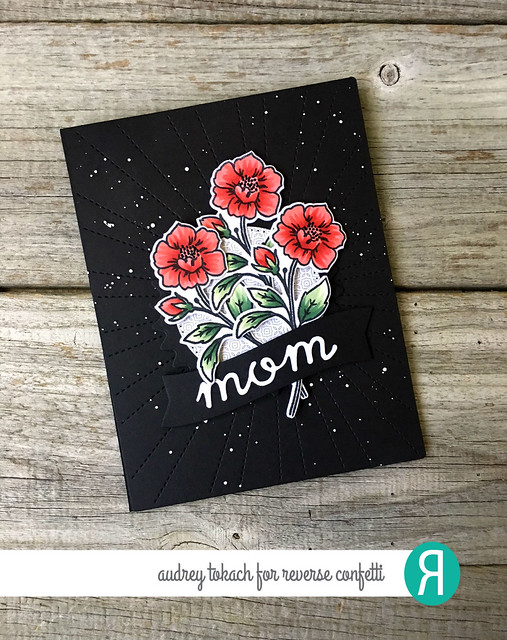
Next up is a card that I created for my mom for Mother's Day.  You may recognize the Stitched Rays Cover Panel.  Obsessed.  You can read all about how I created this card here:

For Mom

April Blog Hop

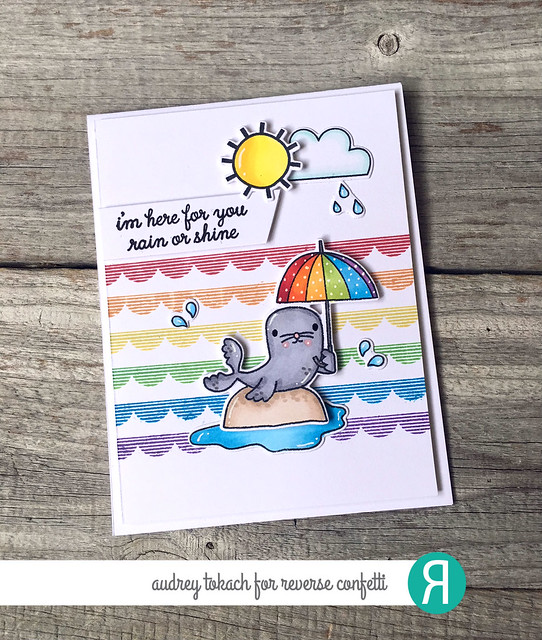
This card doesn't use the Stitched Rays Cover Panel, but I'm pretty sure that's only because it had not been released yet! LOL!  Who doesn't love rainbows?  And scallops.  And adorable seals holding umbrellas.  See all about how I created this 2018 favorite here:

Rain or Shine

Sealiously 1

That's all for me today, but be sure to hop along and  see what the rest of the team has to share with you today!  The fun starts here:

Lawn Fawn Inspiration Week Day 1: Let's Toast


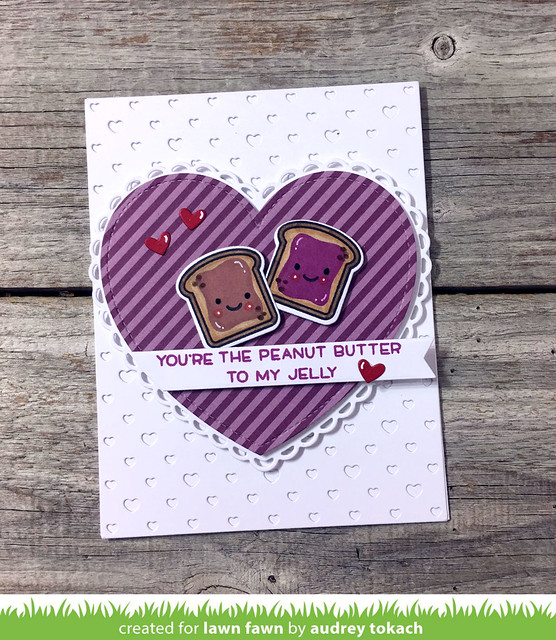
Hello there! Today kicks of sneak peeks for Lawn Fawn's Valentines Inspiration Week!  First up is an adorable new stamp set, Let's Toast.  This set is full of cute images and punny sentiments, perfect for making cute little love notes. To create my card, I started off with a white card base.  On top of that, I layered the new Hearts Backdrop Portrait die.  SO cute!  For my focal point, I diecut the largest of the Lacy Heart Stackables from white cardstock, and layered it with some Let's Polka in the Dark patterned paper.  I stamped and colored two pieces of toast, and stamped one with peanut butter and the other with jelly.  I love their little faces!  The sentiment, also from the set, is stamped in Juice Box ink on to an Everyday Sentiment Banner diecut.  To finish off my card, I added a scattering of tiny hearts and some white gel pen accents.

Lets Toast

That's all for me today,  but be sure to visit the Lawn Fawn blog to see lots more from the design team! :)

Thanks for stopping by!
BLOG TEMPLATE BY DESIGNER BLOGS