Thursday, February 16, 2017

Reverse Confetti and Color Throwdown #430


Hello there!  I have a card to share with you using Reverse Confetti goodies!  I will be entering this in the current Color Throwdown Challenge!


And here is my card...

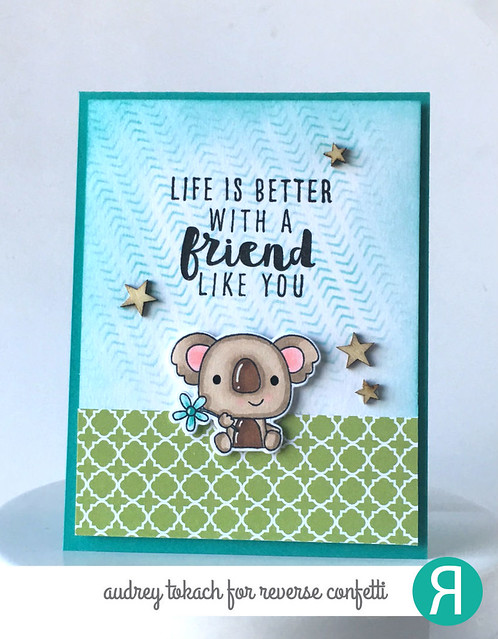
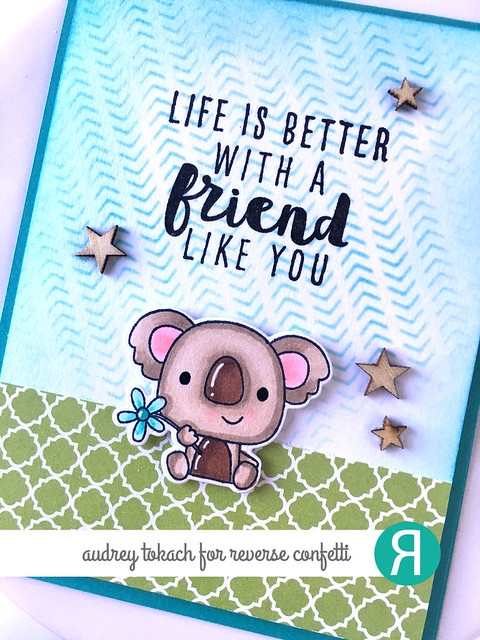
To create this card, I started off with a piece of white cardstock.  I used Iced Aqua ink and the Pointed Out stencil to create a patterned background.  I stamped, colored and diecut the adorable little bear from the Bear Hugs stamp set.  To ground him, I added a piece of patterned paper from the True Love 6x6 paper pad.  I popped him up with some foam tape, and stamped a sentiment from the A Friend Like You stamp set.  To finish things off, I added a scattering of little wooden stars.

A friend like you

I  just love this little image.  Isn't his face the cutest?!
A friend like you

That's all for me today!  Thanks for stopping by! :)


Lawn Fawn Inspiration Week - Elphie Selfie


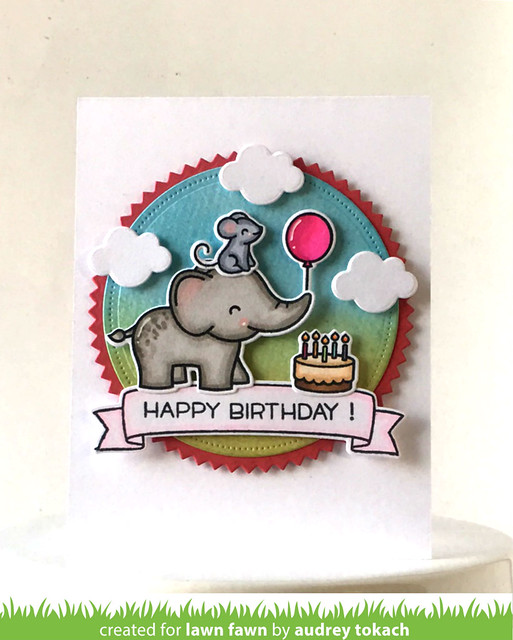
Hello there!  It's here! Lawn Fawn Spring 2017 release week is in full swing!  Today, the team is highlighting one of my favorites of the new release, Elphie Selfie!

To create my card, I started off by diecutting the largest of the Dotted Circle Stackables from watercolor paper.  I used an ink blending tool and blue and green ink to create a background for my scene.  I stamped and colored images from Elphie Selfie with copic markers, along with a banner from the new Bannertastic stamp set, and I stamped a sentiment from the new Happy Happy Happy stamp set on the banner.  I backed the dotted circle with a new Zig Zag Circle diecut cut from the new Raspberry cardstock (oh my goodness, such an amazing pink!)  I arranged the pieces on my circle, and popped everything up with foam tape.  I also added a few clouds to the sky using the smallest cloud from the Simple Puffy Clouds die set.  When my scene was finished, I popped the circle up in the center of a white A2 sized card base.

Elphie Selfie

Be sure to visit the Lawn Fawn blog for lots more inspiration from the design team, and stop back  by tomorrow for another project by me for Spring 2017 release week! :)

Thanks for stopping by! :)
Friday, February 10, 2017

#BEASTMODE Blog Hop for Jen Del Muro


Hello, happy Friday!  Today, I am participating in a very special blog hop... a pep rally of sorts for my sweet friend, Jen Del Muro, owner of Reverse Confetti.  If you don't know, Jen was diagnosed at the end of last year with breast cancer, and is currently undergoing treatment.

Jen has faced this challenge head on, from the get go, in #BEASTMODE.  It's become her tagline, and it's absolutely fitting.  Her determination to beat this is amazing, and her courage and grace through it all is so inspiring.


#BEASTMODE Blog Hop

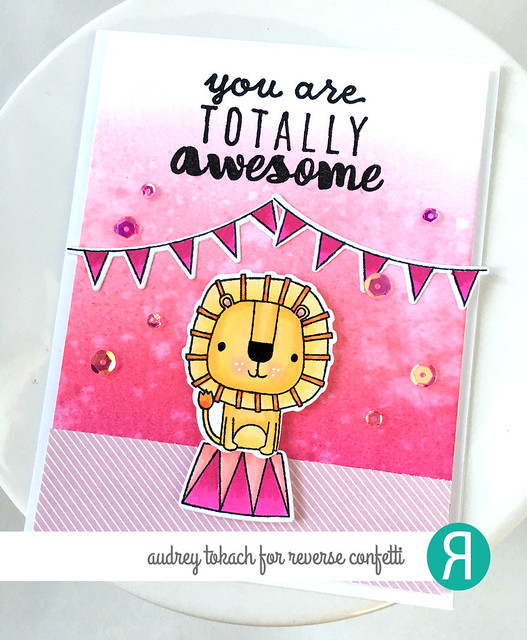
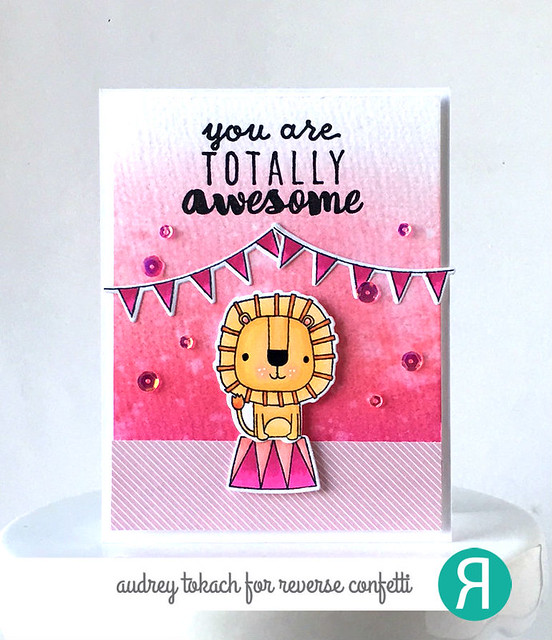
The card that I created for Jen starts off with a pink ombre distress ink background.  I used Spun Sugar, Worn Lipstick and Picked Raspberry.  I added a strip of patterned paper from the Reverse Confetti True Love paper pad, then stamped, colored and diecut images from the Leaping Lions stamp set.  I wanted that cute little, FIERCE lion to be front and center.  I felt he was appropriate for this occasion.  The sentiment is from the A Friend Like You stamp set.

#BEASTMODE Blog Hop

Jen, I hope you know just how big your "village" is, just how much you are loved, and just how loud I am cheering for you!   I have no doubt that you will win this fight.  I am so grateful to be part of your team, your village, the Reverse Confetti family.  I am so proud of you, and you ARE totally awesome. #BEASTMODE 

Please hop along with the rest of the designers participating and leave Jen lots of love along the way!!

We love you, Jen! XOXO

Audrey Tokach - **you are here**


Wednesday, February 8, 2017

Reverse Confetti February Blog Hop


Hello there!  Today, the Reverse Confetti Team is holding our monthly blog hop.  Reverse Confetti is going back to every-other-month releases for the time being, but we will still be hopping on the 8th of every month, to bring you lots more Reverse Confetti inspiration! You should have arrived here from Amy Tsuruta's blog. If you have gotten lost, or want to start at the beginning, you can head over to the Reverse Confetti blog.

 I'm pretty excited about the opportunity to share some oldies but goodies with you today...  I pulled out one of the very first Reverse Confetti products that I purchased, Donut You Know, and the adorable Donut You Know Confetti Cuts.  There are few things cuter than tiny paper donuts. <3 p="">

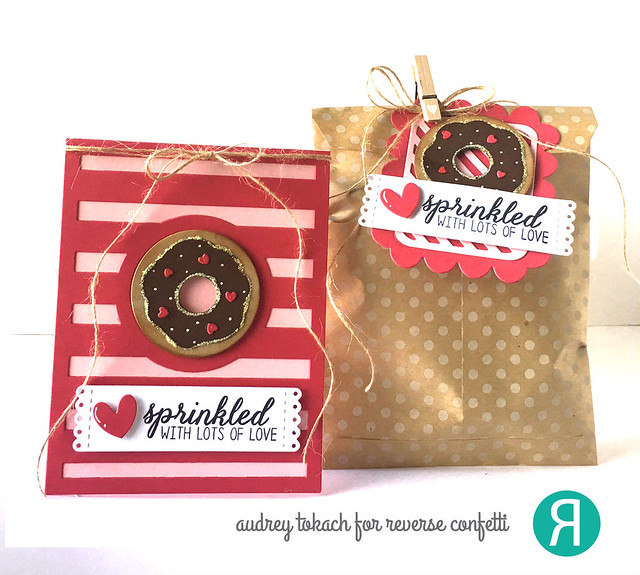
For my project, I created a card and coordinating gift packaging.  I will go into detail about each piece down below.  Here is the ensemble:

Donut Ensemble

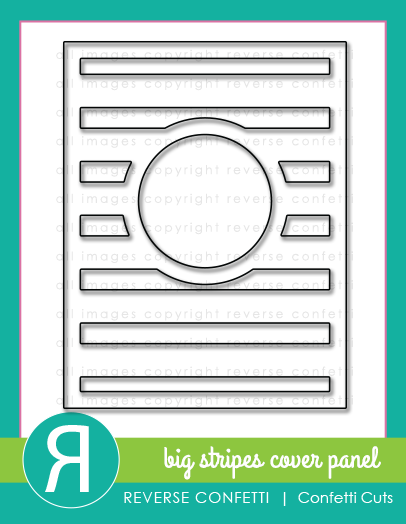
To create my card, I started off with a Piggy Bank card stock base.  Then I diecut the Big Stripes Cover panel from Rose card stock and glued that on top of the card base,  The Donut You Know Confetti Cuts creates a tiny donut that fits perfectly in the opening of the Big Stripes Cover Panel.  I diecut the donut base from kraft cardstock, and inked the edges with distress ink.  I cut the donut icing from brown cardstock and the tiny heart sprinkles from Rose card stock and then added some white sprinkles with a white gel pen.  I added some Stickles around the edges of the icing for some added sparkle.  I popped the donut up in the opening with some foam tape.  Then, I diecut a tag from the Tall Tags Trio Confetti Cuts from white cardstock and stamped a sentiment from the Donut You Know stamp set.  To cover the hole in the tag, I used a diecut from the All Heart Cover Panel and added a white gel pen accent. To finish things off, I added a twine bow to the top of the card.

Donut Card

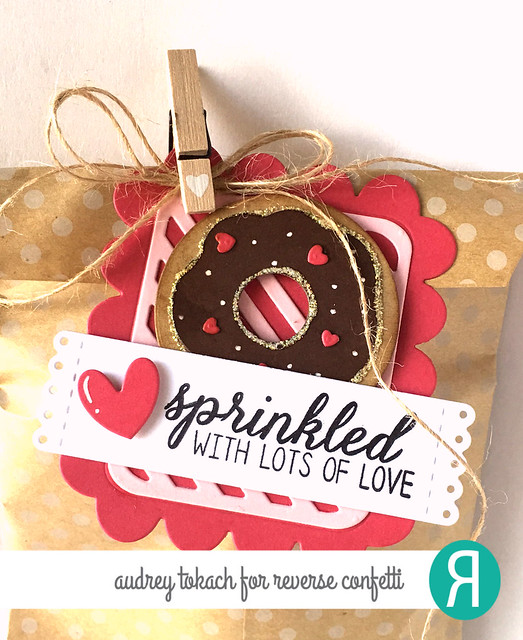
For the gift packaging, I put some of those yummy chocolate donuts in a kraft polka dot bag from my stash, and made a coordinating tag.  I diecut the scalloped rectangle from the Love Note Confetti Cuts die set from Rose cardstock, then diecut the Diagonal Stripe Pretty Panel Confetti Cuts from Piggy Bank card stock and glued that on top.  I created the donut the same way as a mentioned above and incorporated the sentiment the same way as I did on the card so that everything was matchy-matchy.  I folded over the kraft bag, and added the tag with a cute little clip that I picked up last year from the Target Dollar Spot.

Donut Tag

Next stop on the hop is Amy Sheffer !

That's all for me today! Thanks so much for stopping by!! :)


Thursday, February 2, 2017

Simon Says Stamp Wednesday Challenge: The Color of Love


Hello there!  Happy Thursday!  Today, I have a card to share with you for the Simon Says Stamp Wednesday Challenge!  This week, they are featuring Reverse Confetti Stamps and I figured it was a great time to play along!

The theme is Color of Love

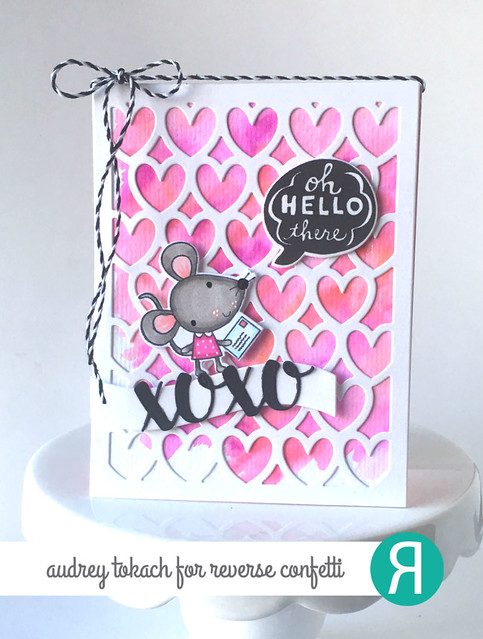
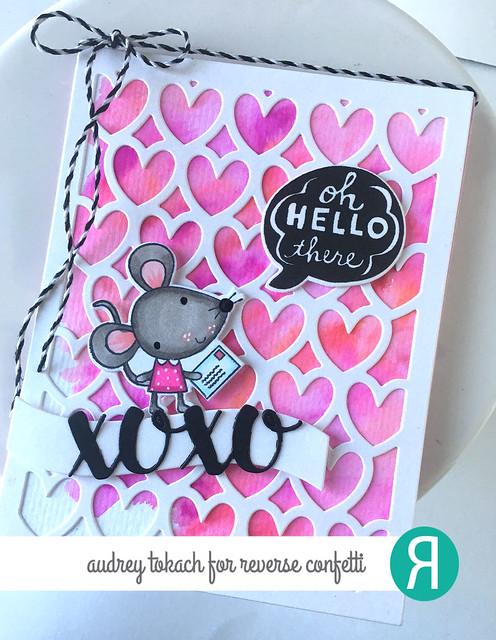
For my card, I started out by watercoloring a piece of watercolor paper with my Zig Clean Color Real Brush pens.  When it was dry, I cut it to size, then adhered it to a card base.  I diecut the All Hearts Cover Panel from white cardstock and put that on top of the watercolor piece.  I stamped and colored an image from Mouse Mail, then diecut it with coordinating Mouse Mail Confetti Cuts.  To ground the little mouse, I diecut the banner from the Greetings Frame Confetti Cuts die set from white cardstock, and popped that up with foam tape.  To that, I added the XOXO sentiment from the XOXO Hearts Confetti Cuts, cut from black cardstock.  Then, I stamped a speech bubble from the Figure of Speech stamp set, and diecut that with the Figure of Speech Confetti Cuts.  I popped that up with foam tape, and added a black and white twine bow to finish things off.

XOXO

Isn't this little mouse just the cutest?   She's one of my faves!!

XOXO

That's all for me today!!  Thanks so much for stopping by! :)

Thursday, January 26, 2017

Reverse Confetti January SFYTT


Hello there!!  Today I have a card to share with you for the Reverse Confetti January SFYTT!  There is still time to enter!  Here is this month's sketch:


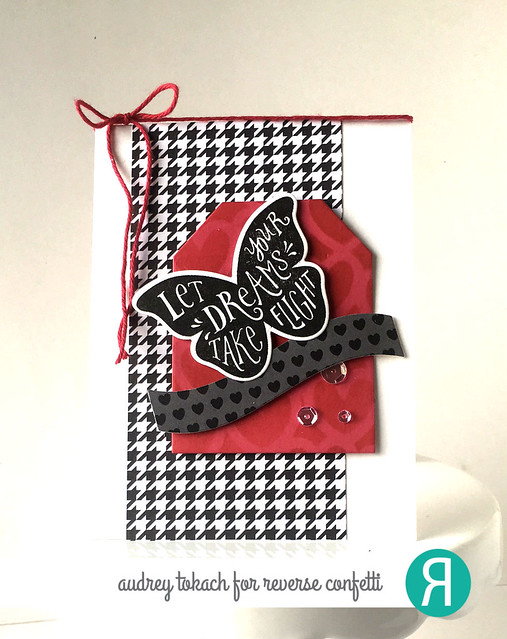
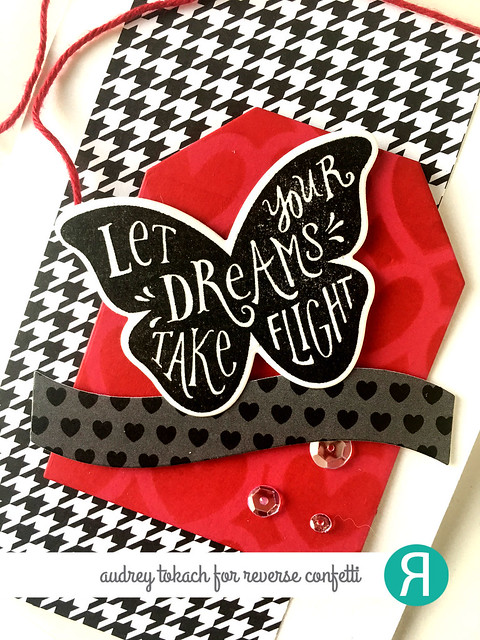
And here is my card!  I started off with a white card base.  I added a strip of patterned paper from the True Love paper pad.  Then I diecut the Topped Off Tag from Salsa cardstock, and used Salsa ink and the Hearts stencil to add a tone on tone pattern to the tag.  I stamped a image from Butterfly Dreams in black ink on white cardstock, then using the Greetings Frame Confetti Cuts, cut a banner from more True Love patterned paper.  I added everything to the card base with foam tape, and added a scattering of sequins and some red twine to finish things off.


January SFYTT

I am really loving mixing patterns lately!  

January SFYTT

I hope you will play along with us for a chance to win a Reverse Confetti gift certificate!

Thanks for stopping by!! :)


Thursday, January 19, 2017

God is Our Refuge and Strength - Reverse Confetti


Hello there!  Today I have a card to share with you that I made using some of the Reverse Confetti January release products!

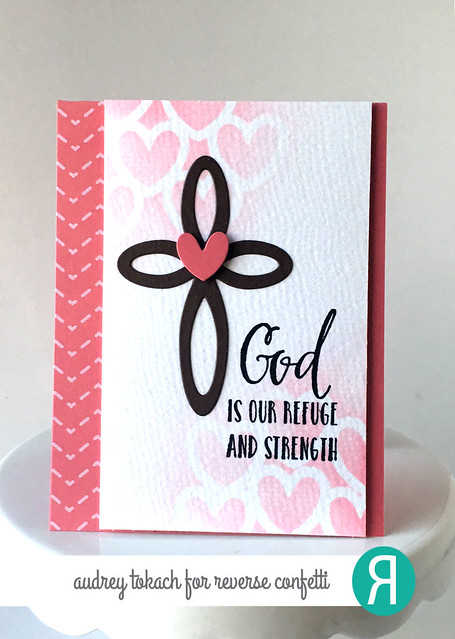
I am so in love with the new hearts stencil that I had to use it again!  It adds a beautiful subtle pattern behind the focal point of this pretty clean and simple card.


My Rock 2

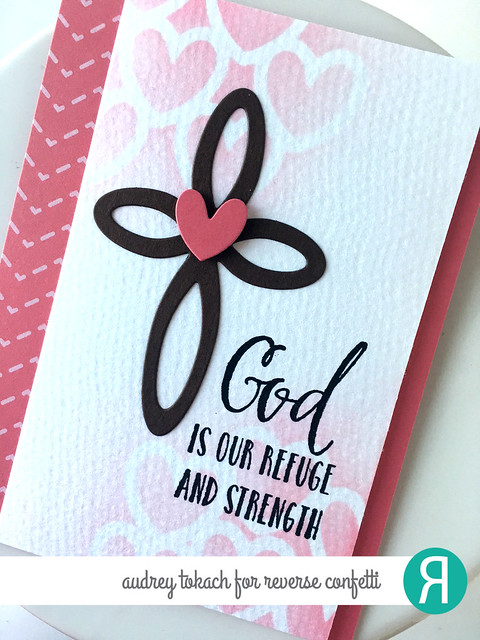
To create this card, I started off by using an ink blending tool and Piggy Bank ink with the hearts stencil.  With a light hand, I added a a few hearts to opposite corners of a piece of watercolor paper.  I diecut my focal point using the Cross Confetti Cuts from black cardstock, and cut a little heart from Flamingo cardstock using the All Hearts Cover Panel.  I love that with one pass of your diecut machine, you get a fun diecut panel AND a ton of cute little hearts!  I glued it to the panel with a glue pen, popped the heart up with foam tape, and stamped a sentiment from the My Rock stamp set just to the right of the cross.  I added a strip of patterned paper from the True Love paper pad on the left side of a Flamingo card base, and popped the focal point panel up with foam tape.

My Rock

That's all for me today!  Thanks so much for stopping by! :)


BLOG TEMPLATE BY DESIGNER BLOGS