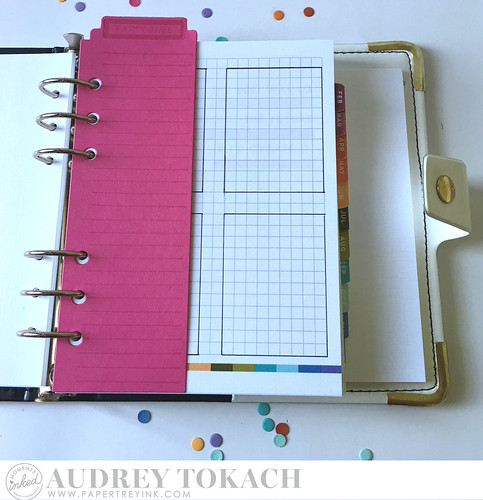
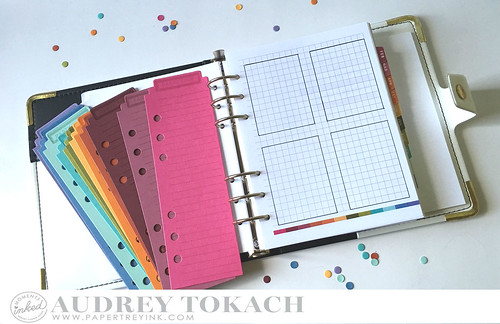
Hello there! Today I have a fun post for you using the Moments Inked Planner by Papertrey Ink! Recently, Papertrey Ink released graph paper that fits perfectly in the binder version of the planner. I was thrilled to see this, and I have implemented a bullet journaling system in my PTI planner using all of Moments Inked goodies! I can't wait to share!
Before I started my pages, I looked through all of the Moments Inked stamp sets and found images to use on my bullet journal pages. To make stamping your pages easier and less time consuming, I found it best to put all of your stamps one one block. I put several stamps on my 1" block, using both sides of the block. Here are the stamps I used:
- Small rounded square: Moments Inked: Posted II stamp set
- Tiny Star & Tiny Arrow: Moments Inked: Planner Banners stamp set
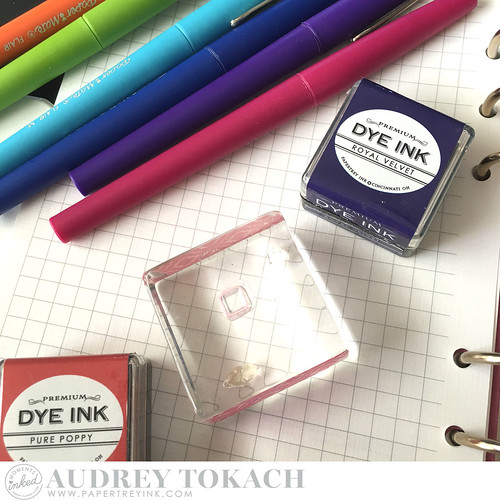
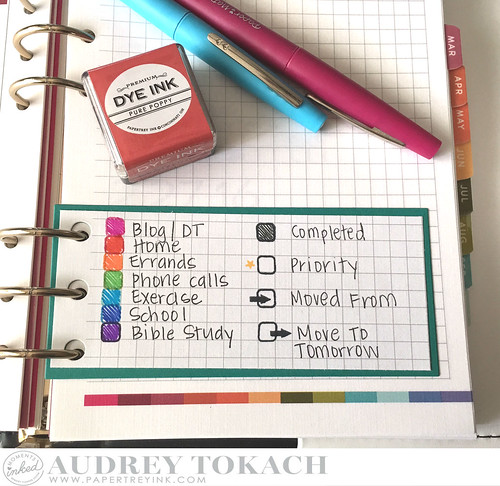
My next step was to create a color key for the different areas of my life that I wanted to include in my bullet journal. I pulled out all of my ink cubes that coordinated with my favorite Paper Mate pens and decided what colors would be used for which category.
I used the smallest die in the Moments Inked: Binder Page dies to cut pieces for my color key. I cut it once from grid paper and once from Tropical Teal cardstock. I trimmed the edges of the grid piece slightly to allow for a cardstock border. Adding the cardstock makes things a little more sturdy.
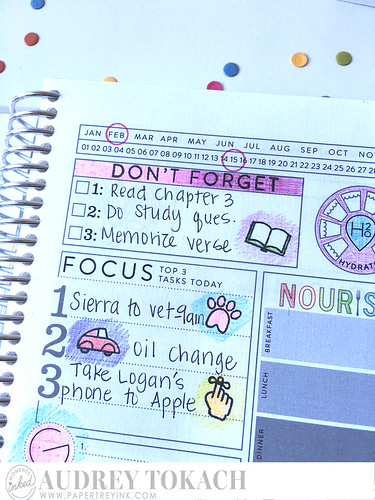
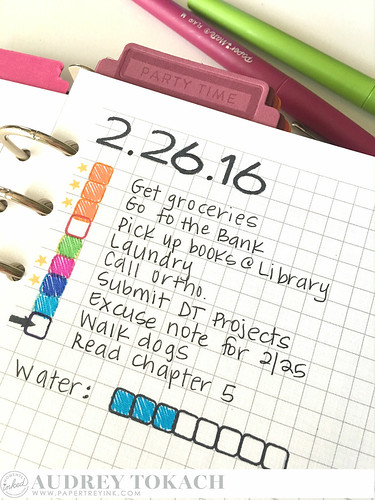
Tasks that have been completed will be colored in with corresponding colored pens. Tasks that are priority have a tiny star stamped next to the box. Tasks that were migrated from the previous day show an arrow on the left side of the box, and tasks that were not completed on a particular day show an arrow on the right side of the box, show that they need to be moved to the next day.
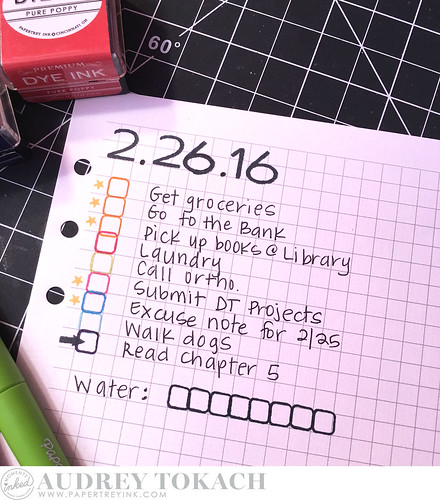
Here is my page at the start of my day, before any tasks have been completed.
I started off by stamping my date using the Fresh Alphabet stamp set. It is quite easy to date several pages at a time, and it goes by very quickly. You could date your pages for an entire month is just a few minutes!! As you can see, I stamped the rounded square image in several colors, following my color key. Priority tasks have been marked with a star, and one task was a carryover from the precious day. Underneath my tasks for the day, I also stamped squares to keep track of my water intake.
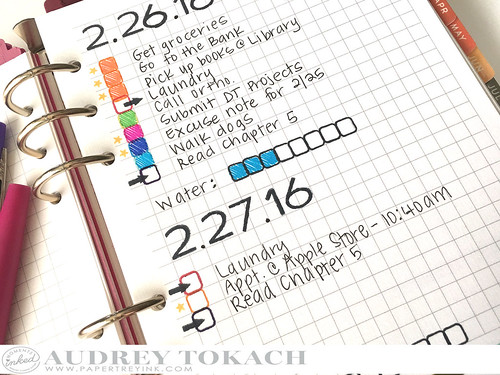
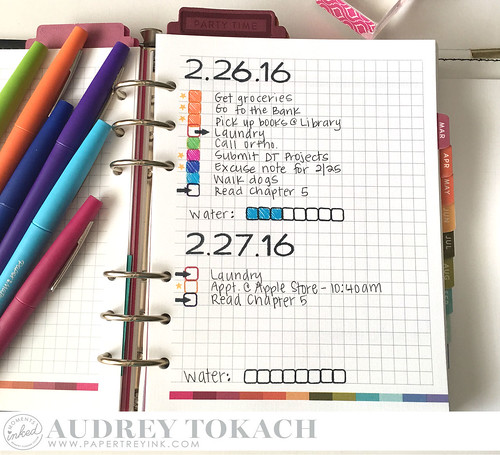
As the day went on, I marked off completed tasks and began to move tasks that I knew I wouldn't be able to complete, to the following day.
Here you can see what two days of my to-do list looks like. I am really loving this set up for tackling my daily tasks. I keep my little block loaded with the stamps I need to use, plus the ink cubes, in a tray on the corner of my desk. In just a few minutes, I have have my day outlined, tasks prioritized, and get in a little bit of stamping, all before breakfast, or last thing at night before I go to sleep. I love that bullet journaling gives you a quick, color coded list of your most important daily tasks!
I hope you have found this post helpful and feel inspired to give bullet journaling a try! If you do, please share photos with us! We love seeing how you are using your Moments Inked Planner! You can use the hashtag #momentsinked on Instagram to share!
That's all for me today! Thanks so much for stopping by!! :)

