Hey there! I'm back for day 2 of Countdown to Confetti!
The March release from
Reverse Confetti will be available on March 8th! You will find them in the store,
HERE.
Today's introductions include Butterfly Dreams and the coordinating Butterfly Dreams Confetti Cuts! This stamp set is unique in that in nearly every stamp, you get an image and sentiment all in one!
I started off my card by watercoloring a teal ombre pattern on a piece of watercolor paper. When it was dry, I used a stencil and dark teal ink to add a tone on tone pattern over top of the watercolor. I added some gold and white pearl watercolor spatter for even more dimension.
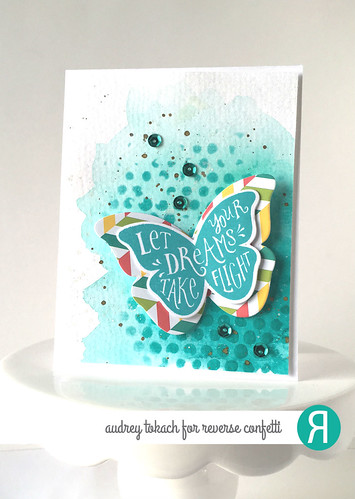
I used the largest butterfly in the Butterfly Dreams Confetti Cuts set to cut a butterfly from one of the new
So Very Spring Quick Card Panels. Then I stamped and diecut one of the sentiment butterflies to adhere on top of it. I used foam tape to put one on top of the other, and gently folded the butterfly in the center to help it pop off of the panel a little bit more.
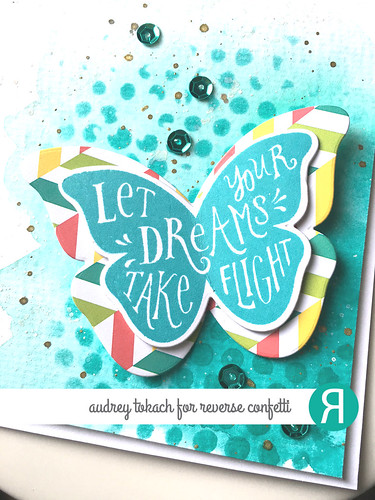
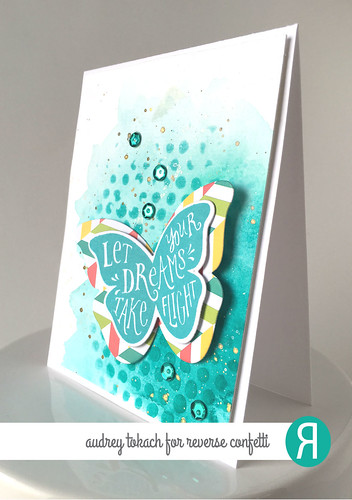
I added a scattering of teal metallic sequins to finish things off before popping the panel up on a white card base using foam tape.
Here you can see how much fun that gold metallic watercolor is! I just can't get enough of it! I want to paint everything with gold watercolor!! :)
I have a second card to share with you today using the new
Flowers for Mom, the new
Double Panel Hearts dies, and a super awesome new sentiment stamp set called
Whole Lotta Happy! The stamp set is done in an adorable whimsical font, and includes sentiments for a whole lotta holidays! *wink*
As soon as I saw the
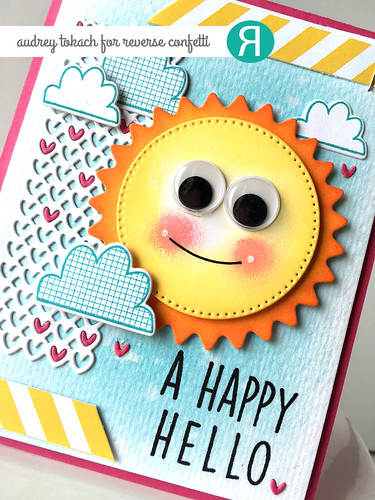
Flowers for Mom dies, I knew I wanted to create a sun with the pinked edge circle and pierced circle dies! To start off my card, I used an ink blending tool and Tumbled Glass Distress ink to add a subtle blue color to most of a 4 x 5.25" panel of watercolor paper. I concentrated the color in the center and blended out to white around the edges. I splattered some clean, clear water on it and blotted it up a few seconds later to add more texture to the panel. Then I diecut the pinked edge circle and pierced circle from white cardstock and colored them with shades of yellow and orange distress inks. I added some googly eyes and a blushing smile for some additional cuteness, and popped the yellow circle up on the orange rays with foam tape. I also diecut the open heart die from the
Double Panel Hearts dies out of white cardstock, and again from bright pink cardstock. I then stamped and diecut the small and large clouds from the
Weather it Together stamp set. I arranged everything like I wanted it on my watercolor panel, and adhered some pieces flat with a glue pen, and others popped up with foam tape. I collected some of the teeny hearts that are cut with the Double Panel Hearts die, and glued them into the white diecut, randomly with a glue pen. I stamped the "A Happy Hello" sentiment from the
Whole Lotta Happy stamp set in the bottom right corner. I felt like it needed something else, so I cut some stripes of the yellow chevron pattern in the new
So Very Spring Quick Card Panels, and stapled them to the top right and bottom left edges of the panel before popping the panel up on a bight pink card base using foam tape.
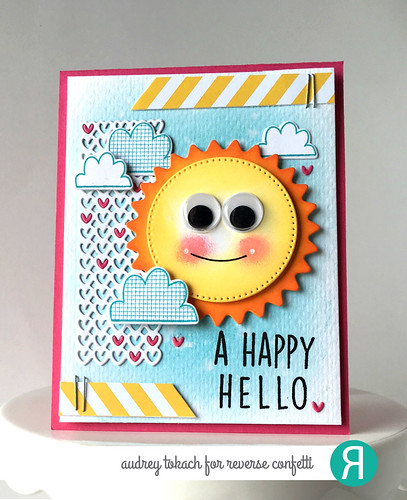
I just love how you can piece the tiny hearts into the bigger panel with the
Double Panel Hearts dies! It really gives endless possibilities! Can you just picture rows of rainbow hearts? A fun pattern? A black panel with tiny red hearts? See... endless possibilities! And those tiny hearts make the most perfect bitty heart confetti! LOVE!
That's all for me today! Be sure to check out the
Reverse Confetti blog to see lots more inspiration from the design team! There are prizes to be won, too! Be sure to leave a comment here and the rest of the Design Team blogs for more chances to win! Thanks for stopping by!

Let Your Dreams Take Flight:
A Happy Hello:


