Tuesday, November 7, 2017

Countdown to Confetti Day 3 {Reverse Confetti}


Hello there!  Welcome to day 3 of the Countdown to Confetti with Reverse Confetti!  All of the new release goodies that we are sharing with you this week will be available tomorrow, November 8th!


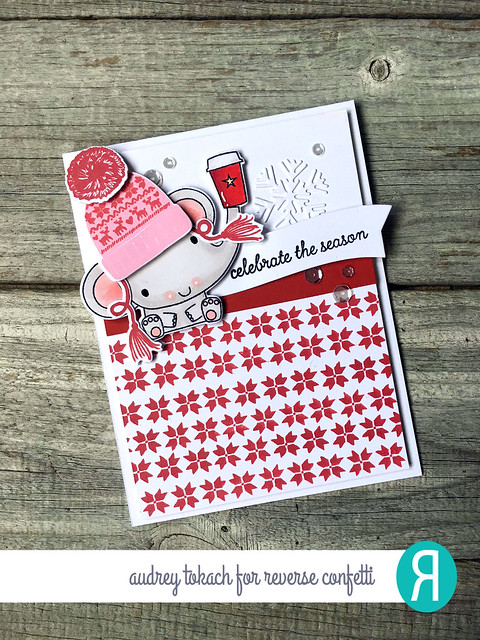
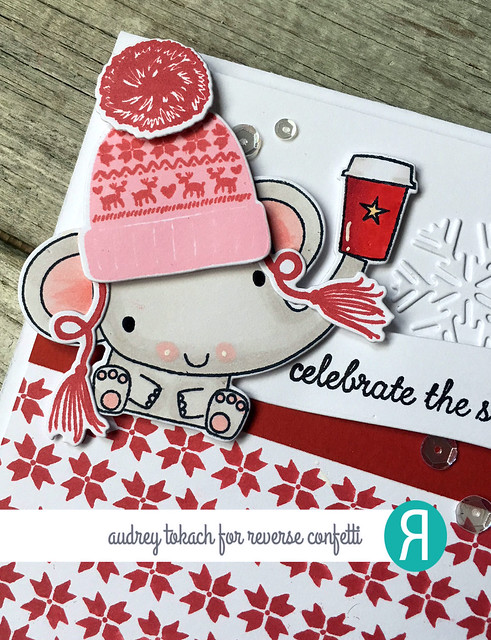
One of the many things that I love about Reverse Confetti is the ability to mix and match so many of their stamp sets.  The card that I have to share with you today features a brand new stamp set called Happy Winter, and an older stamp set, Coffee and You.  I knew as soon as I saw the cute little beanie hat in the Happy Winter stamp set that I wanted to dress up a critter!  And I don't know about you, but I LOVE red cup season at Starbucks, my favorite time of year!  I think these sets work perfectly together, even though at first glance, they might not be a likely pair.  Just proves there are no rules when it comes to stamping! :)

To create my card, I started off with an A2 Premier Polar White card base.  I cut another piece of white card stock to 4" by 5.25", and stamped the patterned strip from Happy Winter about 2/3 of the way up the panel in Salsa ink.  To add a bit of definition between the white and the pattern, I added a strip of Salsa cardstock.  I stamped and colored the adorable elephant from the Coffee and You stamp set, and diecut it with the coordinating Coffee and You Confetti Cuts dies.  Then, I stamped the solid beanie hat image from the Happy Winter set in Piggy Bank ink, and stamped the beanie pattern image in Salsa ink, along with the cute tassles and pompom, and diecut them all with the coordinating Happy Winter Confetti Cuts dies.  I popped the elephant and her beanie up with foam tape, and then, on a banner diecut from the Flowers For Mom Confetti Cuts die set, I stamped a sentiment from the Cool Friends stamp set.  I tucked the banner behind the elephant, and to add some fun to the white space next to her, I added a white snowflake cut using the Snowflake Trio Confetti Cuts die set.  To finish things off, I added a scattering of clear sequins and some white gel pen accents, then mounted the panel on the card base using foam tape.
Happy Winter 1

I love thinking outside the box when I am creating.  I  love that images don't have to necessarily be meant to go together to create cute, fun scenes.  I hope this card inspires you to dig through your stash and look at stamp sets a little differently.  More bang for your buck and extra mileage out of your stamp sets! :)
Happy Winter 2

Be sure to visit the Reverse Confetti blog for lots more inspiration!  Comment along the way for your chance to win a $15 Reverse Confetti gift certificate, and stop back by tomorrow for the November blog hop, and to see more of the new release! :)


Monday, November 6, 2017

Countdown to Confetti Day 2 {Reverse Confetti}


Hello there!  Welcome to day 2 of the Countdown to Confetti with Reverse Confetti!  All of the new release goodies that we are sharing with you this week will be available on November 8th!


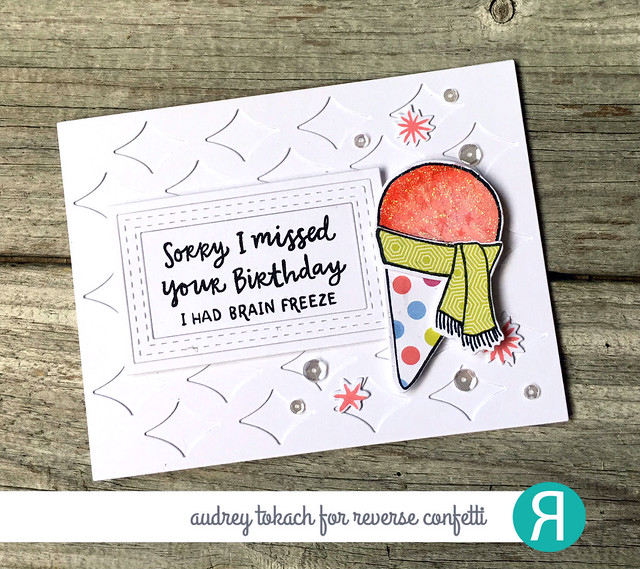
Today, I have a card to share with you featuring the new Sno Awesome stamp set!  This set is so fun and different!  And who doesn't love Sno cones?!  To create my card, I started off with a horizontal A2 card base cut from Premier Polar White cardstock.  Then, I cut another layer in white using the Large Diamond Cover Panel Confetti Cuts.  I adhered the two together with a glue pen.  I used the several cuts from the All Framed Up Confetti Cuts to create a frame for my sentiment, which is also from the Sno Awesome stamp set.  I popped the frame up with foam tape.  I stamped the sno cone in black ink and paper pieced the cone and scarf with new patterned papers from the Cheerful and Kind paper pad, then I colored the sno part with Copic markers.  I stamped the filller image in Coral ink, which is just slightly darker than the markers I used, then stamped the three large stars from the set in Coral ink, and diecut them with the coordinating Sno Awesome Confetti Cuts.  I popped the sno cone up with foam tape and added a scattering of sequins.

Sno Cool 1

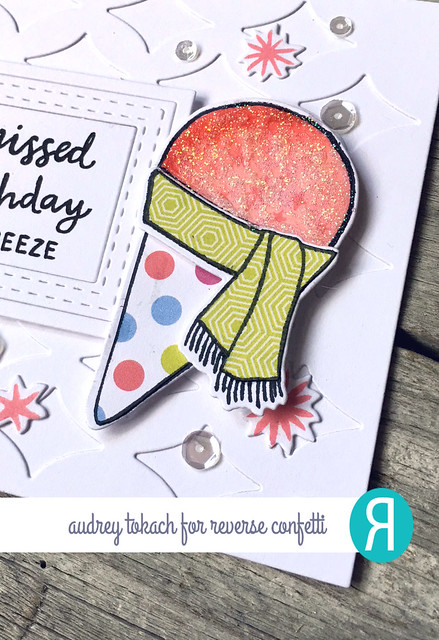
To get a real icy dimensional look to the sno cone, I coated it with Nuvo Glimmer Paste in the color Moonstone with an old paint brush.  This stuff is magical, and it makes it look so real!!  

Sno Cool 2

Be sure to visit the Reverse Confetti blog for lots more inspiration!  Comment along the way for your chance to win a $15 Reverse Confetti gift certificate, and stop back by tomorrow to see more of the new release! :)


Sunday, November 5, 2017

Countdown to Confetti Day 1 {Reverse Confetti}


Hello there!  Welcome to day 1 of the Countdown to Confetti with Reverse Confetti!  All of the new products that you are seeing over the next few days will be available in the Reverse Confetti store at all your favorite retailers on November 8th!


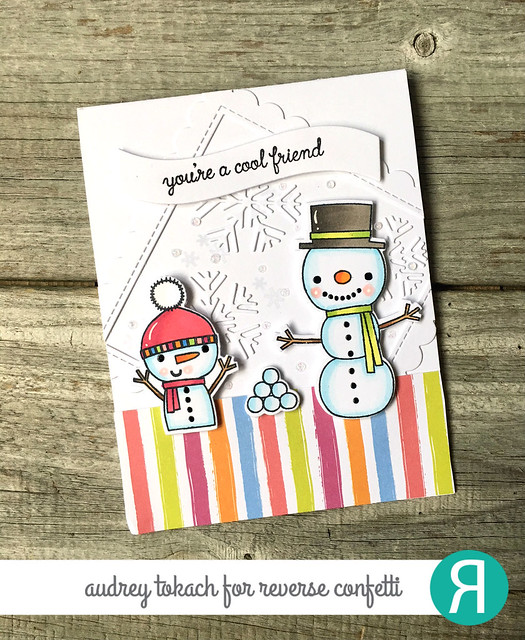
Today, I have a card to share with you using an adorable new snowman set called Cool Friends!  I have a thing for snowmen, and I squealed with delight when I pulled these cuties out of my design team package.  To create my card, I started off with an A2 card base in Premier Polar White cardstock.  I added a strip of striped patterned paper from the new Cheerful & Kind paper pad.  I just LOVE the colors in this paper collection!  To create my focal point, I diecut the largest square from the new Scalloped Squares Confetti Cuts die set from Premier Polar White.  I adhered that to the card base on a diagonal.  I think it adds some whimsy to the card.  I filled the square with snowflakes from the Snowflake Trio Confetti Cuts die set.  Then I stamped and colored the cut little snowmen from Cool Friends in colors to coordinate with the patterned paper, diecut them with the coordinating Cool Friends Confetti Cuts dies, and popped them up with foam tape.  I stamped a sentiment from the same set onto a diecut banner from the  Greetings Frame Confetti Cuts die set, and popped that up with foam tape as well.

Cool Friends 1

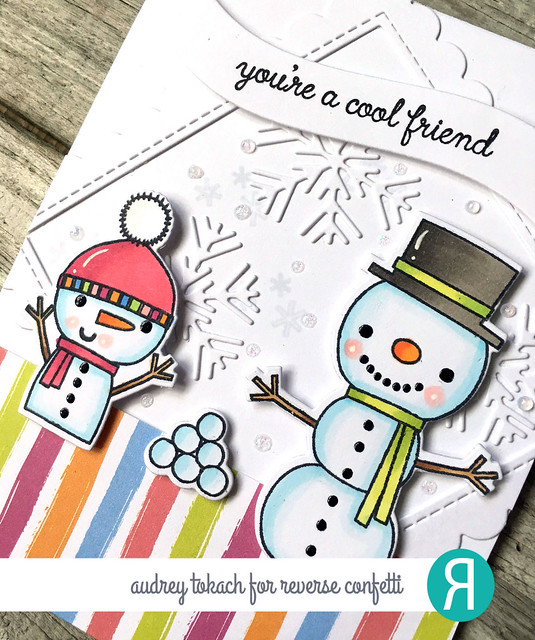
I added some accents with a white gel pen, and gave their eyes and buttons a coal-like look with a black glaze pen.  Finally, I added some more glittery snowflakes using Glitter Nuvo Drops.  Tiny details like this can bring so much life to an otherwise simple card design.  The finishing touches are my favorite part! :)

Cool Friends 2

That's it for me today, but there is lots more to see on the Reverse Confetti blog!  Comment on the design team blogs for a chance to win a $15 Reverse Confetti gift certificate!

I hope you will stop back by tomorrow... I have so much more to share with you! :)


Saturday, November 4, 2017

25 Days of Christmas Tags {Reverse Confetti}


Hello there!  Today, I am super excited to be participating in the 25 Days of Christmas Tags with our host, Tracey McNeeley!  Tracey has been hosting this 25 day long event for 7 years now, and it's packed with so much inspiration!  Today, my project features products from Reverse Confetti, including a new, not yet released stamp set and coordinating dies!  Read on to find out more!


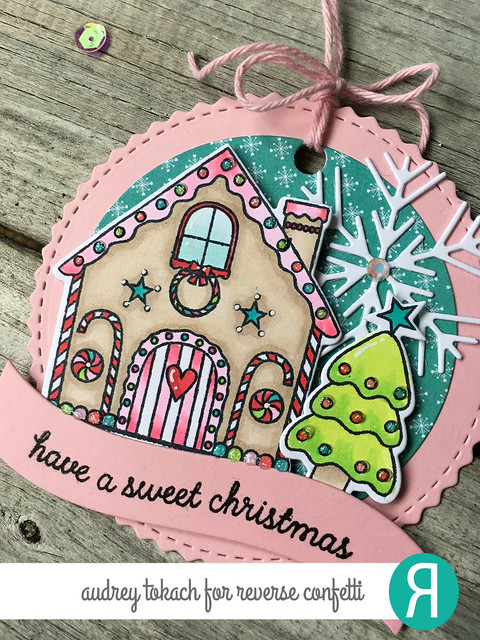
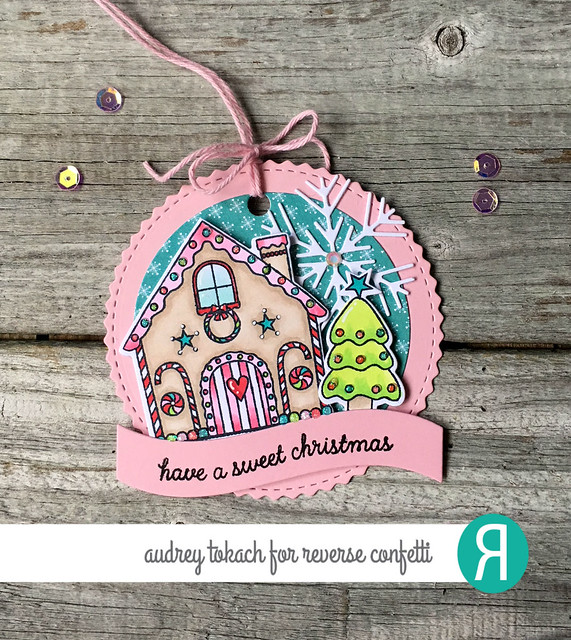
I love non-traditional colors for the holidays, and I especially love incorporating pink into holiday projects.  To create my tag, I started off my diecuting the pinked edge circle from the Fa La La Circle Confetti Cuts die set from Piggy Bank cardstock.  Then, using the smaller circle in the die set, I diecut a piece of patterned paper from the Warm Heart paper pad.  I stamped and colored the adorable little gingerbread house from the brand new Sweet Holiday stamp set, which will be available for purchase on November 8th.  I diecut the house and tree with the coordinating Sweet Holiday Confetti Cuts.  I stamped a sentiment from the set on a banner from the Greetings Frame Confetti Cuts die set, and added a fun snowflake to the scene using the Snowflake Trio Confetti Cuts die set.  To finish off my tag, I added some glittery Nuvo Drops to parts of the house and tree, and an iridescent jewel to the center of the snowflake.  Then I added some Blossom Twine which coordinates perfectly.

Sweet Holiday 1

I love adding fun details to the gingerbread house.  I can't want to color more of these, or maybe paper piece them!  So many possibilities!

Sweet Holiday 2

That's all for me today!  Be sure to visit Tracey's Blog for lots more details and to see lots more inspiration!  Stop back by here tomorrow for day 1 of the Countdown to Confetti!  The new release will be available on November 8th! :)

Thanks for stopping by!!


BLOG TEMPLATE BY DESIGNER BLOGS