Hello there! It's day 1 of the Countdown to Confetti with
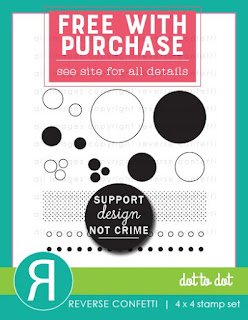
Reverse Confetti! All of the goodies that you will see over the next few days will be available for purchase in the Reverse Confetti store and at your favorite retailers on March 8th! If you shop in the Reverse Confetti store, we have a free gift with purchase this month! The super cute
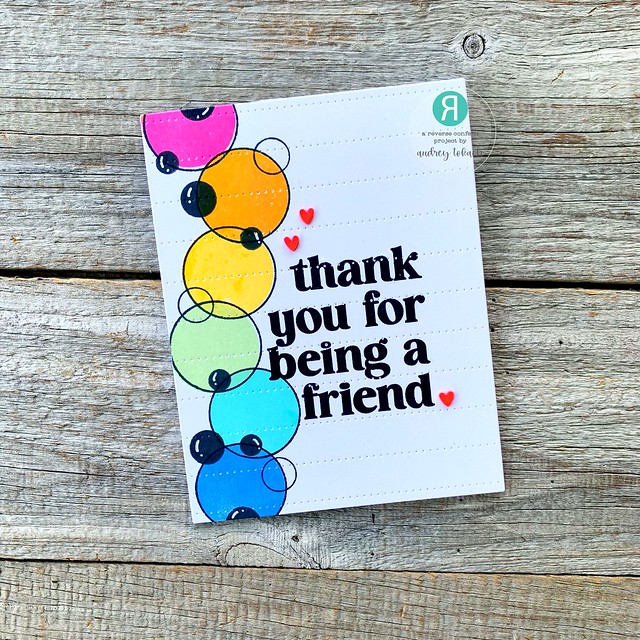
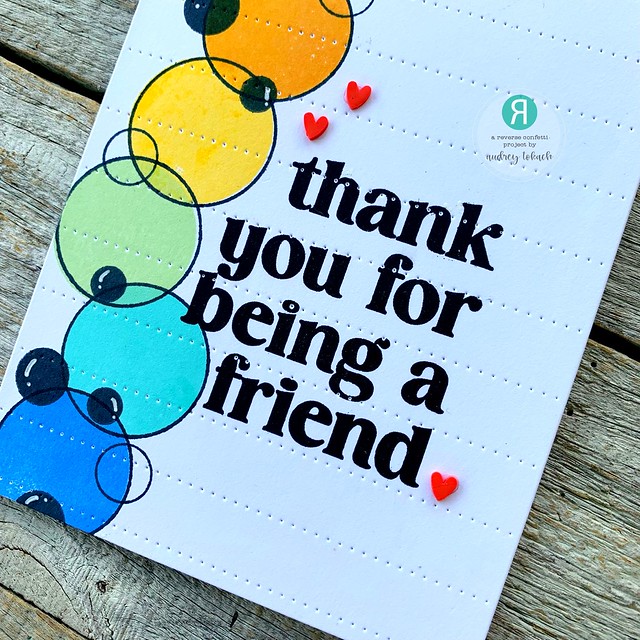
Dot to Dot stamp set is so versatile and fun! Check out the
Reverse Confetti Blog for all the details!

My first card today showcases the gift with purchase, along with the new Sending Smiles stamp set and coordinating dies! To create my card, I started by diecutting the new Layered Mom with Frame die set from black and white cardstock. I stamped the white inside of the frame with Dot to Dot, and splattered it with black watercolor. I adhered the black frame to a coral card base, and inset the stamped panel. Then, I stamped the outline flower and leaves from Sending Smiles stamp set in black ink, and filled them in with several colors of ink in bright, happy colors.
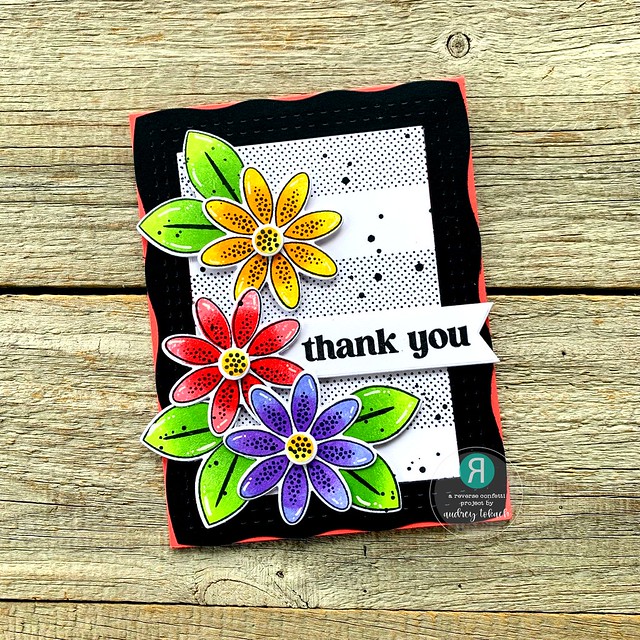
I diecut the flowers and leaves with the coordinating Sending Smiles Confetti Cuts, and popped them up on the left side of the card front. I popped the flower centers up with an extra layer of foam tape. Then, I stamped a sentiment from the same set onto a white banner diecut, and tucked that underneath the center flower. To finish off this card, I added some white gel pen accents.
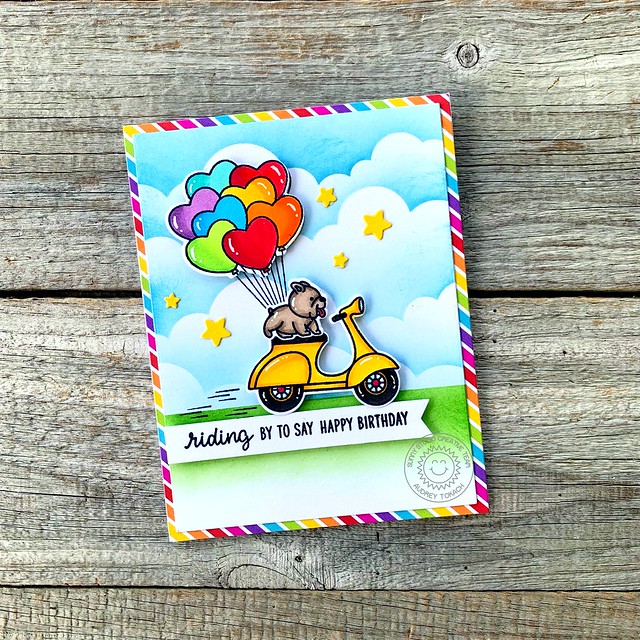
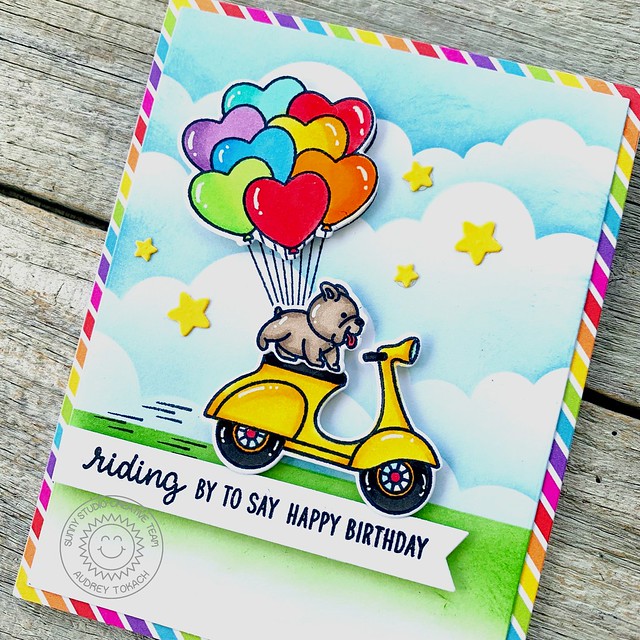
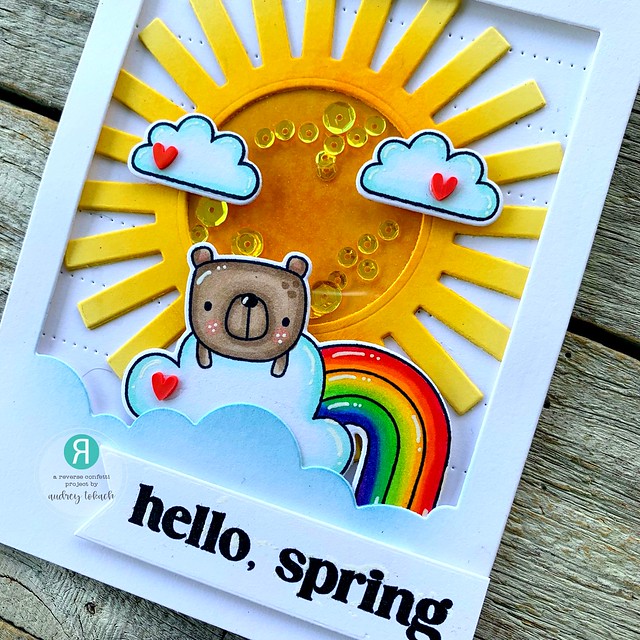
I diecut the
Head in the Clouds Cover Panel from white cardstock and inked the cloud portion lightly with Tumbled Glass Distress Ink and popped it up on the card panel. The bear was tucked behind the clouds and the two smaller clouds were popped up with foam tape. I stamped a
Springtime Sentiment on a white banner and popped that up with foam tape also. To finish off this card, I added some white gel pen accetns and a scattering of tiny clay hearts.
That's all for me today, but be sure to hop along and see what the rest of the crew has to share with you! Comment along the way for a chance to win a Reverse Confetti gift certificate! Stop back by tomorrow to see more of the new release! Thanks so much for stopping by! :)
Audrey Tokach - **you are here**
Maria Russell
Lisa Henke
Cheiron Brandon
Amy Kolling
April Antonio
Dana Kirby
Amy Tsuruta
Joy Baldwin
Jeanne Jachna