
Hello there! Welcome to day 2 of the Countdown to Confetti with Reverse Confetti! All of the new release goodies that we are sharing with you this week will be available on November 8th!

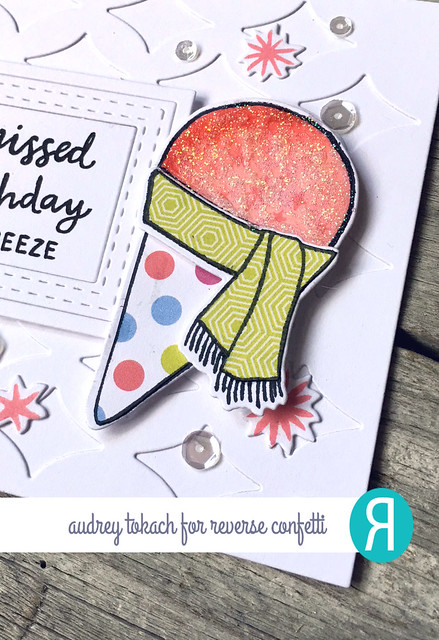
Today, I have a card to share with you featuring the new Sno Awesome stamp set! This set is so fun and different! And who doesn't love Sno cones?! To create my card, I started off with a horizontal A2 card base cut from Premier Polar White cardstock. Then, I cut another layer in white using the Large Diamond Cover Panel Confetti Cuts. I adhered the two together with a glue pen. I used the several cuts from the All Framed Up Confetti Cuts to create a frame for my sentiment, which is also from the Sno Awesome stamp set. I popped the frame up with foam tape. I stamped the sno cone in black ink and paper pieced the cone and scarf with new patterned papers from the Cheerful and Kind paper pad, then I colored the sno part with Copic markers. I stamped the filller image in Coral ink, which is just slightly darker than the markers I used, then stamped the three large stars from the set in Coral ink, and diecut them with the coordinating Sno Awesome Confetti Cuts. I popped the sno cone up with foam tape and added a scattering of sequins.
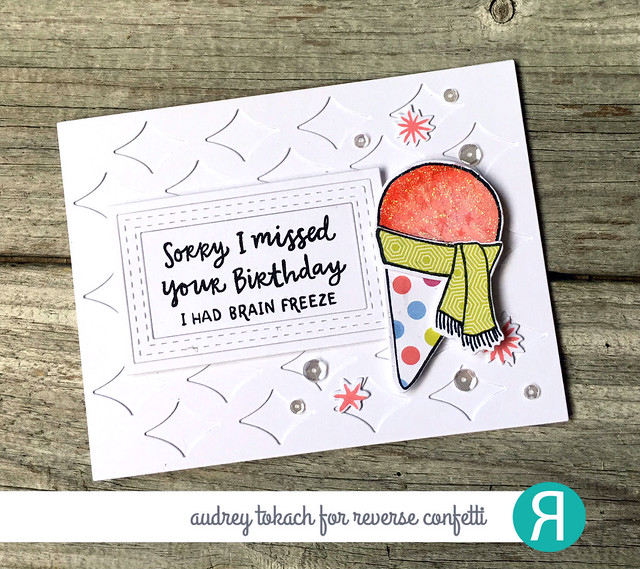
To get a real icy dimensional look to the sno cone, I coated it with Nuvo Glimmer Paste in the color Moonstone with an old paint brush. This stuff is magical, and it makes it look so real!!
Be sure to visit the Reverse Confetti blog for lots more inspiration! Comment along the way for your chance to win a $15 Reverse Confetti gift certificate, and stop back by tomorrow to see more of the new release! :)


amazing sno cone! love the glittery detail, it looks so real and the colors are gorgeous.
ReplyDeleteThe glimmer paste is perfect!! Adorable card!!
ReplyDeleteAwesome release! Super pretty card! I especially love how you show how orienting the diamond background die differently totally changes its look!
ReplyDeleteFraming the sentiment and
ReplyDeletesprinkling the sequins were
great ideas.
Wonderful card.
thanks for sharing.
Cheerful and so fun and colorful!
ReplyDeleteYour snow-cone card is so cute for a belated birthday card! The glitter on the snow-cone looks fabulous!
ReplyDeleteWhat a lovely post with wonderful creativities!
ReplyDeleteThis is such a yummy card !
ReplyDeleteVery fun. Love your patterns and colors. Cute!
ReplyDeleteYour snow cone looks so yummy with the sparkle! Awesome card.
ReplyDeleteLove the sparkle on the snow cone!
ReplyDeleteCute--your snow cone looks so realistic.
ReplyDeletelove how you used the cover die!
ReplyDelete