Hello there! Welcome to the countdown to Confetti Day #1 with Reverse Confetti! All of the products that we will be showcasing over the next few days will be available on the Reverse Confetti website and at your favorite retailers on November 8th! If you order from the Reverse Confetti store, this month we are offering a free gift with $60 purchase! Snowy Sentiments pairs perfectly with all of your winter favorites!
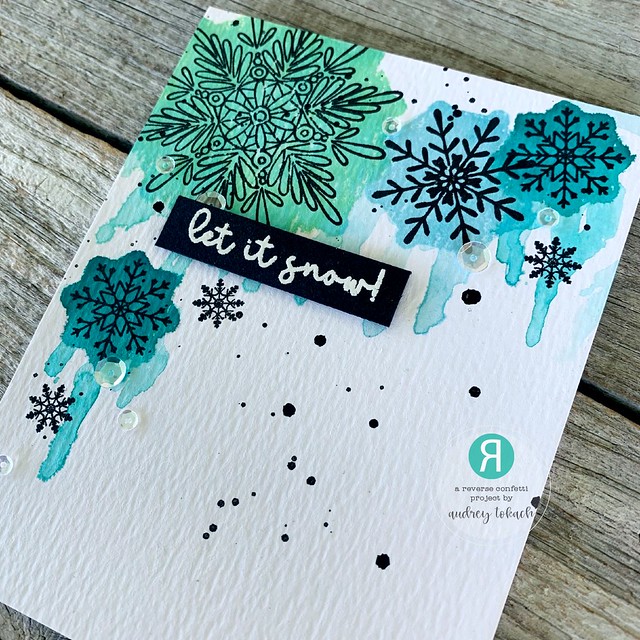
Today, we are showcasing the beautiful new Snowflake Season stamp set and coordinating Snowflake Season Confetti Cuts dies. To create my first card, I started out with a piece of watercolor paper cut to 4.25" x 5.5". I placed it in my Misti, and stamped the reverse of each snowflake image on the paper using Distress Inks. I placed the snowflakes pretty side down, and inked the "back" part of each stamp. Then I misted the panel with water and used a paint brush to help the color run a bit. I dried that layer with a heat tool, then stamped the detail side of each snowflake over top in Black ink.
I splattered black watercolor over the entire panel, and then stamped one of the Snowy Sentiments on black cardstock and heat embossed it with white embossing powder. I trimmed the sentiment with scissors and popped it up with foam tape. Then, I added a scattering of clear sequins to the panel before adhering it to an A2 card base.
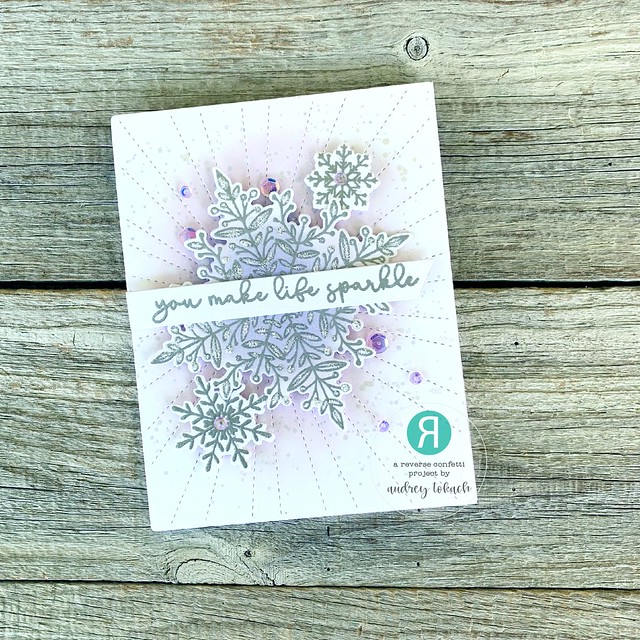
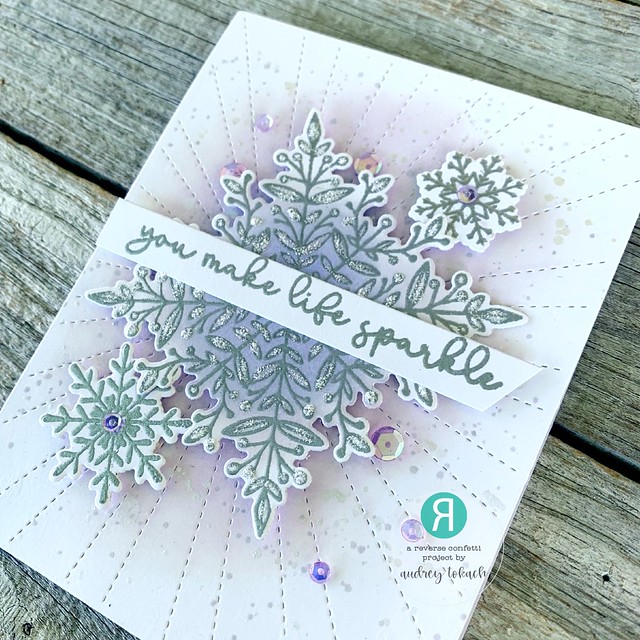
For my second card, I went a little more elegant and heat embossed the Snowflake Season snow flakes in silver embossing powder on white cardstock. I placed them on a panel diecut with the Stitched Rays Cover Panel which I ink blended with Milled Lavender Distress Oxide ink. Then, I splattered the panel with white pearl watercolor. After I diecut the snowflakes, I added some Shaded Lilac ink to the center of the largest snowflake for some contrast. Each snowflake was popped up with foam tape.
I added some Frosted Lace Stickles to the largest snowflake. I stamped and heat embossed another sentiment from Snowy Sentiments and popped that up with foam tape. To finish off the card, I added a scattering of iridescent purple sequins.
That's all for me today, but be sure to hop along and see what the rest of the team has to share with you! Comment along the way for your chance to win a Reverse Confetti gift certificate! Be sure to stop back by tomorrow to see what else I have to share with you! Thanks for stopping by! :)


I love your cards Audrey! (as always)
ReplyDeleteThese are so fabulous Audrey. LOVE the technique and look of your first one.
ReplyDeleteJust stunning! I LOVE the first one!
ReplyDeleteGorgeous cards! I love how the snowflakes look like they are melting on the first card, but are still beauties! I love the color purple so the 2nd card is a fave for me.
ReplyDeleteLovely cards, Audrey!
ReplyDeleteYou make my life sparkle is a cool card. I love the dotted lines, especially.
ReplyDeleteLove these gorgeous snowflakes! Beautiful cards!
ReplyDeleteLove the melting snowflakes! And the soft dainty look of the second card! So pretty!
ReplyDeleteSuch stunning cards! I adore the loose watercolor look of the first card!
ReplyDeleteGreat project shares. I like the idea for the watery snowflakes.
ReplyDeleteJust so pretty!
ReplyDeleteJust beautiful!
ReplyDeleteThe pale lilac snowflakes are really pretty.
ReplyDeleteBeautiful cards! :)
ReplyDeleteBeautiful cards! I love how you let the colors run on the first card- so pretty!
ReplyDelete