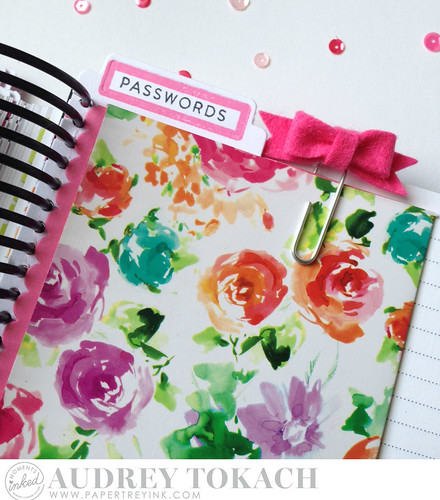
Hello there! Today I have a Papertrey Ink Moments Inked Planner project to share with you! If you are anything like me, your planner is a catch-all for all of your important info, and things you want easily accessible. While you might want to have all of your info at your fingertips, there might be some things that you don't want out in the open for everyone to see. Today, I will share with you how I created a folding pocket for my planner, made out of an upcycled gift bag, making it easy to hide your more personal information.

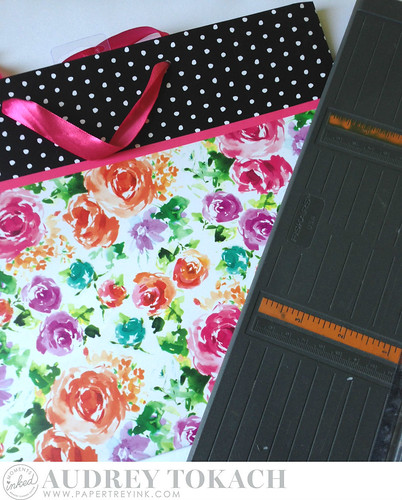
I was given a gift in this beautiful gift bag and the prints and patterns just make me happy! I wanted to incorporate it in to my planner somehow, and it's large size made it perfect for this project. I started off my cutting off one side of the bag using my scissors, then using my paper trimmer, I evened up the edges, and cut a piece that measured 6.75" high by 10" wide. Then I scored it at 5" to make a fold in the middle. I also cut a piece of Hibiscus Burst card stock to the same measurements, to serve as the inside of my pocket. I knew I would be opening and closing this pocket quite often, the extra sturdy gift bag, backed with the cardstock should hold up quite nicely.
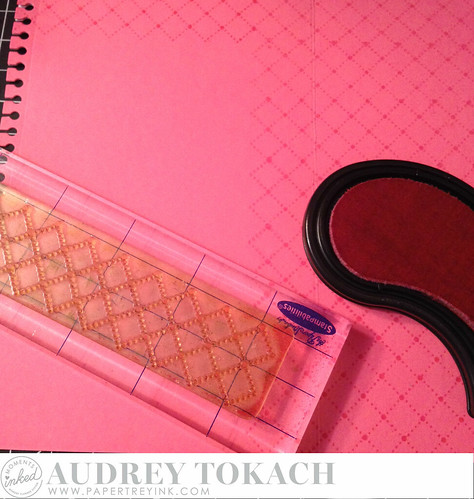
The inside of the pocket was looking pretty plain, so I did some tone-on-tone stamping with the Background Basics: Tin Types stamp set and Hibiscus Burst ink. I also used the Moment Inked: Edged die to cut a notebook edge on the left side of the fold so that I can easily insert this into my planner, and move it around if necessary.
Inside my pocket, I used the Moments Inked: Tabbed List die and the Moments Inked: Listed stamp set to create a place for me to write down all of my computer passwords.
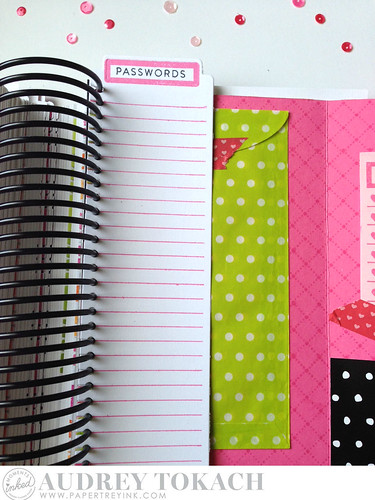
I added a printed glassine envelope to the inside of the pocket, behind the list. Again, I used the Moments Inked: Edged die to add a punched edge. I used a printed bag for added privacy, but Papertrey's Glassine Bags would also be a great option for this!
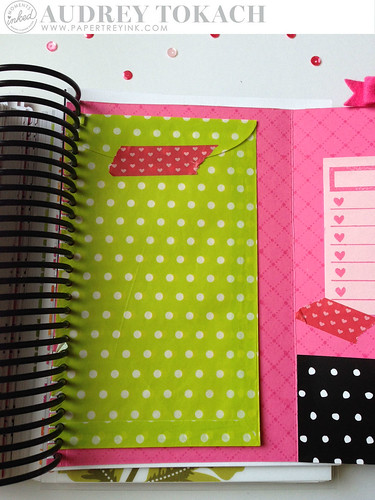
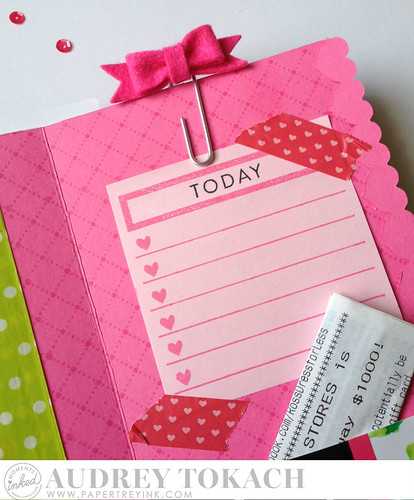
On the right side of my pocket, I added a post-it note list using the Moments Inked: Posted stamp set, and I added a small pocket on the bottom of that side using another snippit of the gift bag.
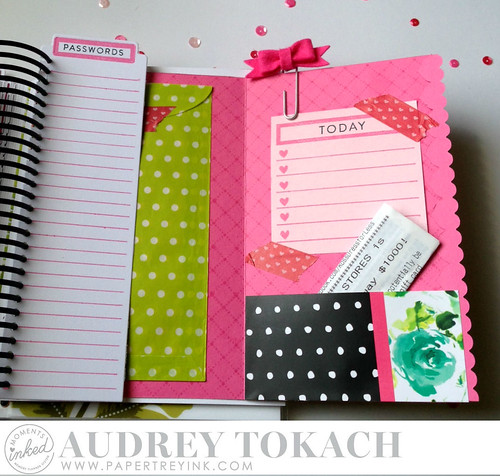
To keep my pocket closed, I made a felt bow clip using the Bow Clips die and some Raspberry Fizz felt.
I hope you are feeling inspired by my post today! Be sure to share all of your planner projects with us on instagram using the #momentsinked hashtag! We'd love to see what you are up to!
Thanks so much for stopping by!! Have a great day! :)
Supplies:
Stamps: Moments Inked: Listed, Moments Inked: Posted, Background Basics Tin Types
Dies: Moments Inked: Tabbed List, Moments Inked: Edged, Bow Clips, Heart Border
Paper: PTI White, Hibiscus Burst, Gift Bag, patterned glassine bag (Target)
Ink: True Black, Hibiscus Burst
Other: Rasberry Fizz Felt. Post It notes, Washi Tape


So cute! I absolutely adore your color combo and I am loving the print on your gift bag. I never would have thought to cut it down and use it, but it looks awesome! :)
ReplyDeleteWhat a great idea to use the gift bag as part of the pocket. Very pretty!!
ReplyDeleteWhat a fabulous idea! I love the patterned paper on the gift bag -- what a wonderful way to reuse it!
ReplyDeleteLOVE LOVE LOVE!! Great way to upcycle something SO BEAUTIFUL and a GREAT Place to keep stuff more Private!! =) THANKS for sharing and have a FABULOUS WEEK!! =)
ReplyDeleteI love what you're doing with your planner! Mine is TOTALLY different, but I just love seeing everyone's styles. :) Such amazing inspiration!
ReplyDelete