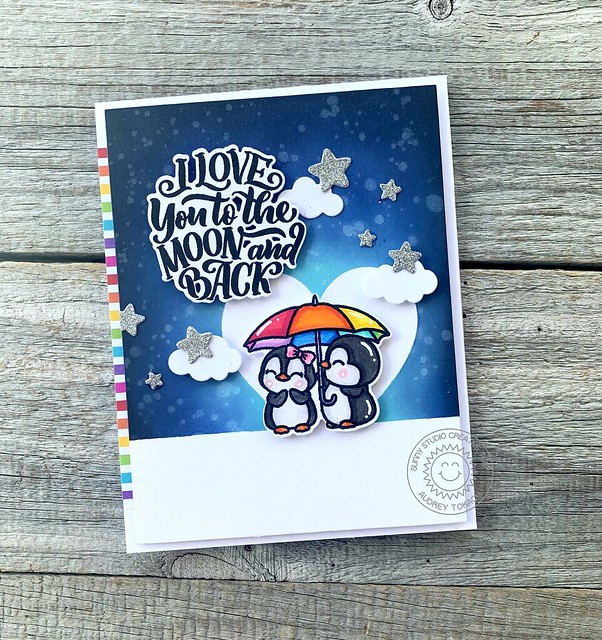
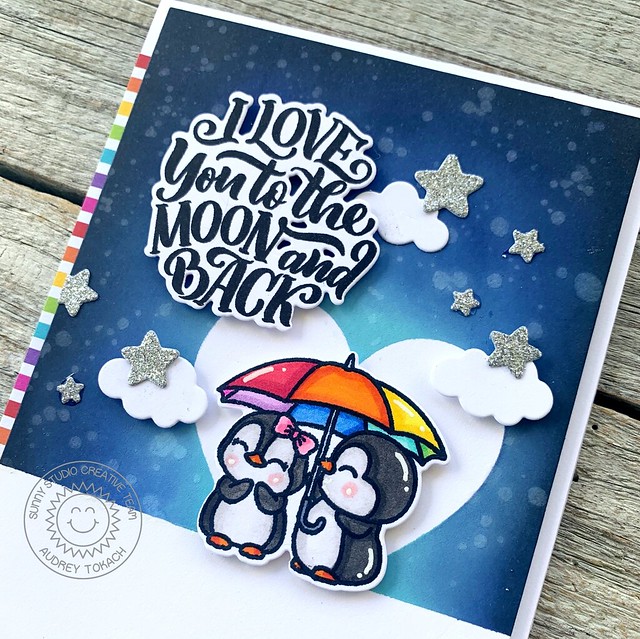
Hello friends! Today, I am here with some adorable penguins from Sunny Studio Stamps! To create my card, I started off with a piece of white cardstock cut to 4" x 5.25". I masked off the bottom 2/3 of the panel and then added another heart shaped mask in the bottom right corner which I cut using the Stitched Hearts 2 dies. I used distress oxide inks in the shades Salvaged Patina, Blueprint Sketch, Chipped Sapphire and Black Soot to create a night sky, when splattered on some clean clear water to bleach out some areas for added interest. I stamped and colored the penguin couple under the umbrella from the Passionate Penguins stamp set and diecut them with the coordinating Passionate Penguins dies. I popped them up using foam tape in the heart shaped highlighted area.
Pages
Friday, January 28, 2022
Sunny Studio Stamps - Passionate Penguins
Hello friends! Today, I am here with some adorable penguins from Sunny Studio Stamps! To create my card, I started off with a piece of white cardstock cut to 4" x 5.25". I masked off the bottom 2/3 of the panel and then added another heart shaped mask in the bottom right corner which I cut using the Stitched Hearts 2 dies. I used distress oxide inks in the shades Salvaged Patina, Blueprint Sketch, Chipped Sapphire and Black Soot to create a night sky, when splattered on some clean clear water to bleach out some areas for added interest. I stamped and colored the penguin couple under the umbrella from the Passionate Penguins stamp set and diecut them with the coordinating Passionate Penguins dies. I popped them up using foam tape in the heart shaped highlighted area.
Friday, January 21, 2022
Sunny Studio Stamps - Bursting Hearts
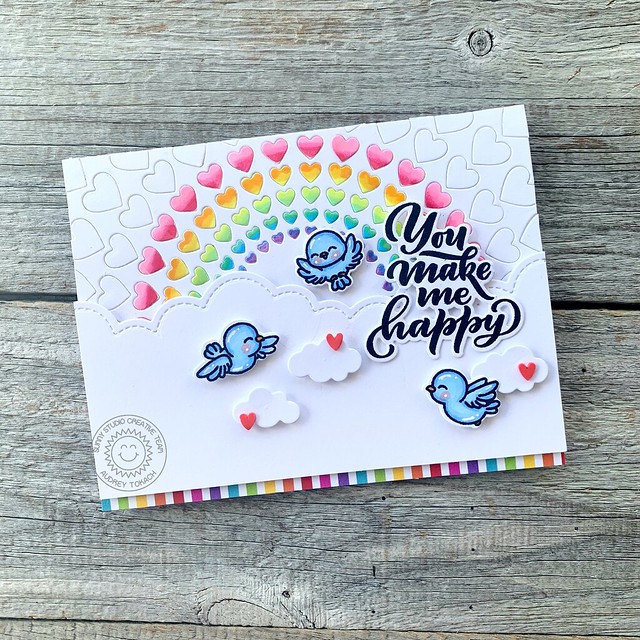
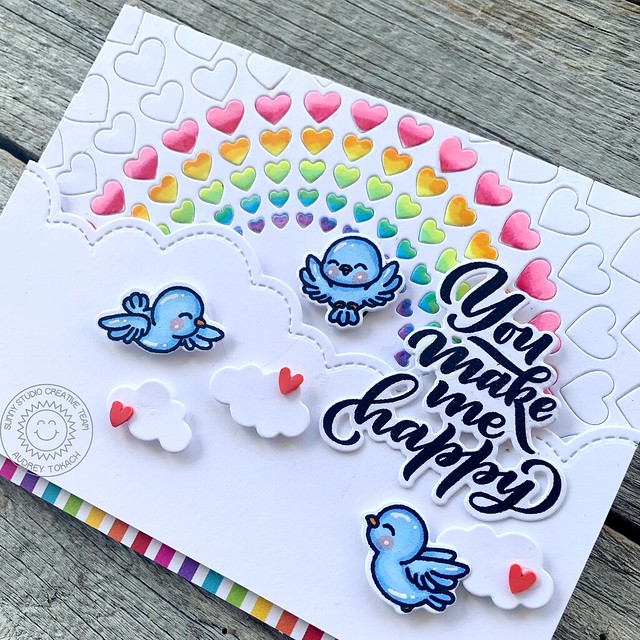
Hello Friends! Today, I am here with a fun card for you using the new Bursting Hearts die and other new products from Sunny Studio Stamps! I love that this die can be used horizontally or vertically for a totally different look. Today, I will use it for an A2 horizontal card. To create my card, I diecut the Bursting Hearts die, popped the inner most hearts on half of the panel, and created a rainbow shape. I diecut the Bursting Hearts die again from white, and was careful to keep as many of the hearts in the diecut as I could so I could easily color them with my copic markers. I wanted a more loose look rather than perfectly blended, almost to look a bit like watercolor. When I was done with the coloring, I inlaid the hearts onto the card base in rainbow order. Then, I used the Slimline Nature Borders cloud die to cover up the remaining part of the card front.
I stamped and colored a trio of birds from the Little Birdiestamp set, and diecut them with the coordinating Little Birdie dies before popping them up on the rainbow area and clouds. I used a sentiment from the new Lovey Dovey stamp set, diecut with the Lovey Dovey dies, and diecut a trio of tiny clouds from the Comic Strip Everyday dies. To finish off my card, I added white gel pen accents and a scattering of little clay hearts.
Friday, January 14, 2022
Sunny Studio Stamps - Hearts Dies
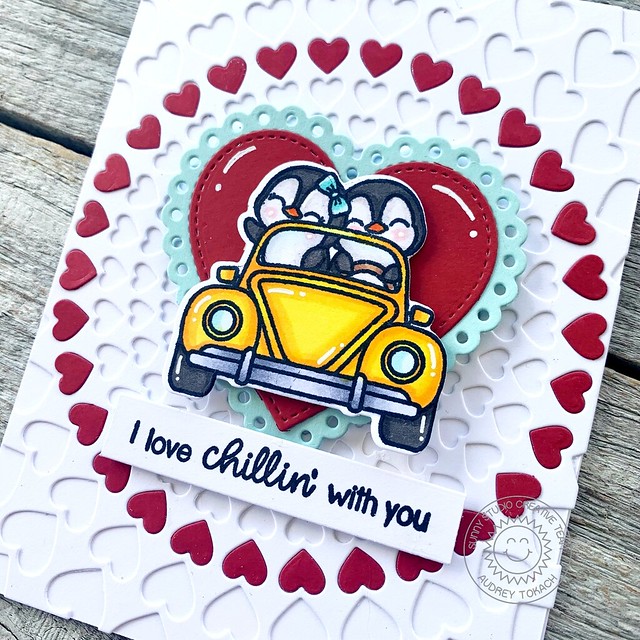
Hello there! I am here today with a fun card to share with you today using products from the new Sunny Studio Stamps Spring 2022 release! To create this card, I started off with a white A2 card base. I diecut the new Bursting Hearts die from both white cardstock and red cardstock. I glued the white diecut to the card base, and to highlight my focal point, I inlaid red hearts in a circle, following the pattern in the diecut. Then, I diecut the medium heart from the Stitched Hearts 2 dies from red cardstock and the medium heart from the Scalloped Hearts dies from aqua cardstock. They were adhered together with a glue pen to serve as the backdrop for the adorable Passionate Penguins!

I stamped and colored the penguin pair in the car with my copic markers and then diecut them with the coordinating Passionate Penguins dies. I popped them up with foam tape on the heart diecuts and added a sentiment from Passionate Penguins underneath them. To finish off my card, I added some white gel pen accents to those adorable critters!
Saturday, January 8, 2022
Reverse Confetti January Blog Hop!
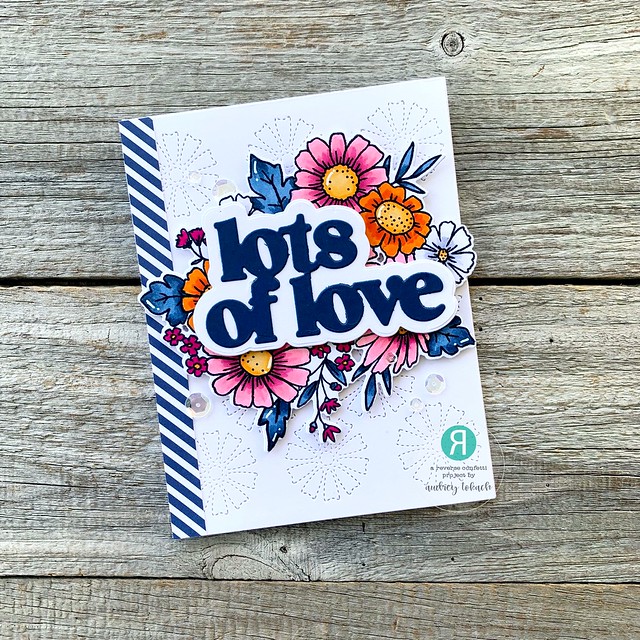
 Today is the day! Release Day at Reverse Confetti! All of the new goodies that we have been sharing with you over the last few days are available NOW in the Reverse Confetti store and at your favorite retailers!! Before you go shopping, I have one more card to share with you using one of my favorite stamp sets of this release, Hello Daisy!
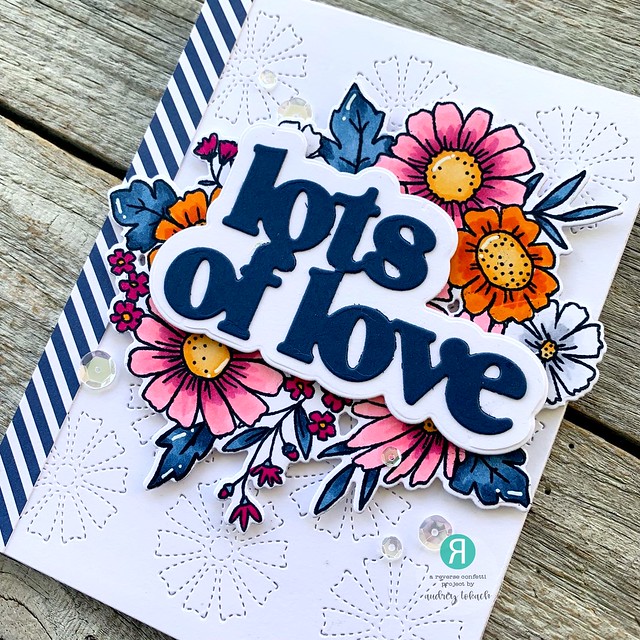
To create this card, I started off by diecutting the new Stitched Daisies Cover Panel from white cardstock. I added a strip of navy striped paper to the left edge of the panel. Then, I stamped and colored the floral image from Hello Daisy in shades of pink, orange and navy, which is one of my favorite color combinations. I diecut the image with the Hello Daisy Confetti Cuts dies and popped it up on the card front with foam tape.
Audrey Tokach - **you are here**
Friday, January 7, 2022
Reverse Confetti Countdown to Confetti - Day 3
Hello there! It's day three of the Countdown to Confetti at Reverse Confetti! This might be one of my favorite releases ever! All of the products that you see over the next few days will be available in the Reverse Confetti store and at your favorite retailers on January 8th!
Today, I get to share my two favorite projects of this release! The new Hello Daisy stamp set is a gorgeous floral bouquet, and it pairs perfectly with the new Love Bugs stamp set, if I do say so myself ;)
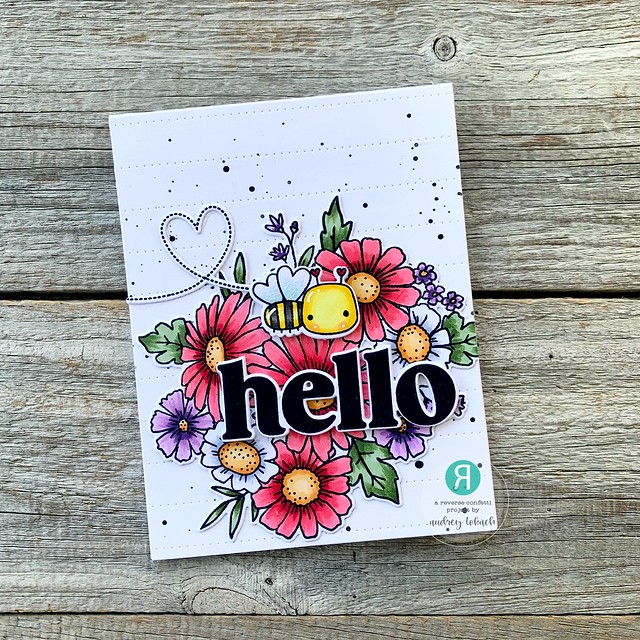
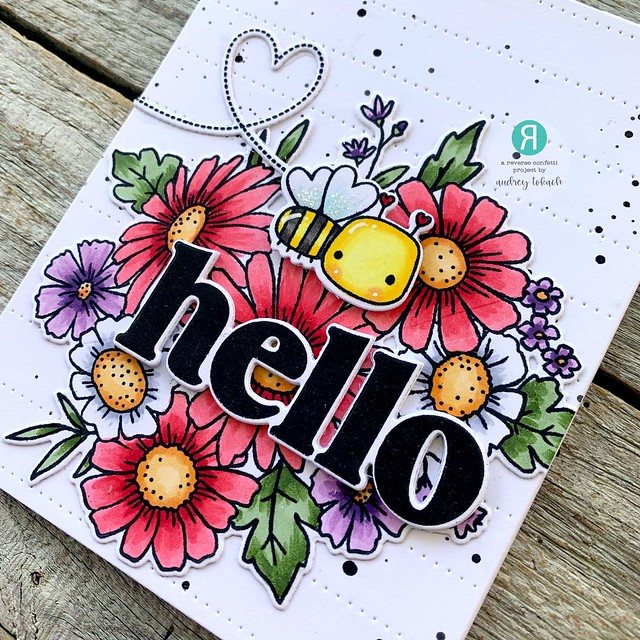
To create this card, I started off by diecutting a piece of white cardstock with the Along the Dotted Lines Cover Panel (one of my most favorite RC products if you can't tell!) which I splattered with black watercolor. I stamped and colored the floral cluster from Hello Daisy with my Copic markers and diecut it with the coordinating Hello Daisy Confetti Cuts dies. Then, I stamped one of the cute little bees from Love Bugs along with the flight trail and diecut them with the coordinating Love Bugs Confetti Cuts dies.
Audrey Tokach - * you are here*
Thursday, January 6, 2022
Reverse Confetti Countdown to Confetti - Day 2
Hello there! It's day two of the Countdown to Confetti at Reverse Confetti! This might be one of my favorite releases ever! All of the products that you see over the next few days will be available in the Reverse Confetti store and at your favorite retailers on January 8th!
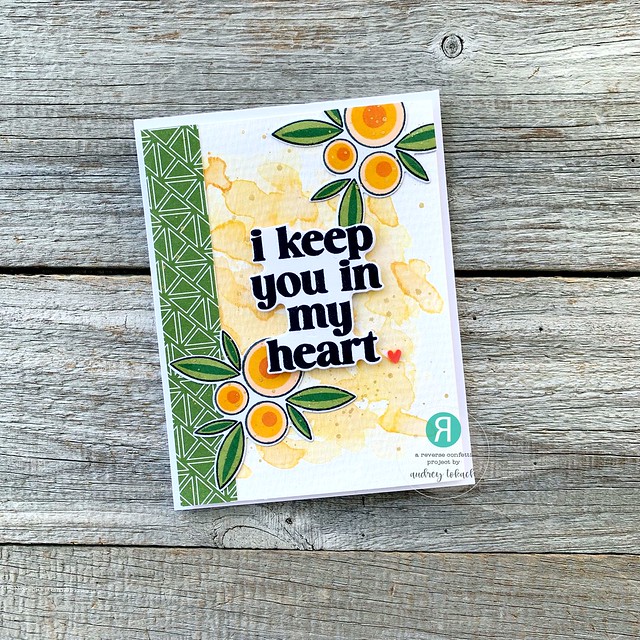
Today, we are showing off the new Poppies stamp set and coordinating Poppies Confetti Cuts! For my first card, I started off by watercoloring a piece of watercolor paper with Distress Ink ink Wild Honey. I cut the panel down to 4" x 5.25" and added a strip of patterned paper to the left side of the panel. Then, I stamped the Poppies in black ink and filled them in with three shades of orange ink and two shades of green ink. I adhered them down with a glue pen and splattered on gold metallic watercolor over everything.
Audrey Tokach - * you are here*
Wednesday, January 5, 2022
Reverse Confetti Countdown to Confetti - Day 1
Hello there! It's day one of the Countdown to Confetti at Reverse Confetti! This might be one of my favorite releases ever! All of the products that you see over the next few days will be available in the Reverse Confetti store and at your favorite retailers on January 8th! I have three projects to share with you today, so grab a cup of coffee and we will get going!
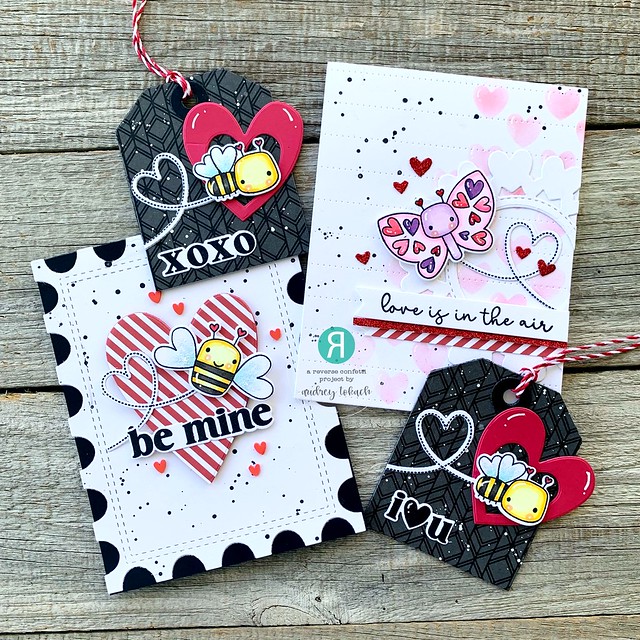
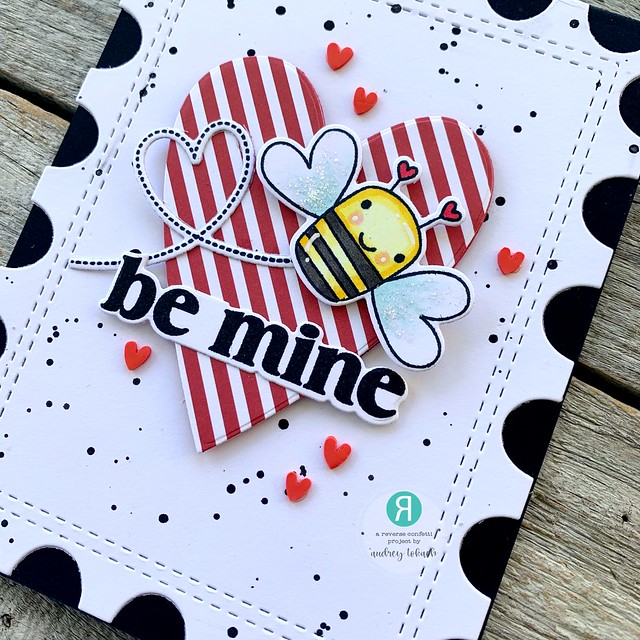
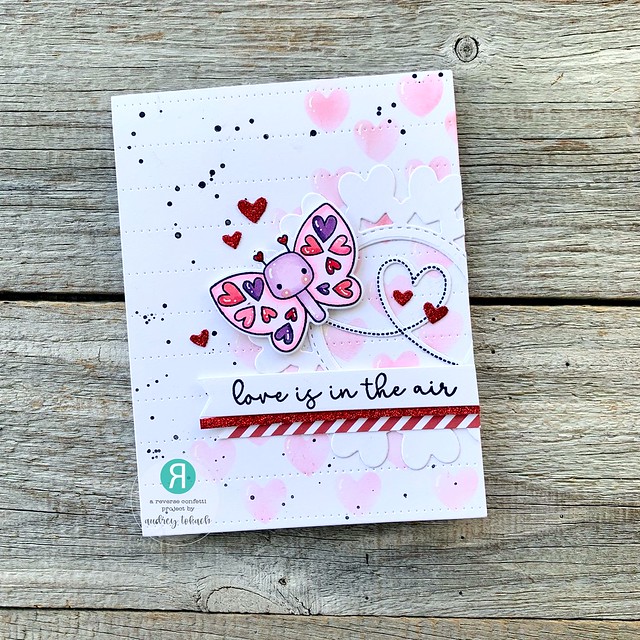
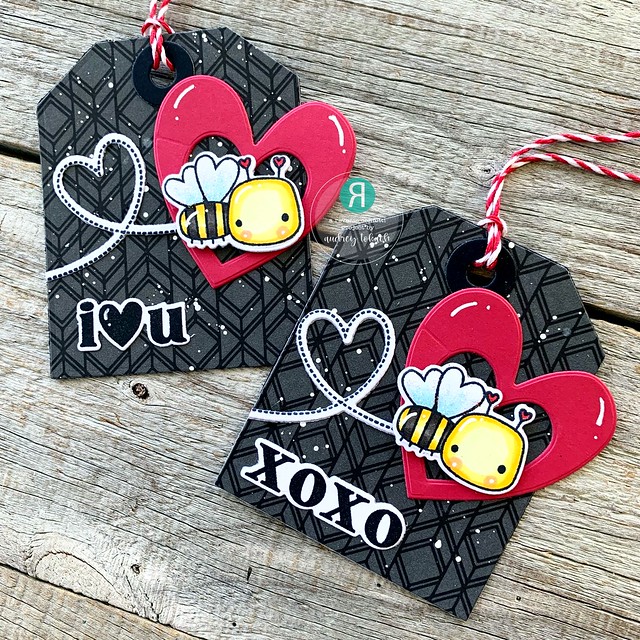
How ADORABLE are these Love Bugs?! Read on to see how I created this little ensemble!
Audrey Tokach - * you are here*

