Hello there! Today I have a card to share with you following the Reverse Confetti February SFYTT! There is still time to play along!
Here is the sketch:

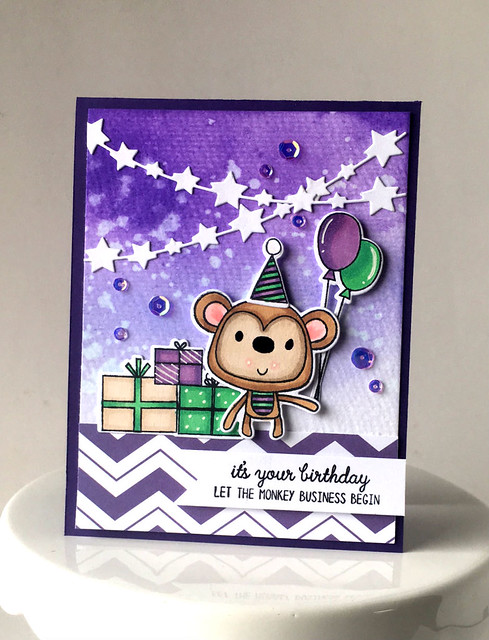
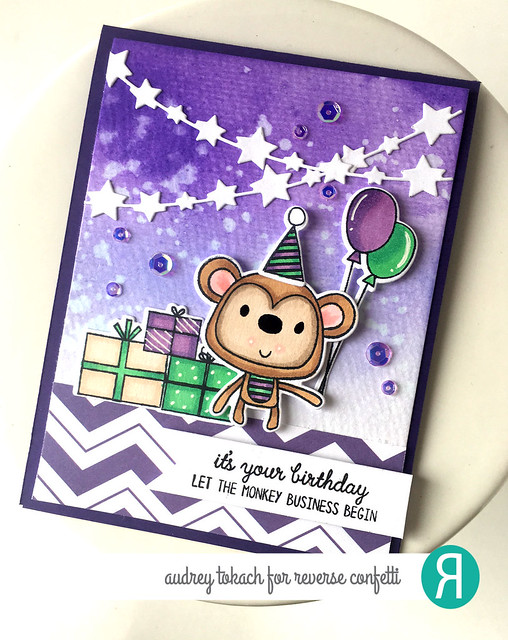
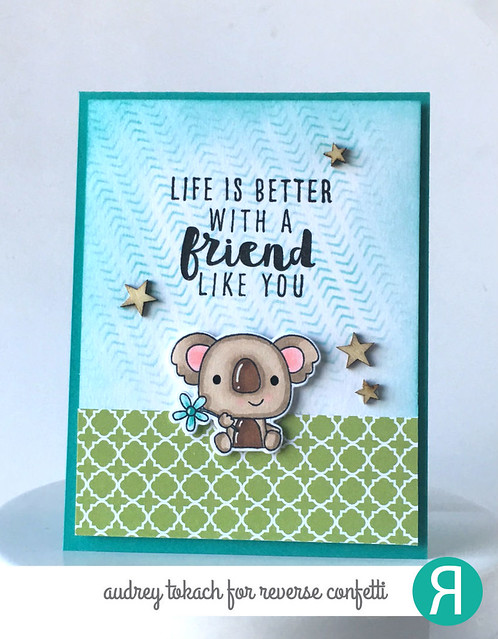
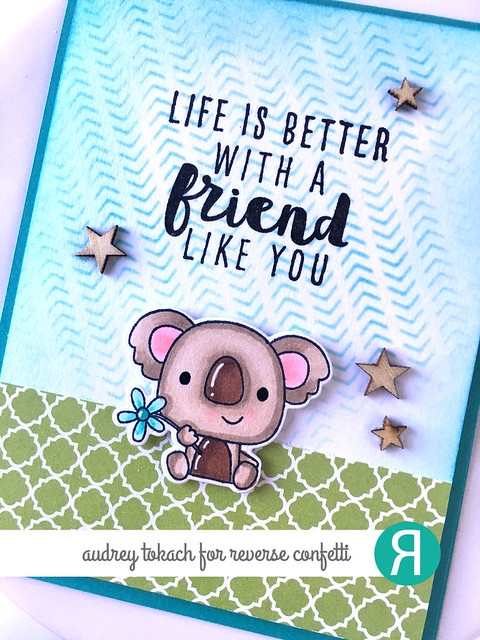
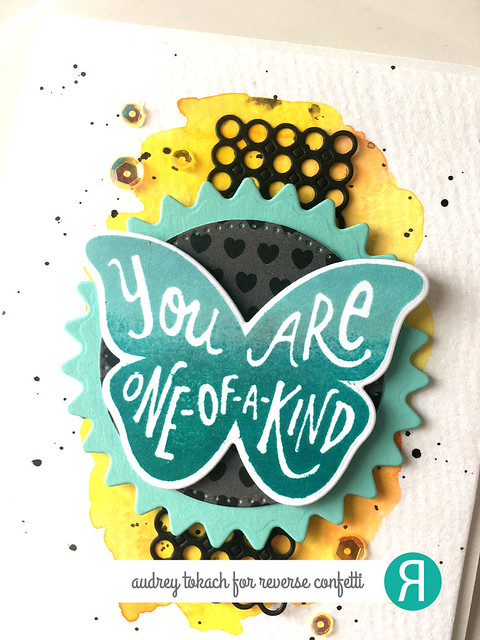
And here is my card...
To create my card, I started off by watercoloring a random design in the center of a piece of watercolor paper, and added some black splatters. I diecut the Double Panel Circles Confetti Cuts from black card stock and glued that on top of the watercolored area. I diecut the pinked edge circle from the Flowers For Mom Confetti Cuts die set from Iced Aqua card stock, and a circle from the same die set using patterned paper from the True Love Paper Pad. I popped that up in the center, and then stamped one of the Butterfly Dreams stamp set using Iced Aqua and Aqua ink, die cut it, and popped it up in the center of the circle. To finish things off, I added a scattering of pretty iridescent sequins.
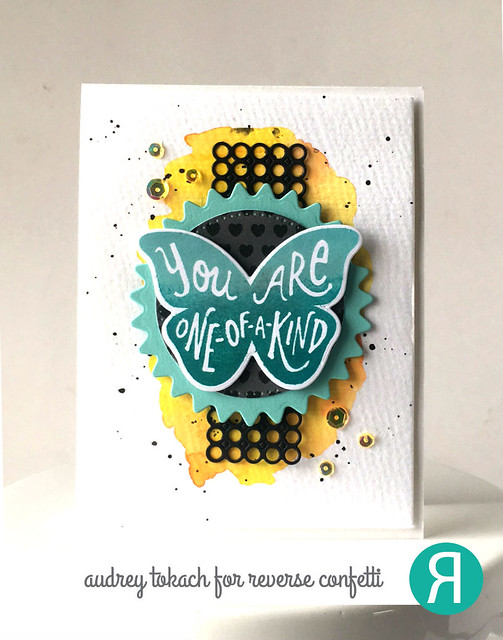
Inking the butterflies from this stamp set in two different colors gives them a lot of extra dimension. I can't wait to try other color combinations! :)
That's all for me today! Be sure to check out the Reverse Confetti blog and see lots more inspiration from the design team! Hope you will play along with us!
Thanks so much for stopping by! :)